January 4, 2025 | Temporal Preparedness | 9 Comments

It’s the “ultimate” food storage: BACON!!
What a treat to have in your food storage pantry, don’t you think? What a way to dress up all those beans you’ve stored than to have bacon! I wanted to try canning bacon for months and I was pouring through the different blogs and articles on how to do it.
Then I found an article on Rural Spin that got me excited and so I tried it!
*** Disclaimer: While some people have canned bacon for years, other people say that there are currently “no safe and approved methods for canning bacon” and that this is not a safe practice. I encourage you to do your own research and bottle at your own risk. ***
Items Needed:
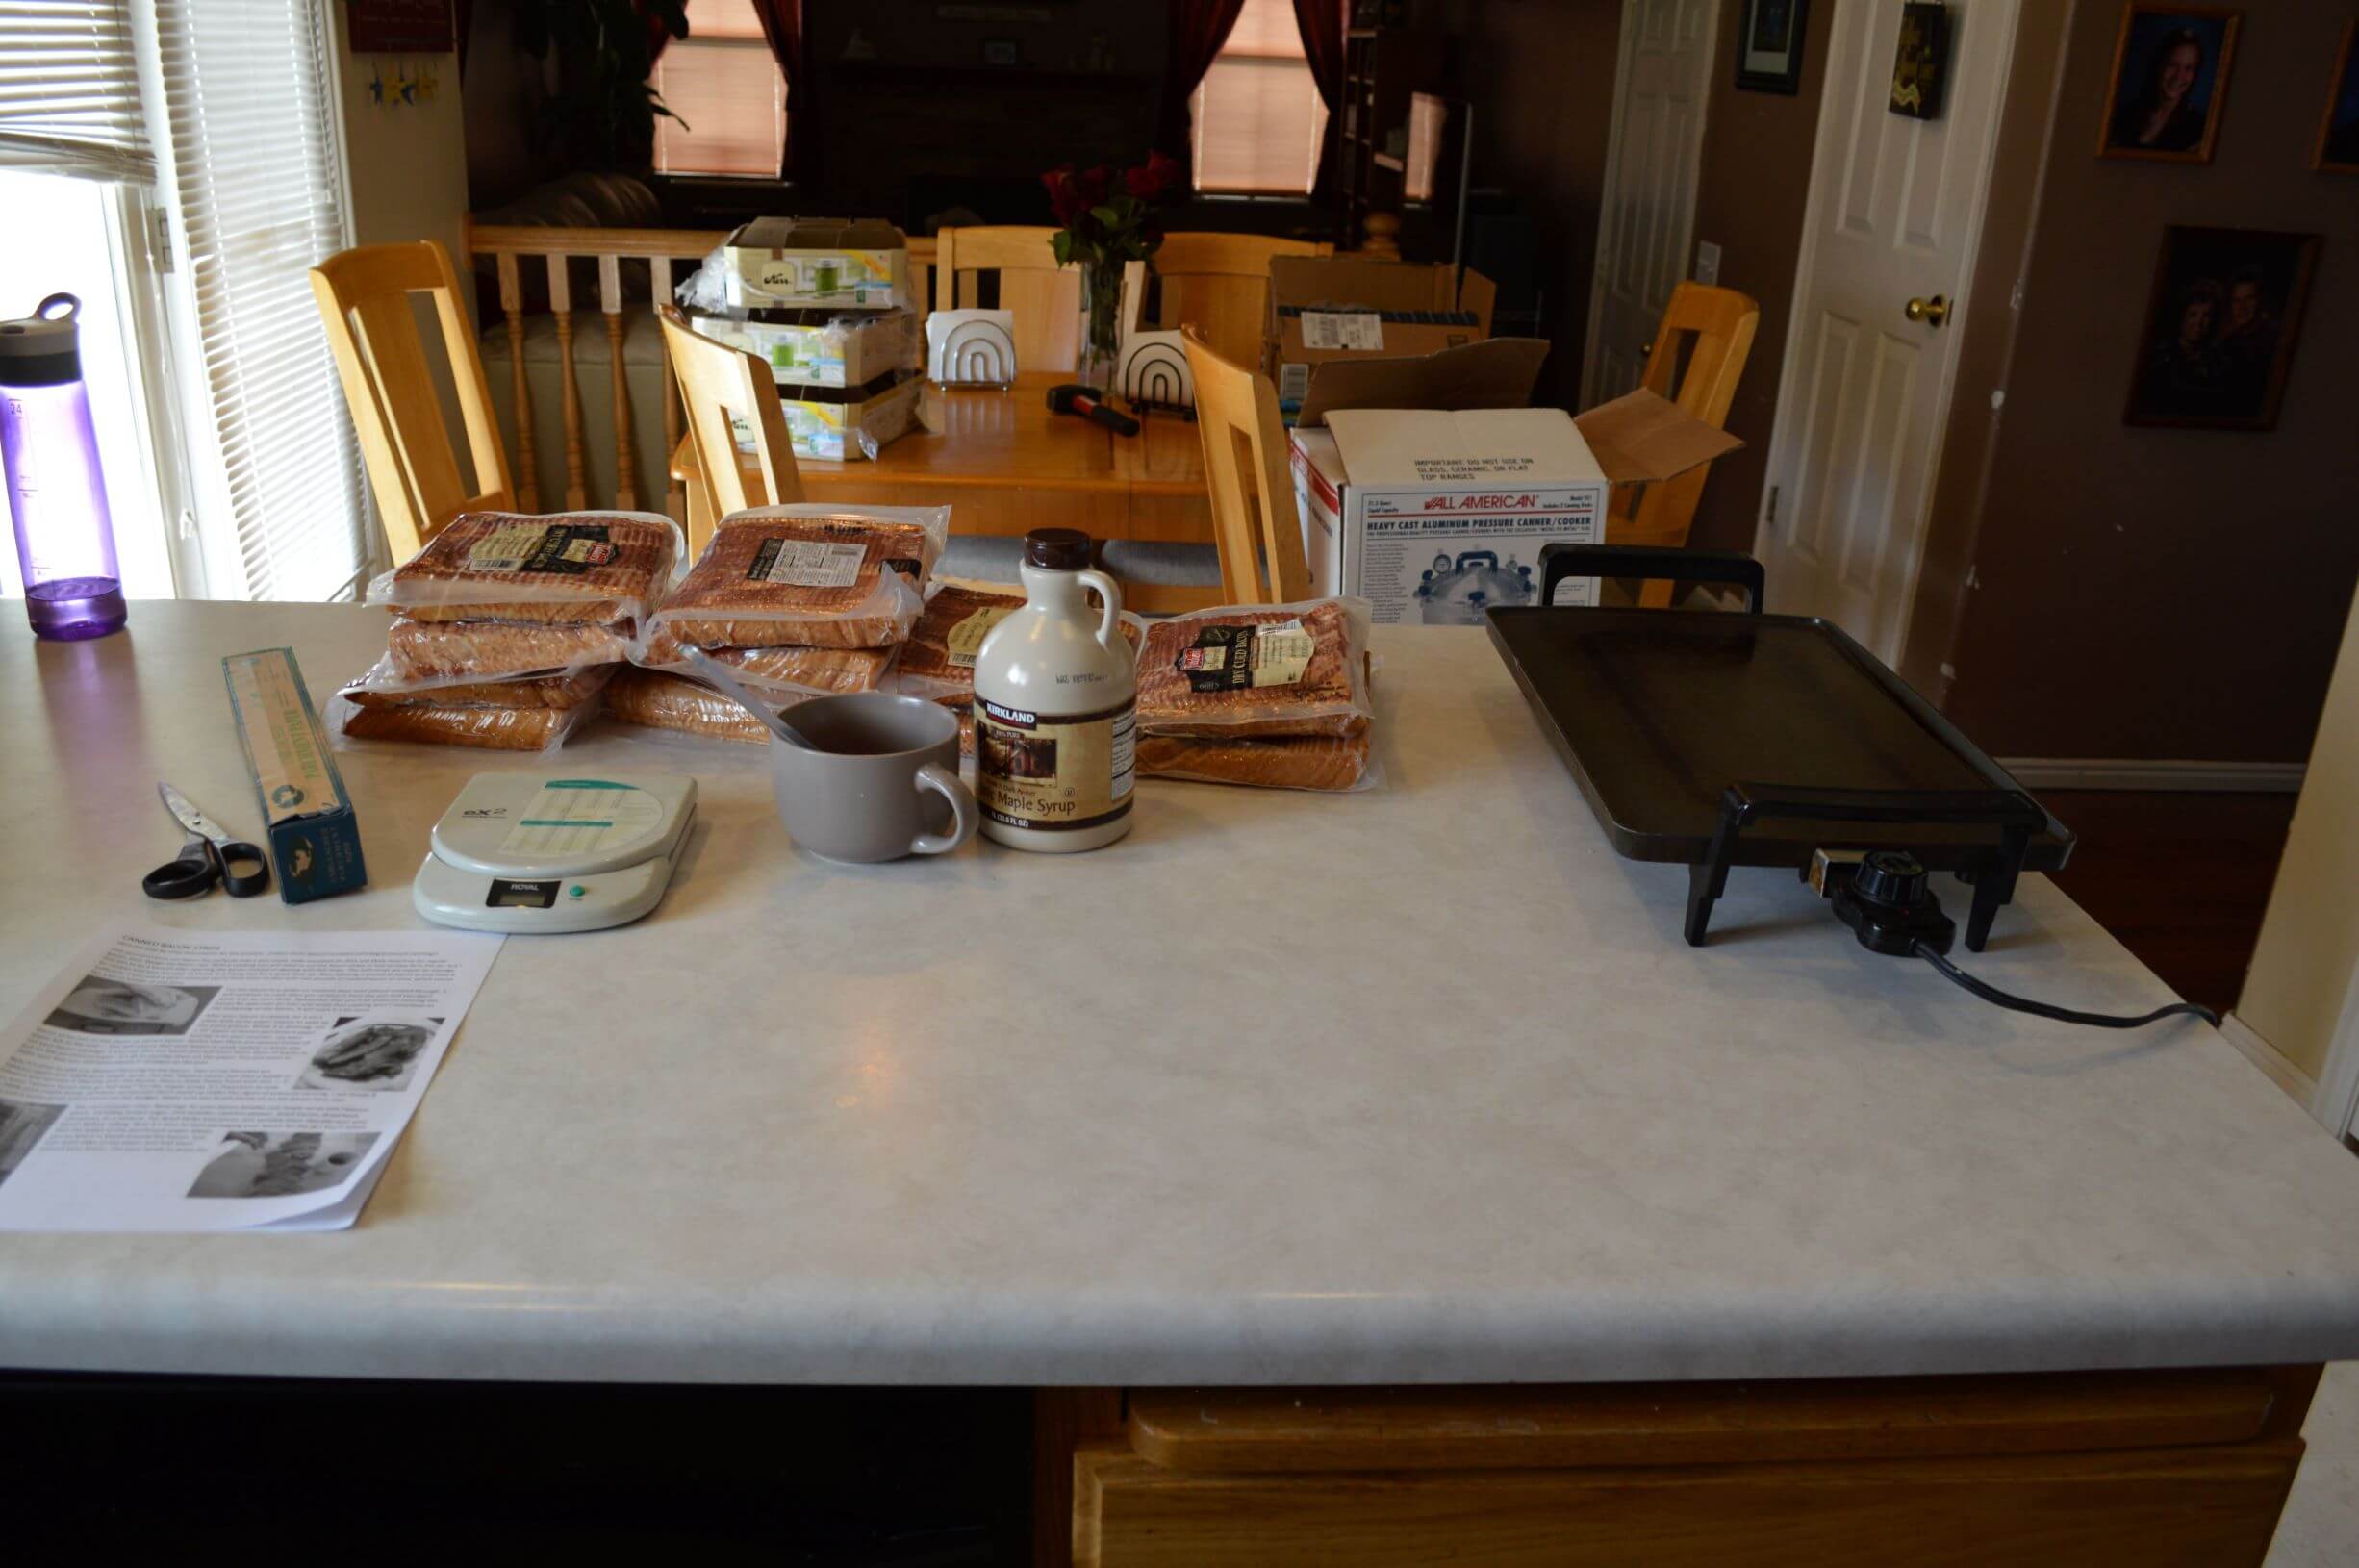
- Raw bacon (about 1 lb of bacon will fit into each pint jar). I got my 24 lbs of bacon at Costco.
- Unbleached Parchment Paper (A 17 sq ft roll should do at least 24 pints)
- Pressure Canner
- Electric griddle or stove skillet to cook bacon
- Sterilized wide mouth pint jars with lids and rings
- Real maple syrup (optional) and brush
- Optional – digital scale. I had set this out but ended up not using it.
Instructions:
- Unwrap your bacon and cut the strips in HALF.
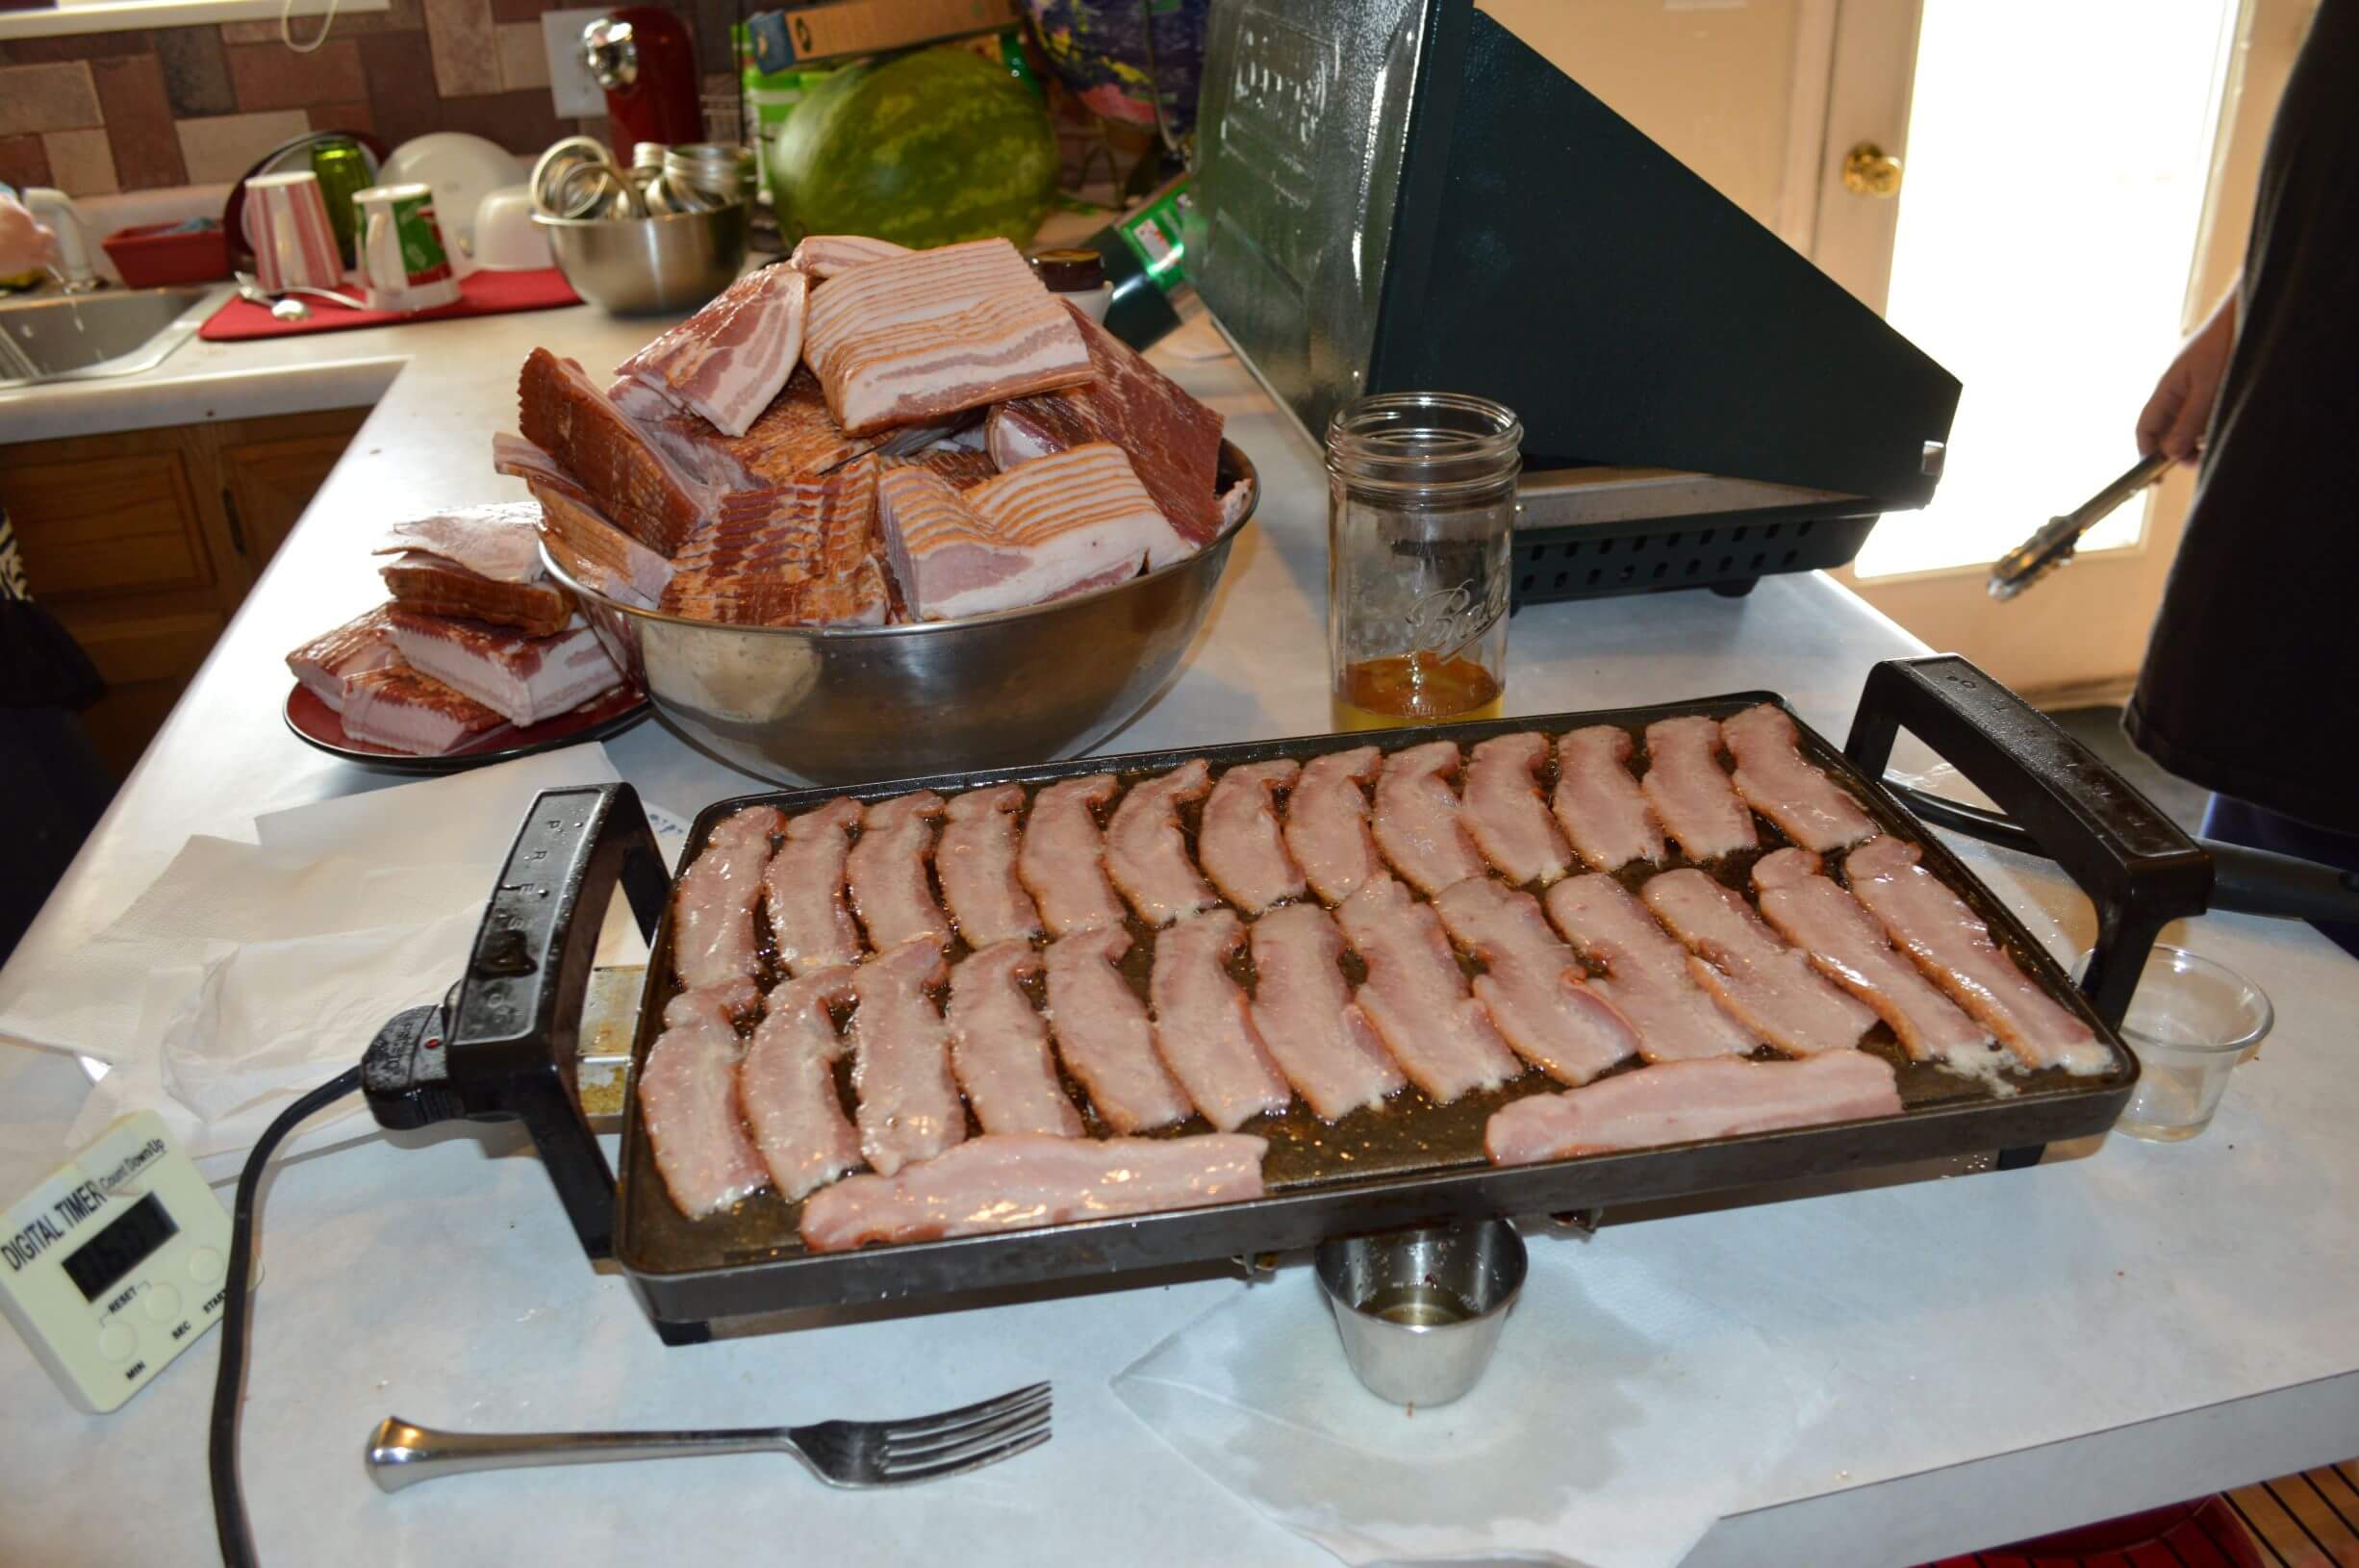
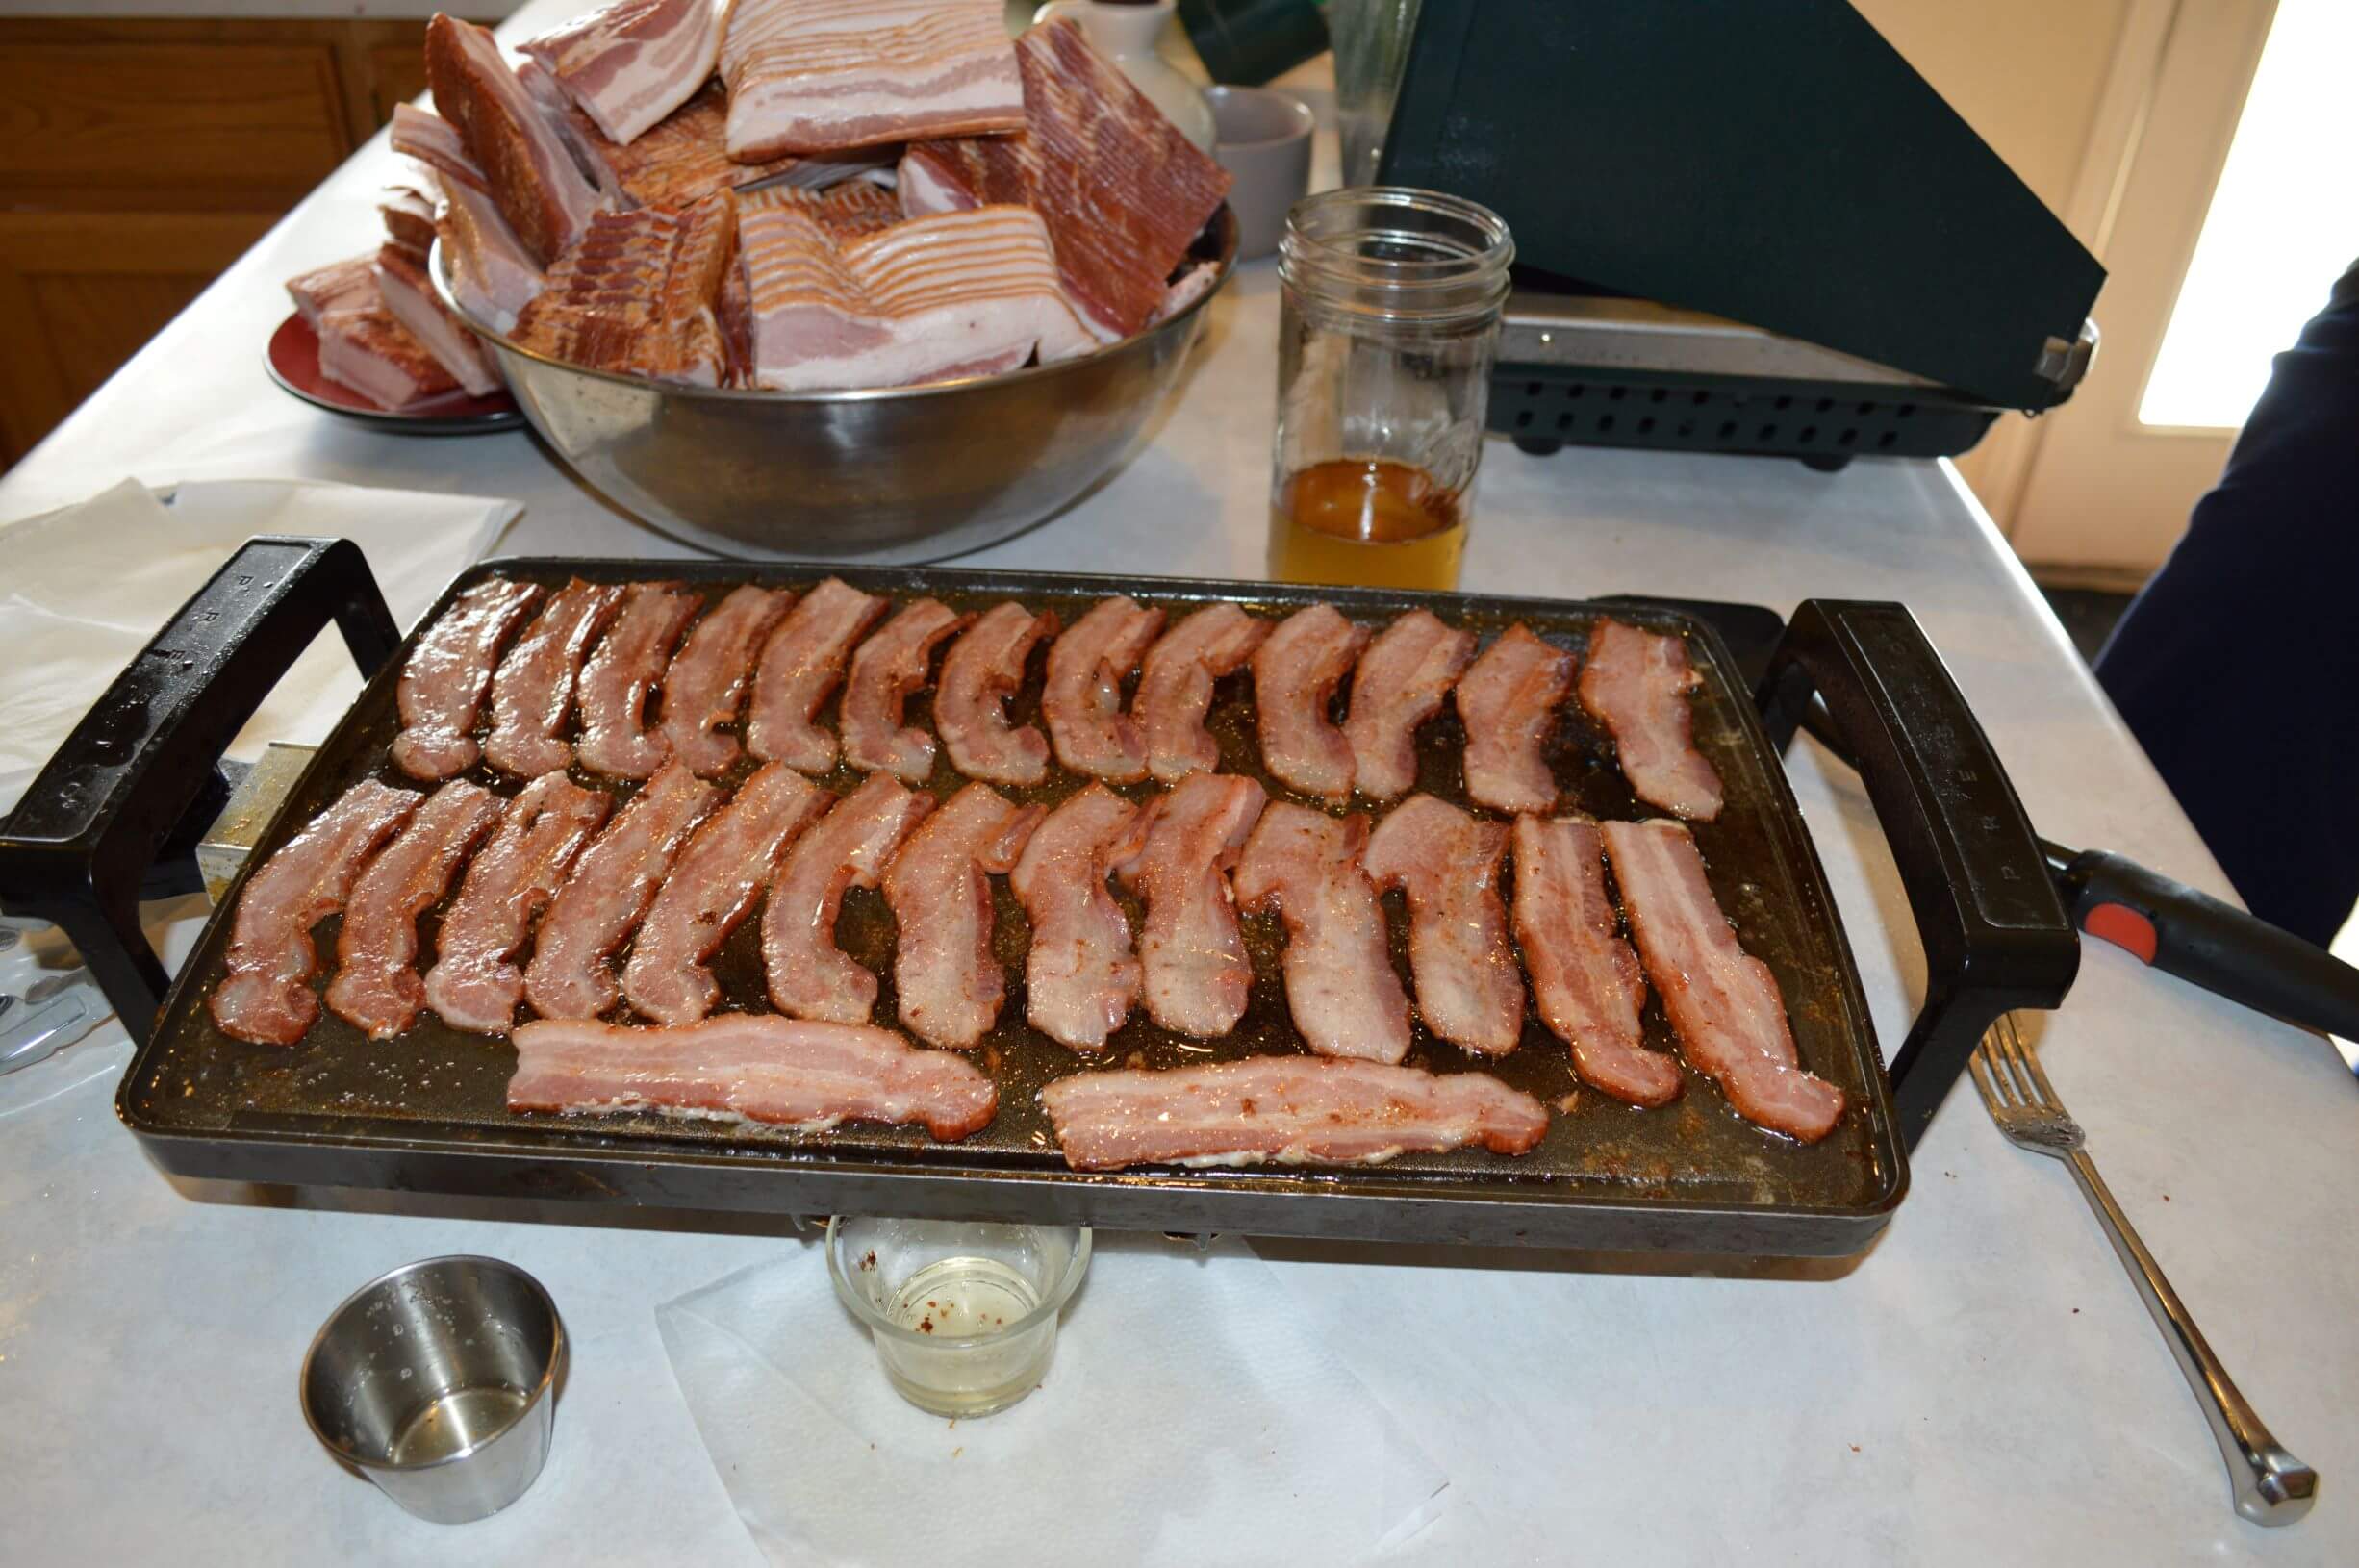
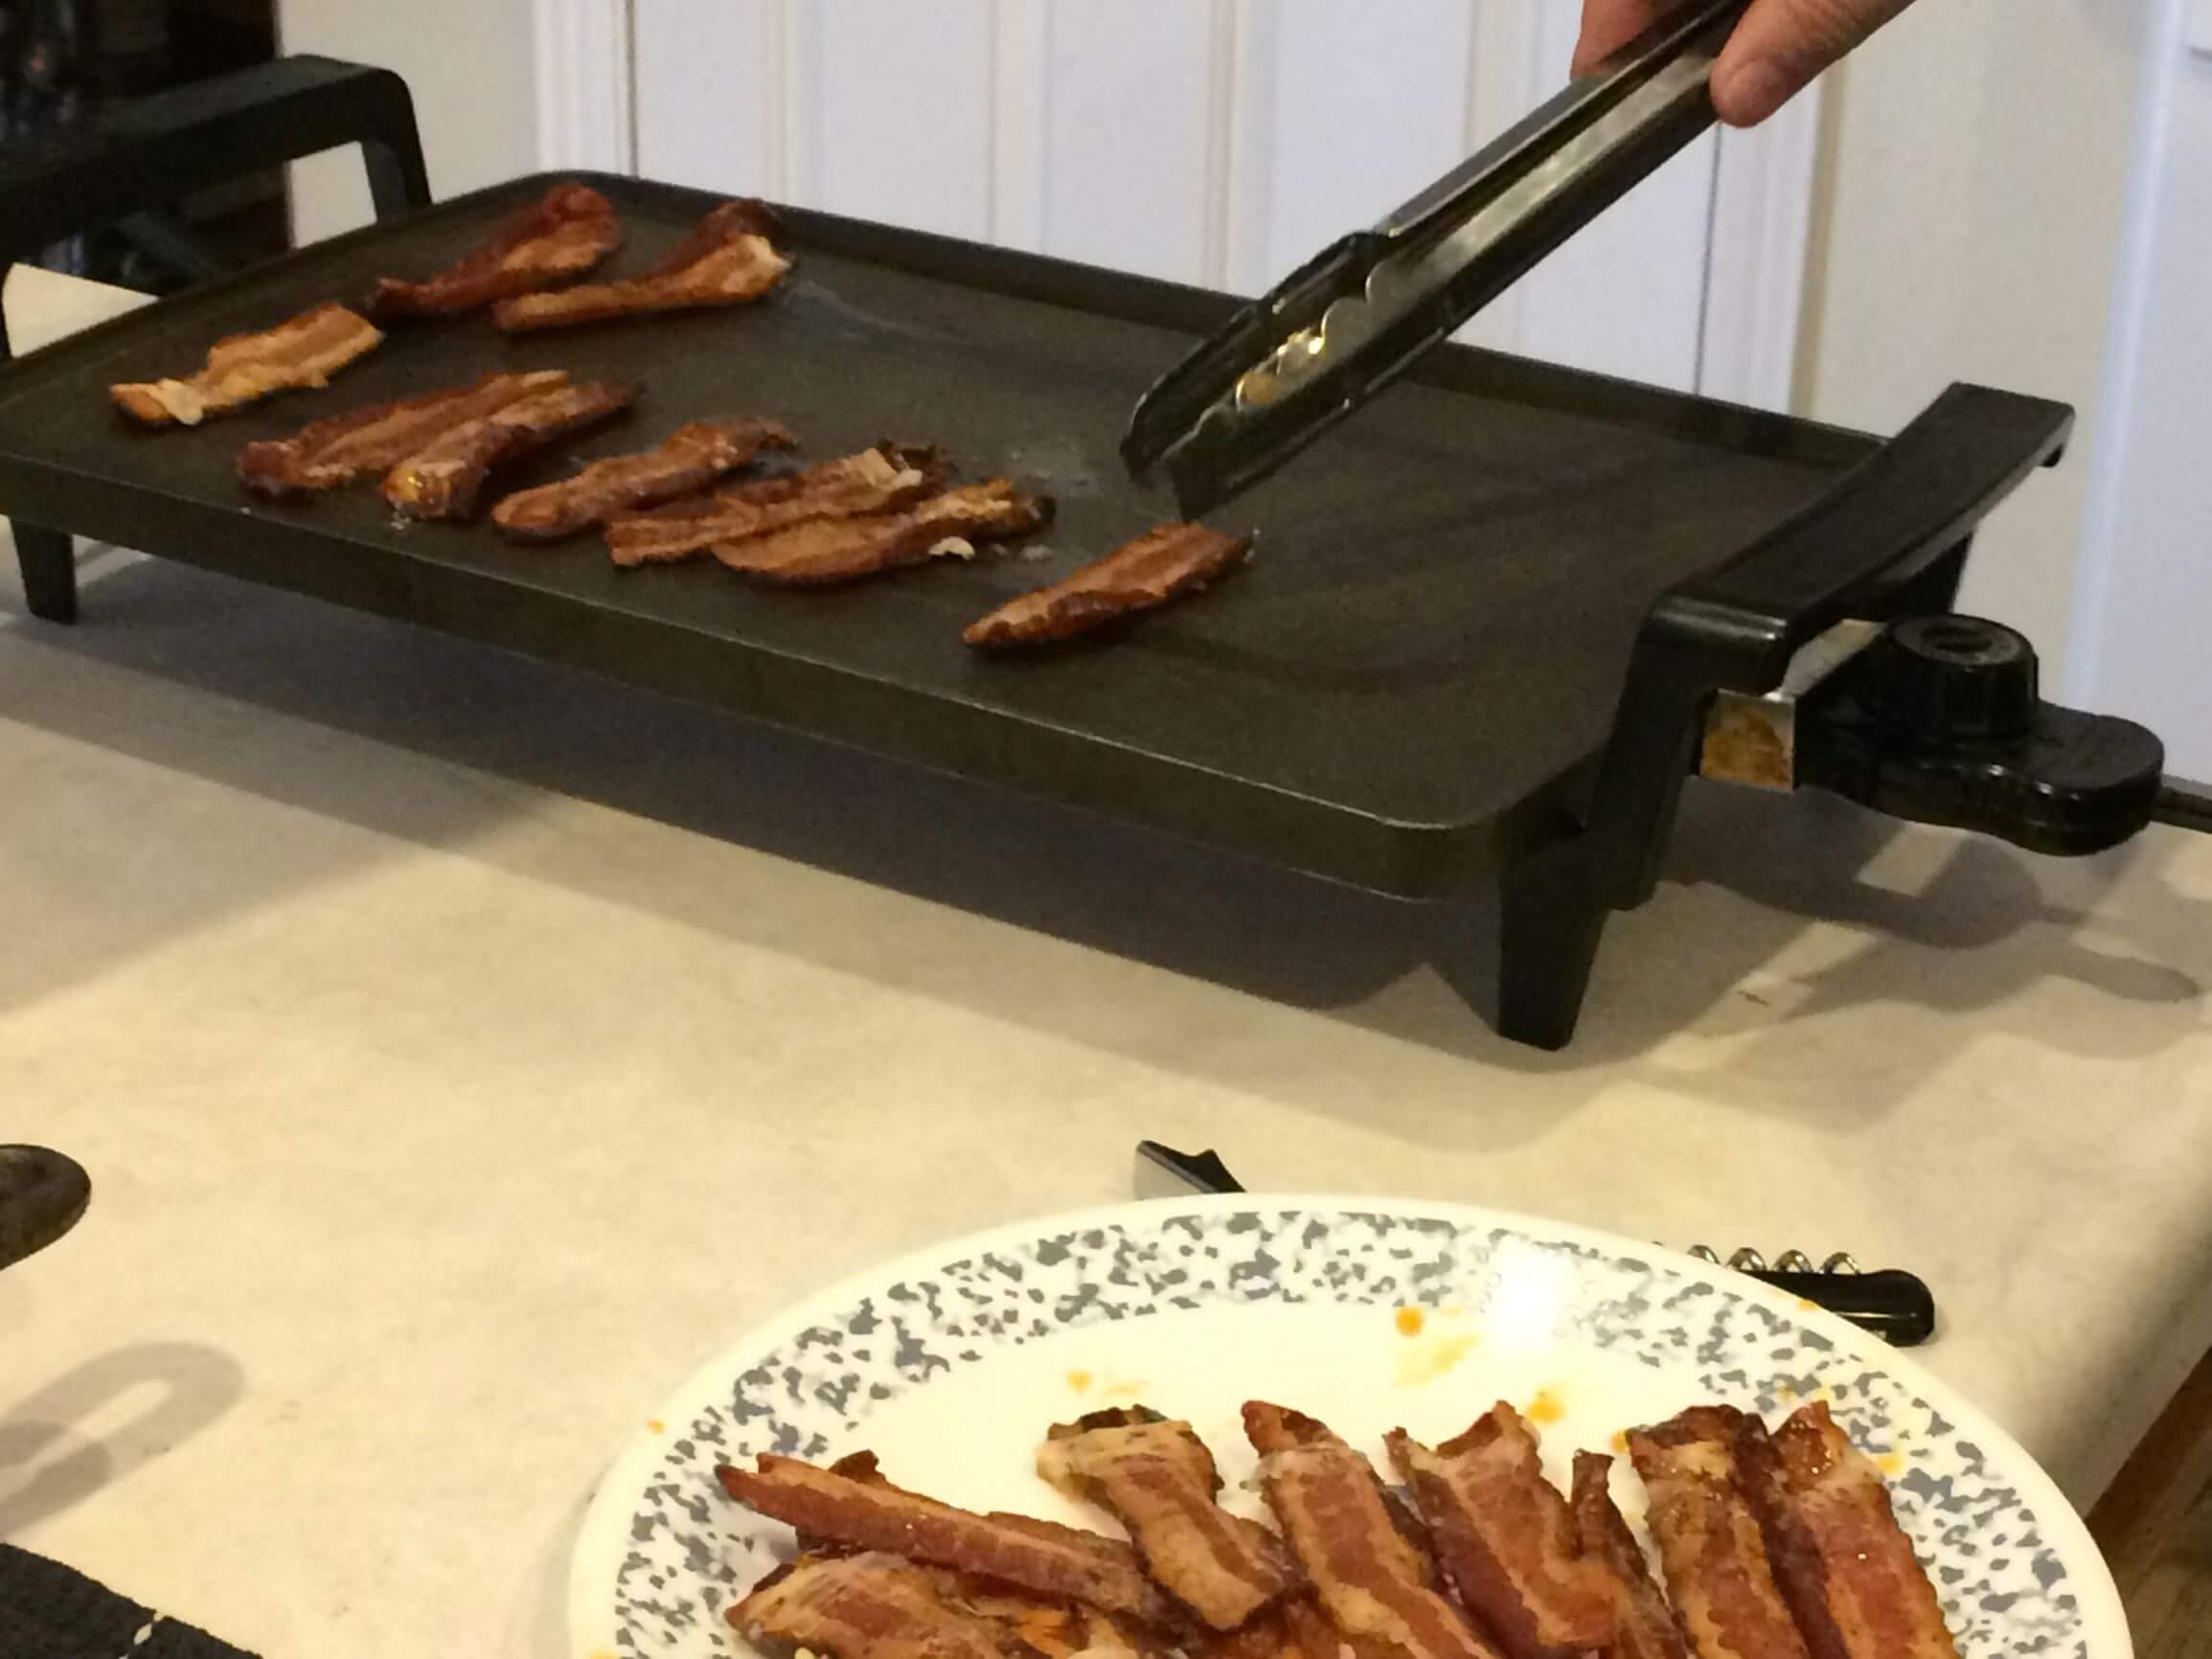
- Fry your bacon on your skillet using medium heat until ALMOST cooked through. I aimed to have it begin to get crispy on the edges and lightly browned all over. (It cooks after you remove it and you don’t want it over done)
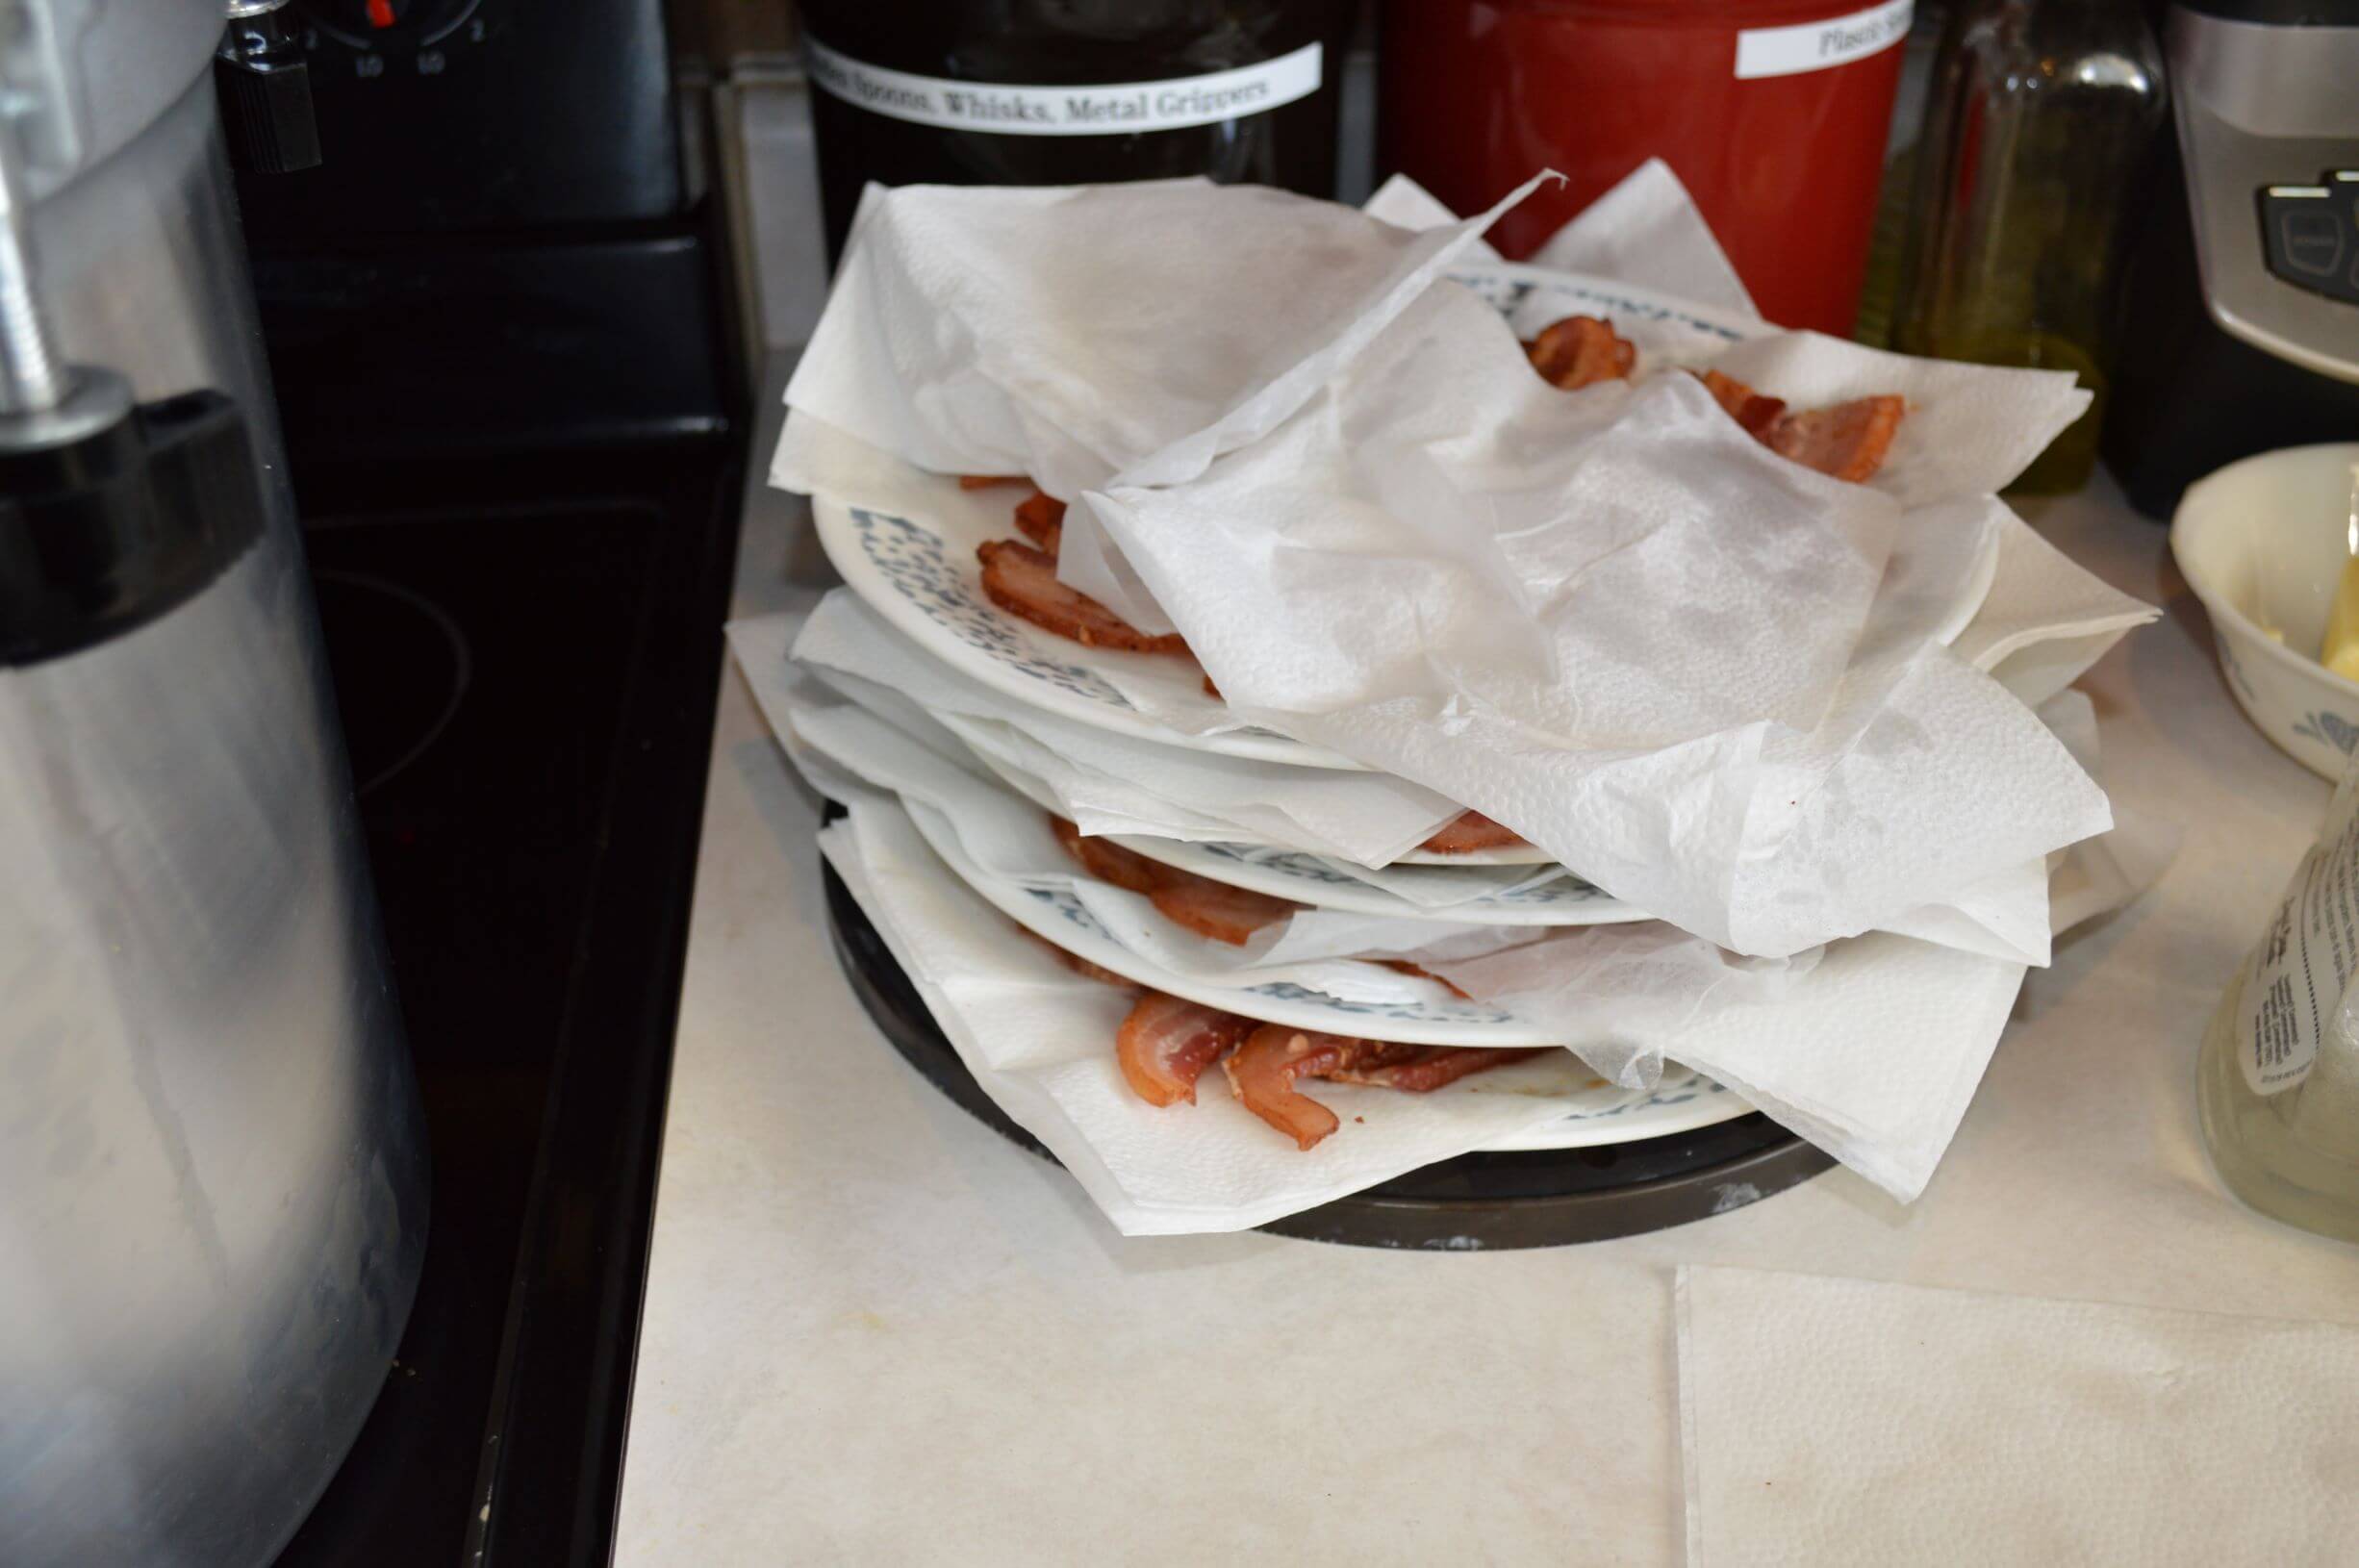
- Lay bacon on paper towels to soak up the grease. Note – you can save your bacon grease from your pan and store in the fridge to use in cooking.
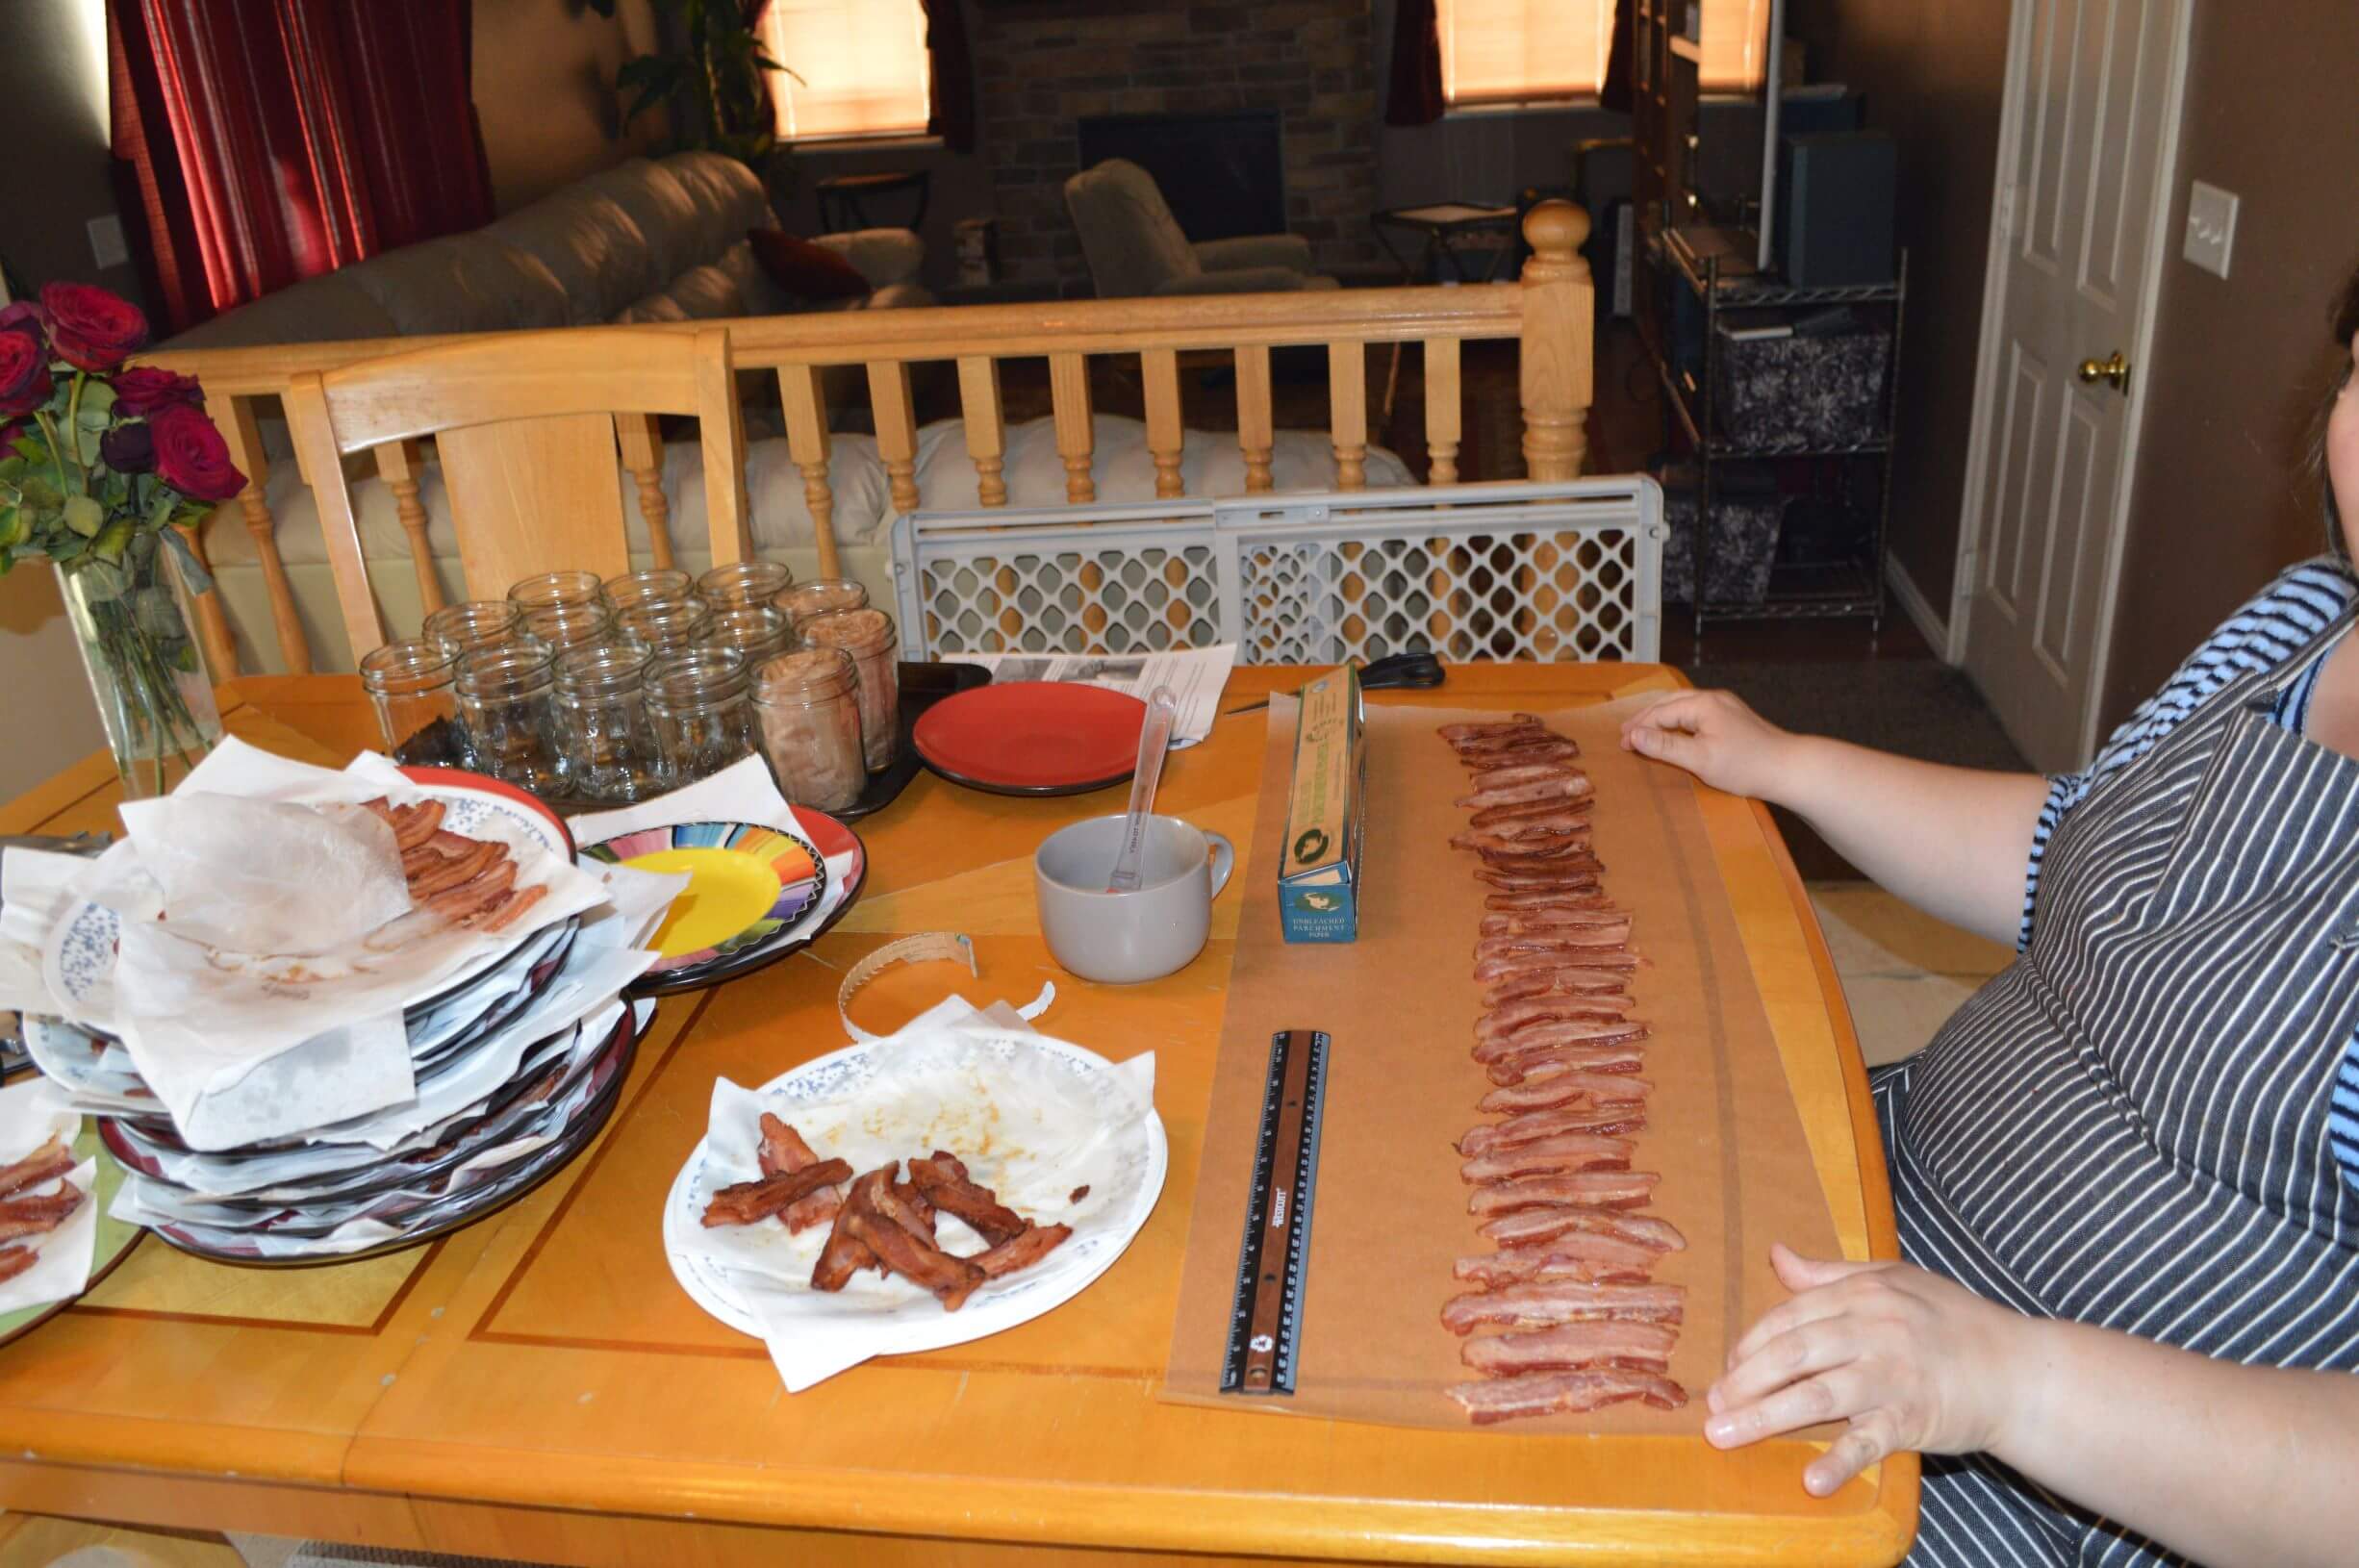
- Cut a piece of brown parchment paper about 24” long and lay it on your table. Line up your mostly cooked bacon strips just below the middle and going from one side to the other side of the parchment paper.
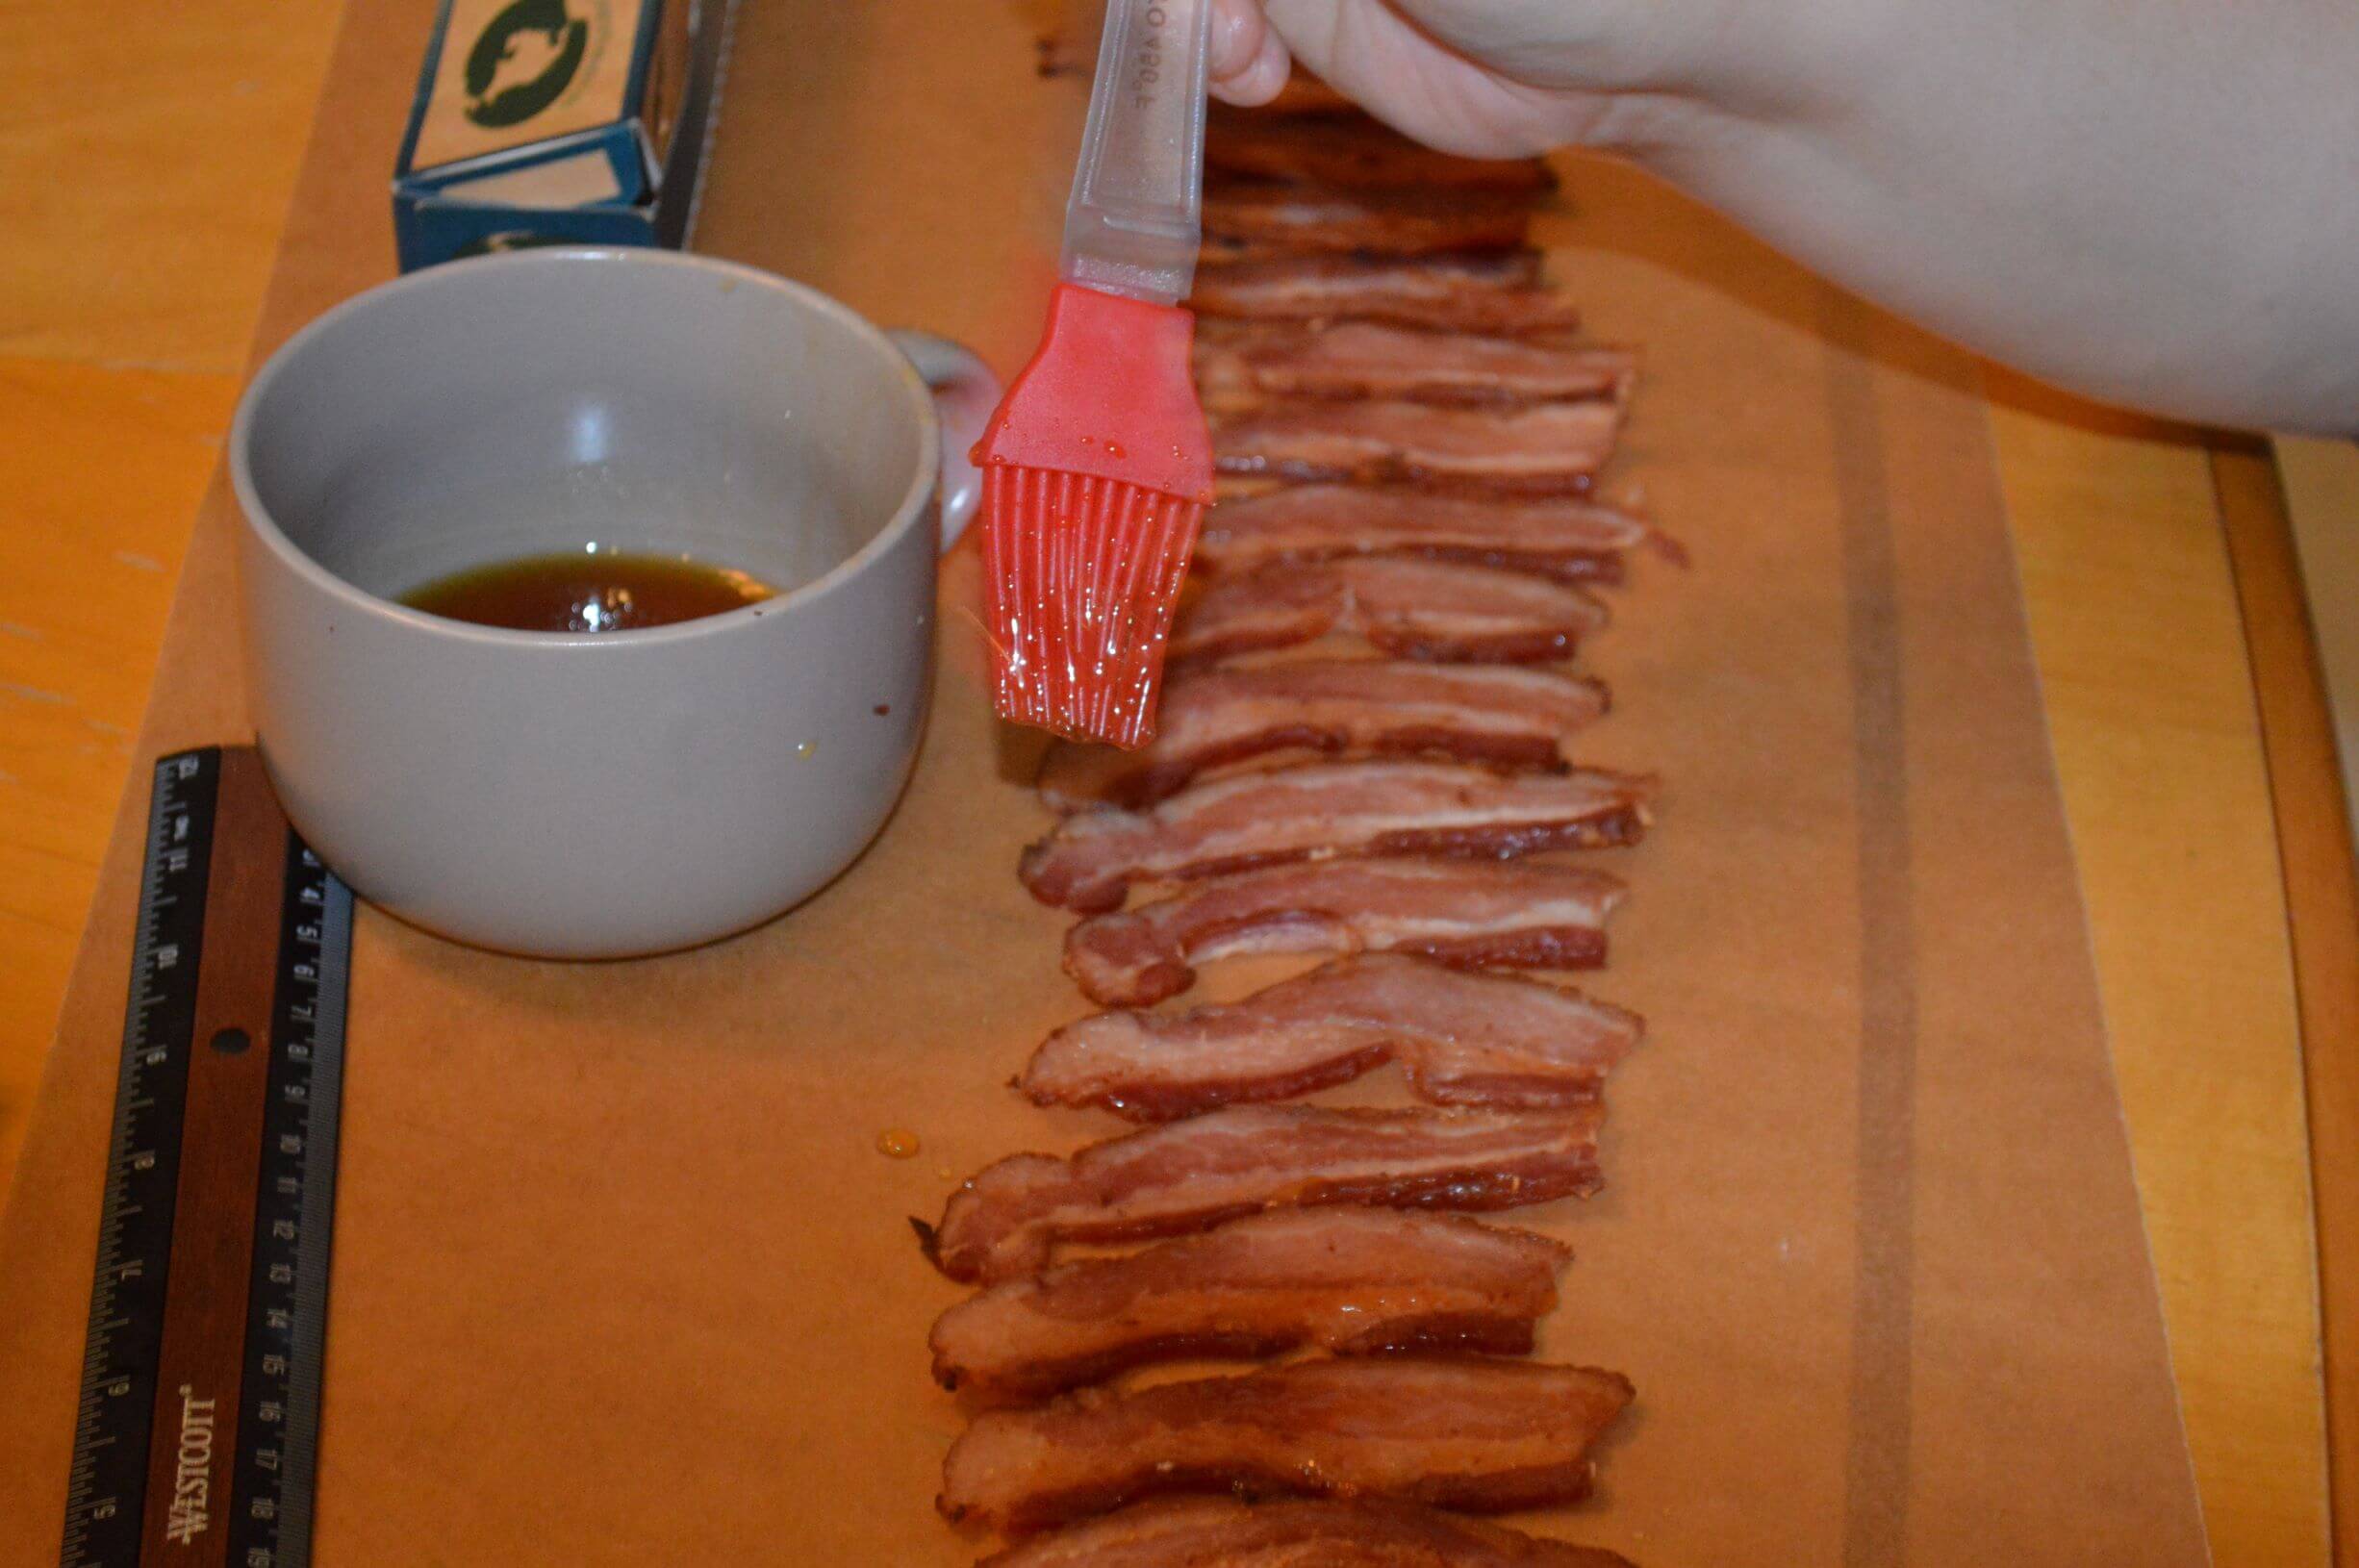
- Now you can liberally brush on some of that maple syrup (Optional). Be sure and use real maple syrup so it will endure the pressure canning process.
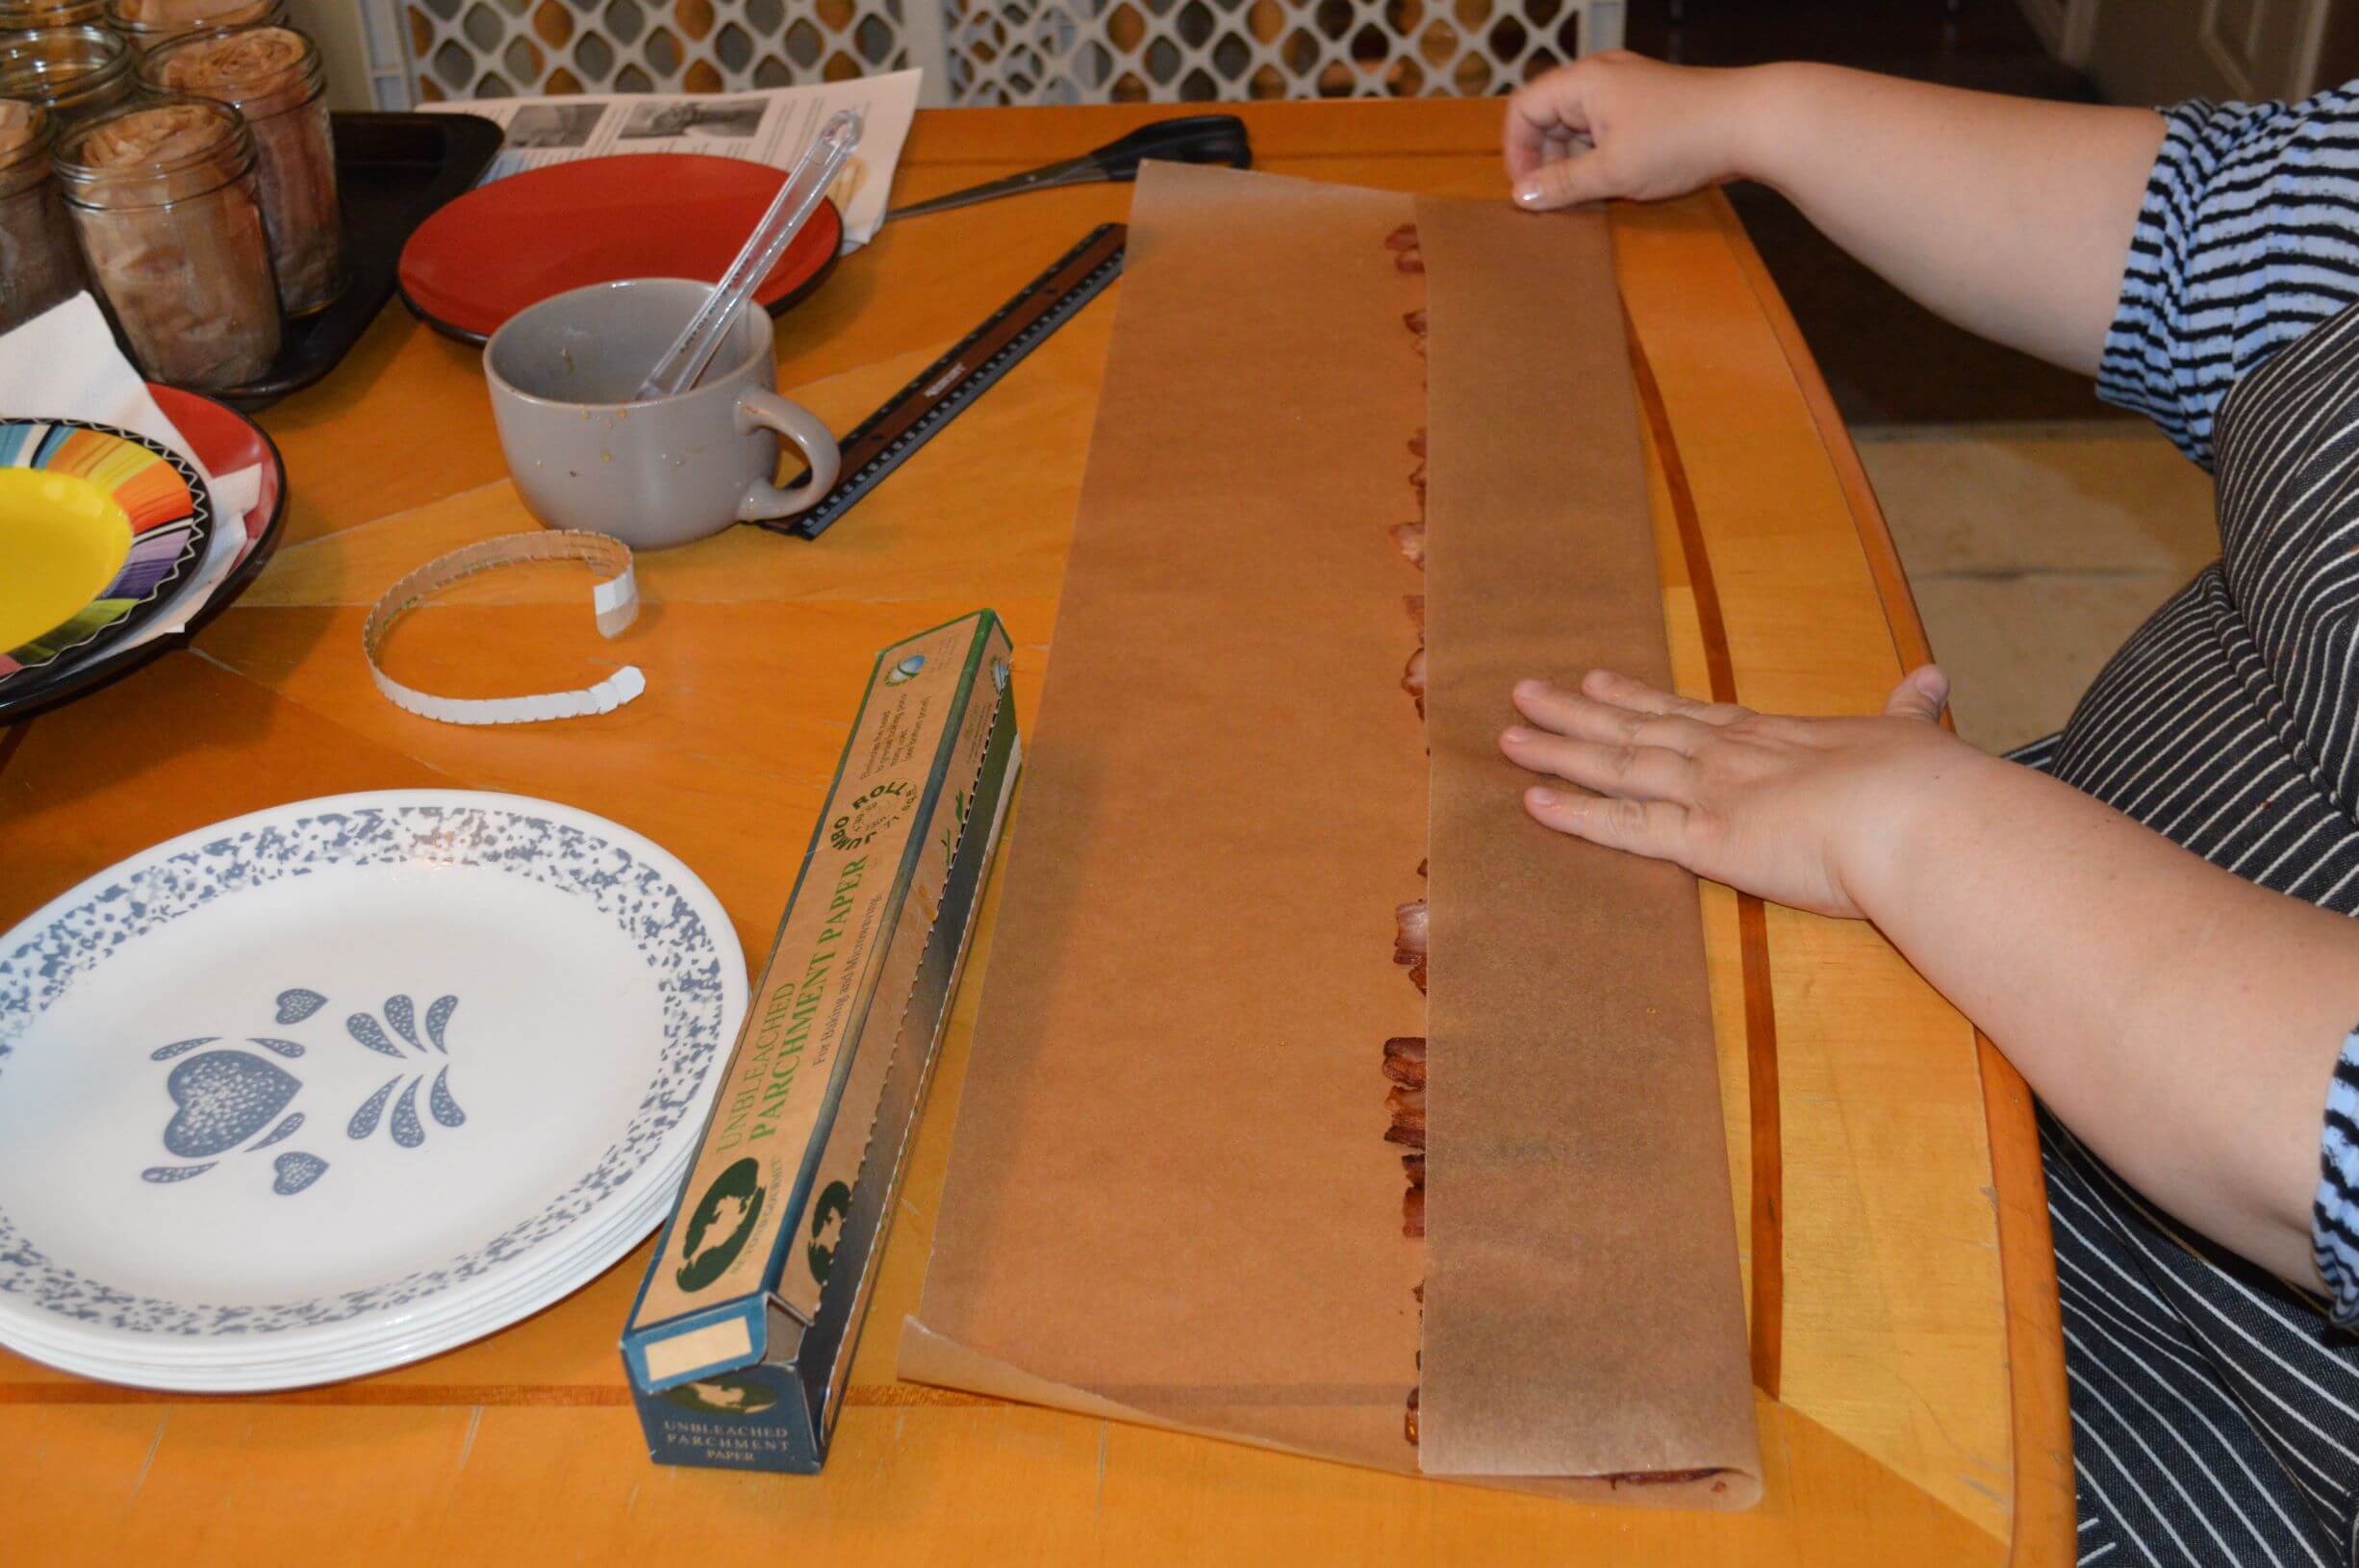
- Fold the paper in thirds by bringing the bottom up over the bacon, then the top fold down over that so the bacon is completely covered.
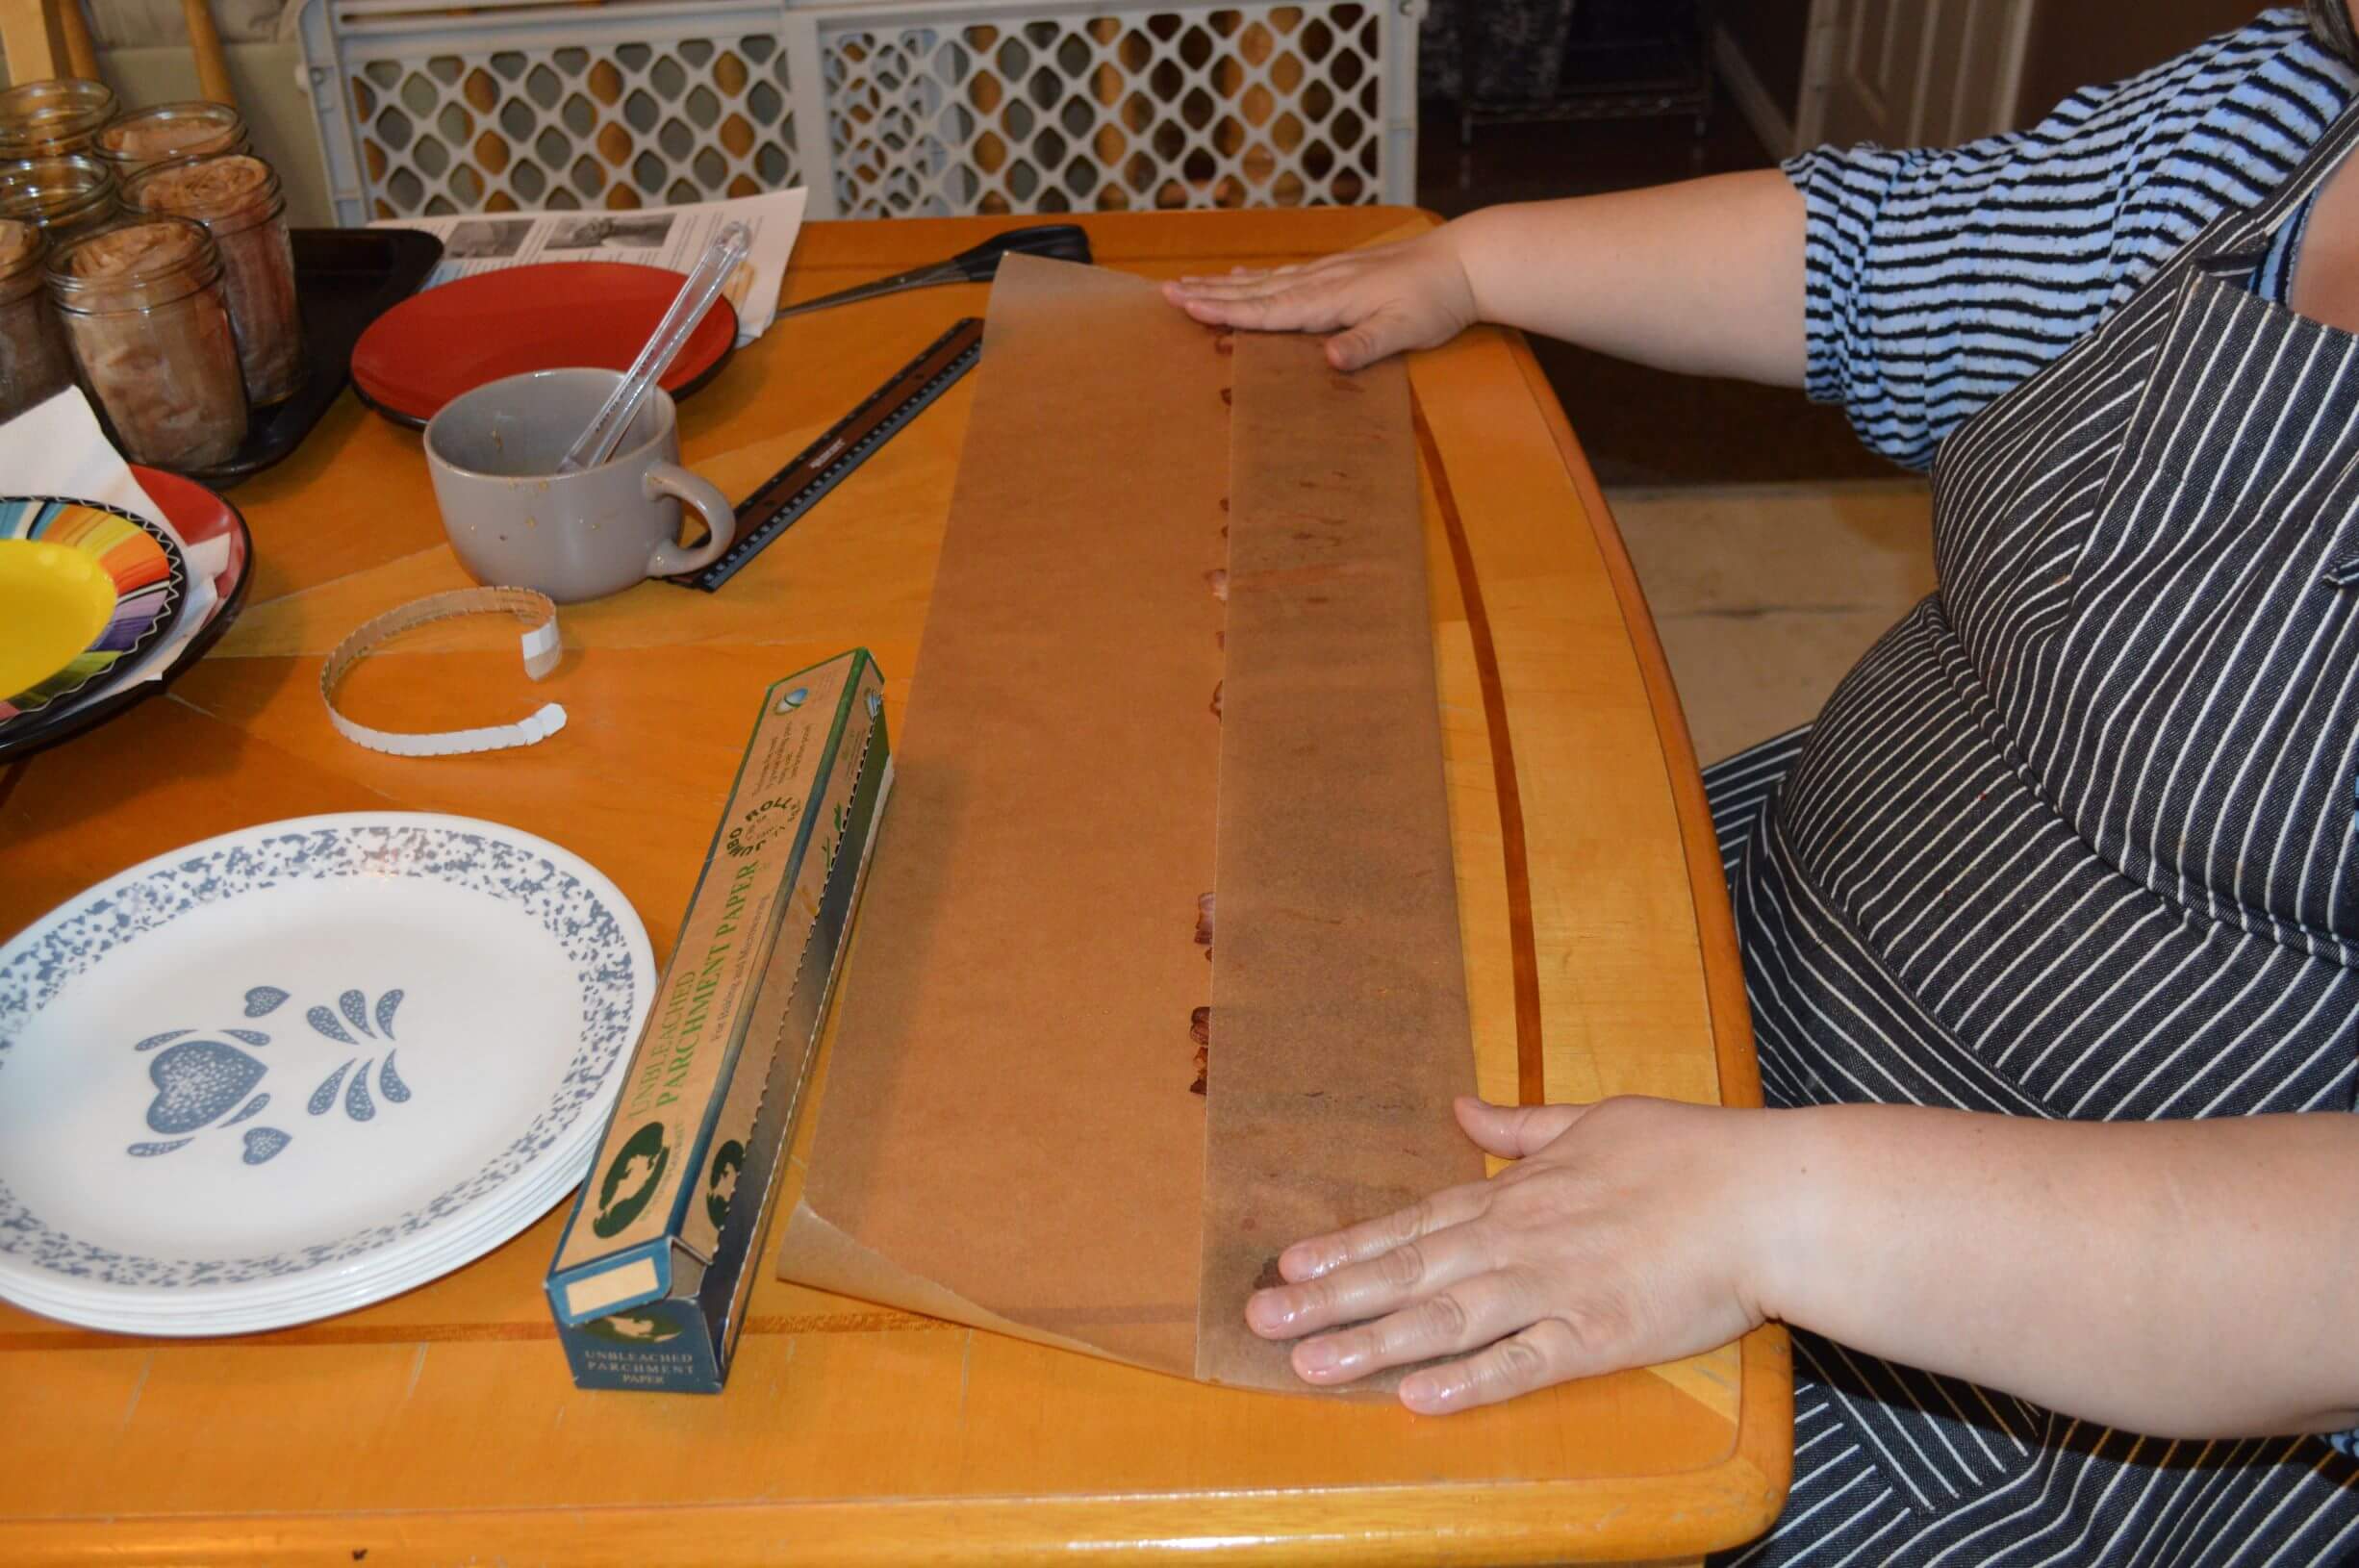
- Starting at one end, begin rolling up the bacon ensuring that those first few rolls are tight.
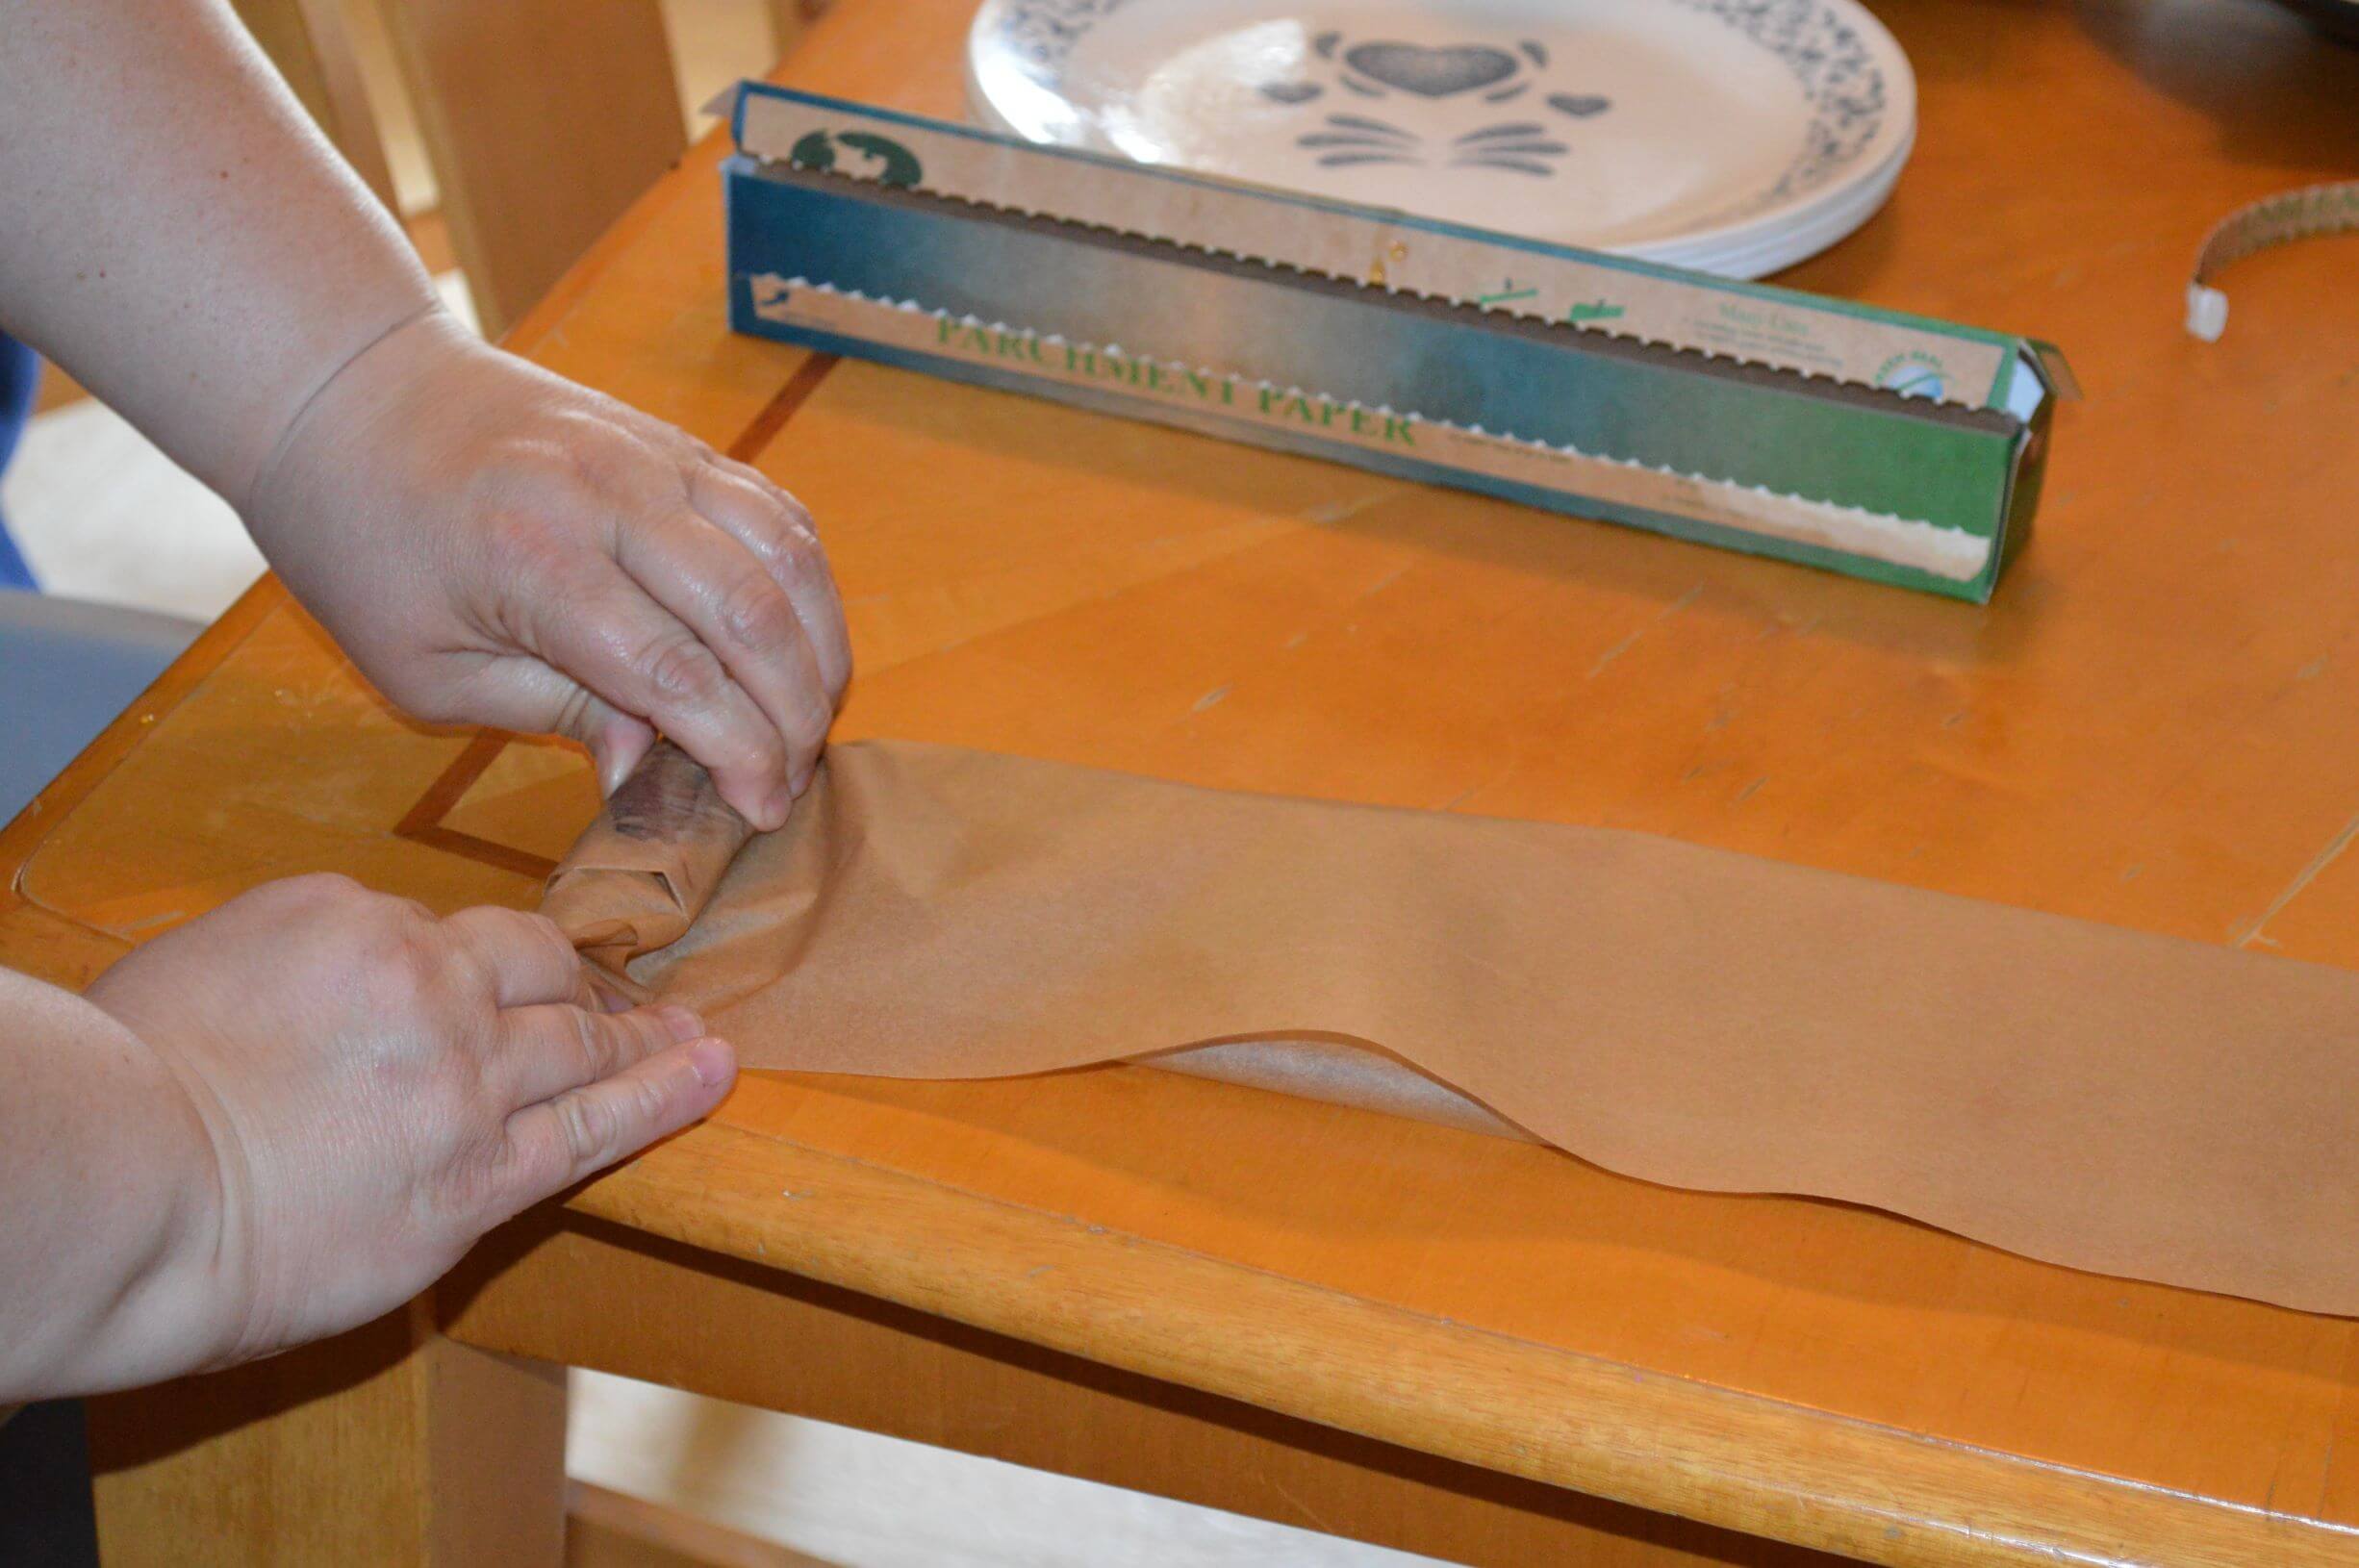
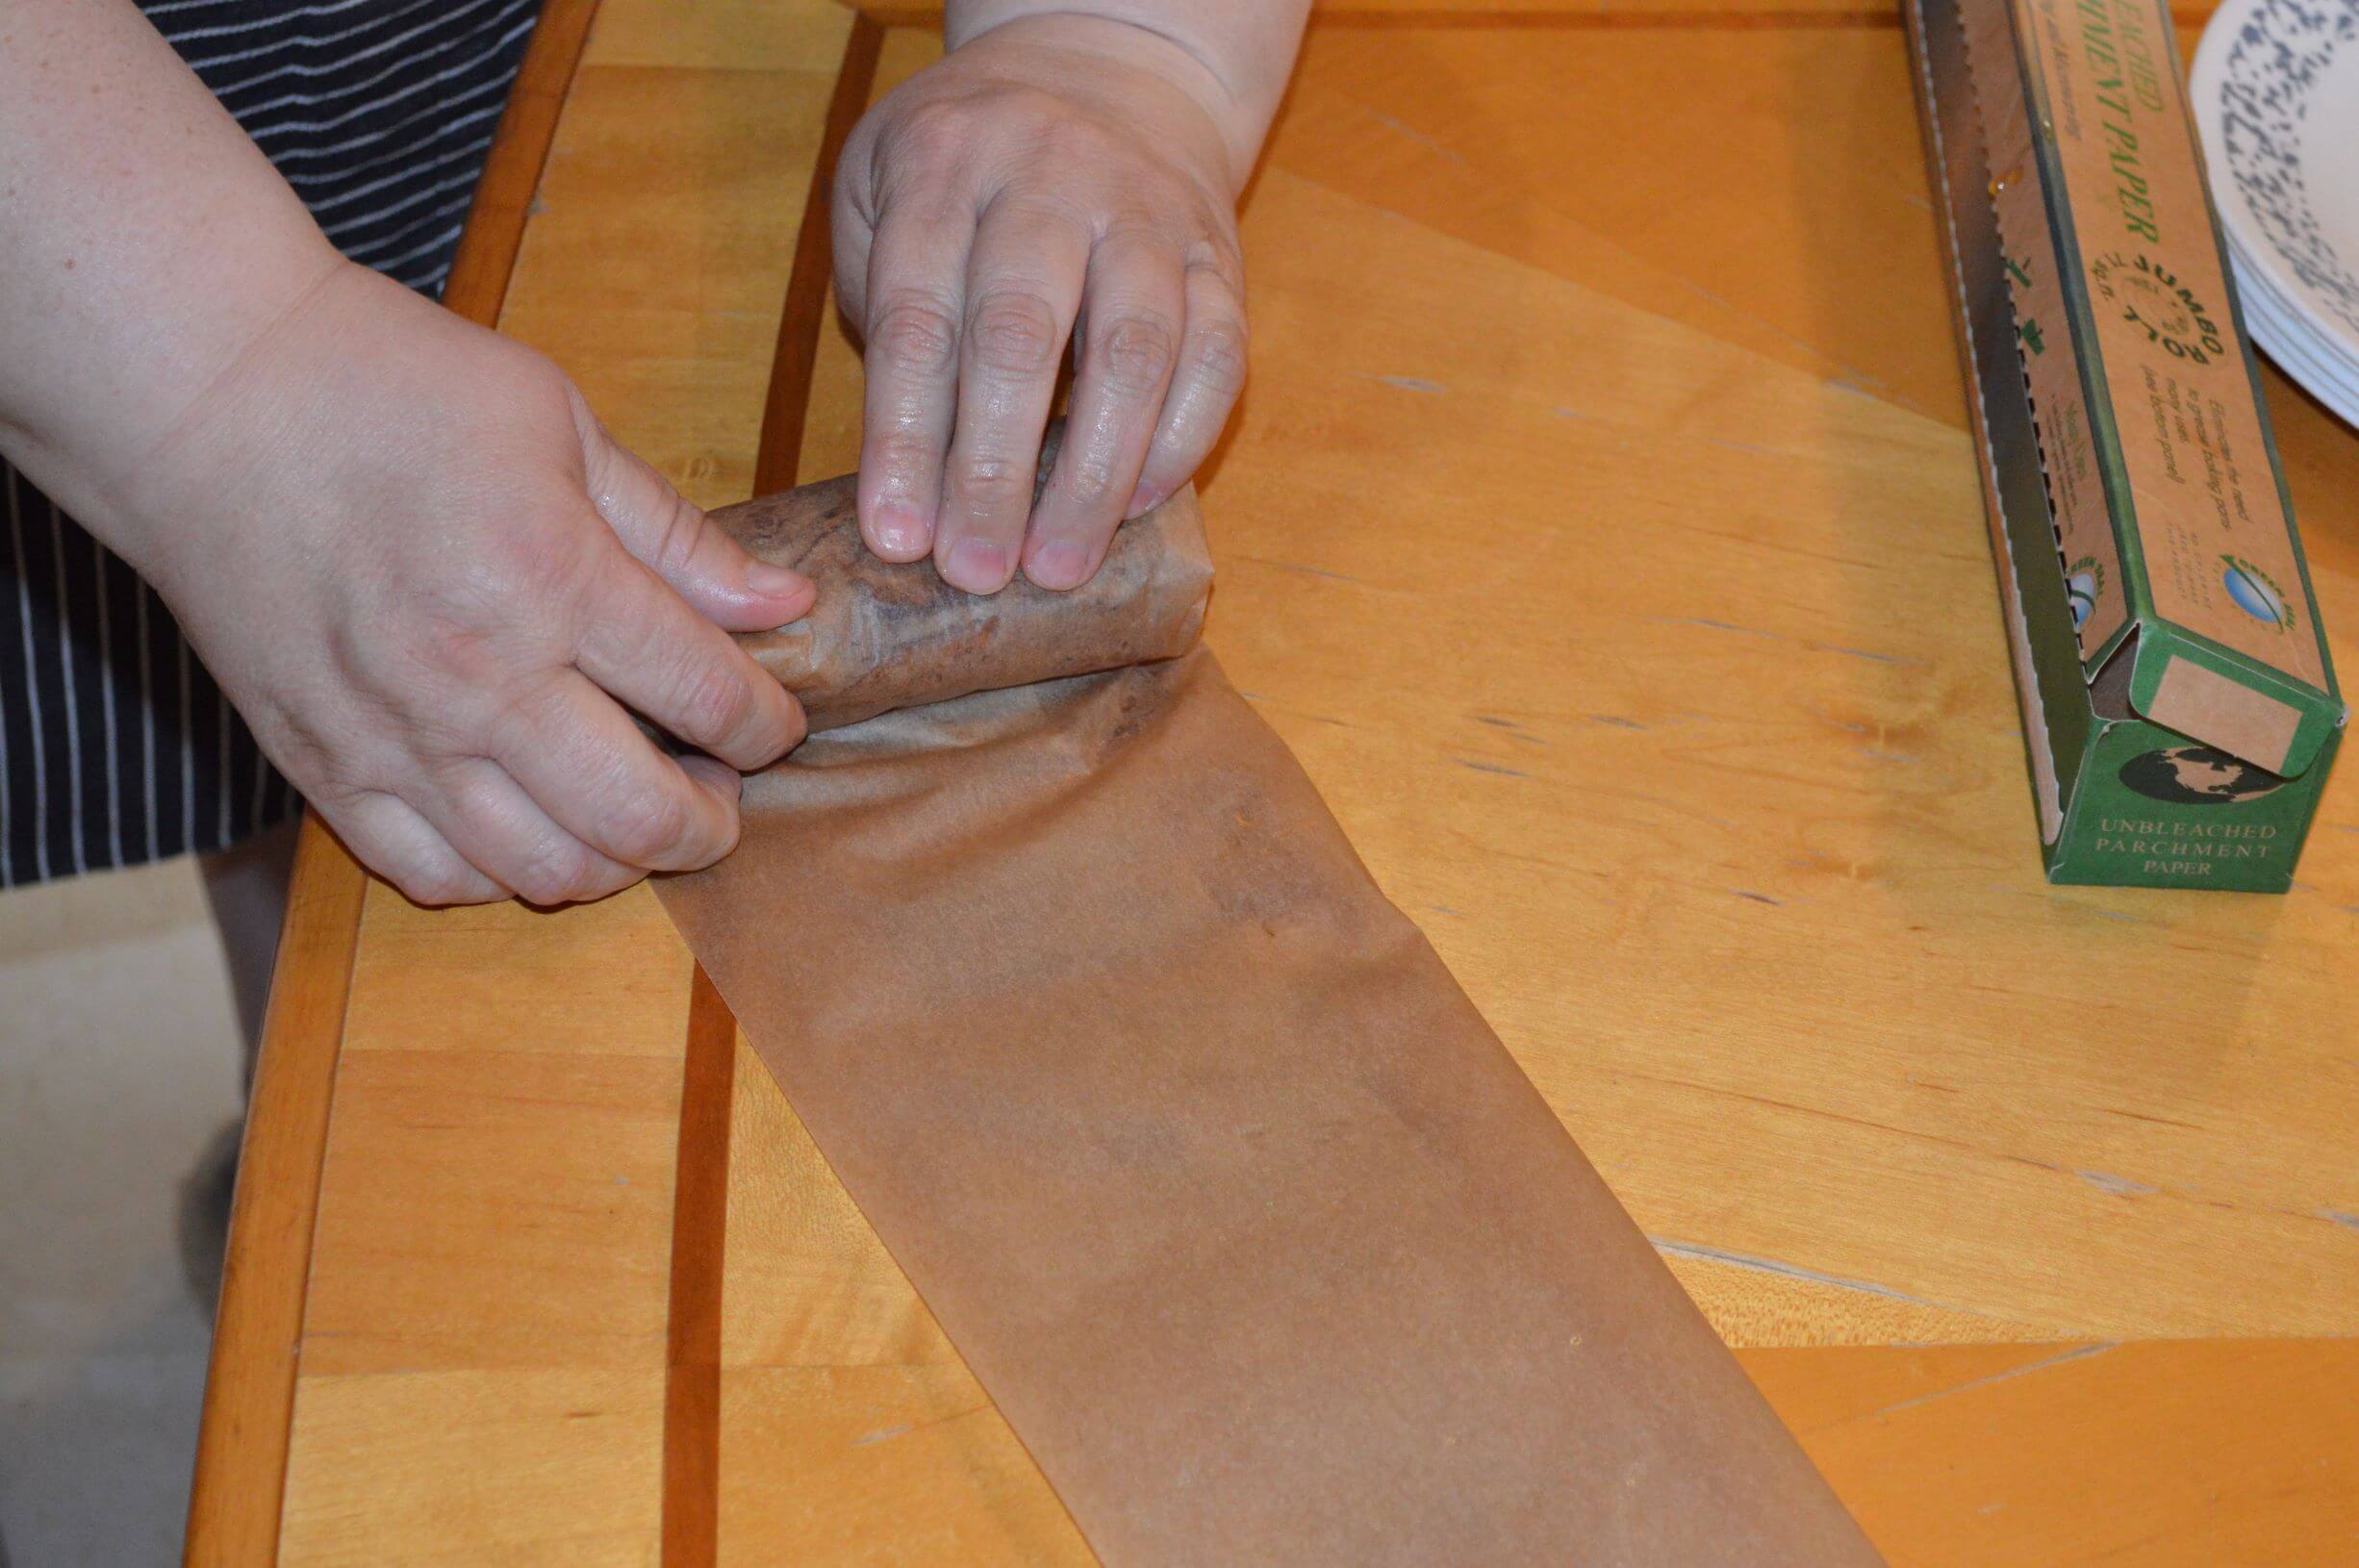
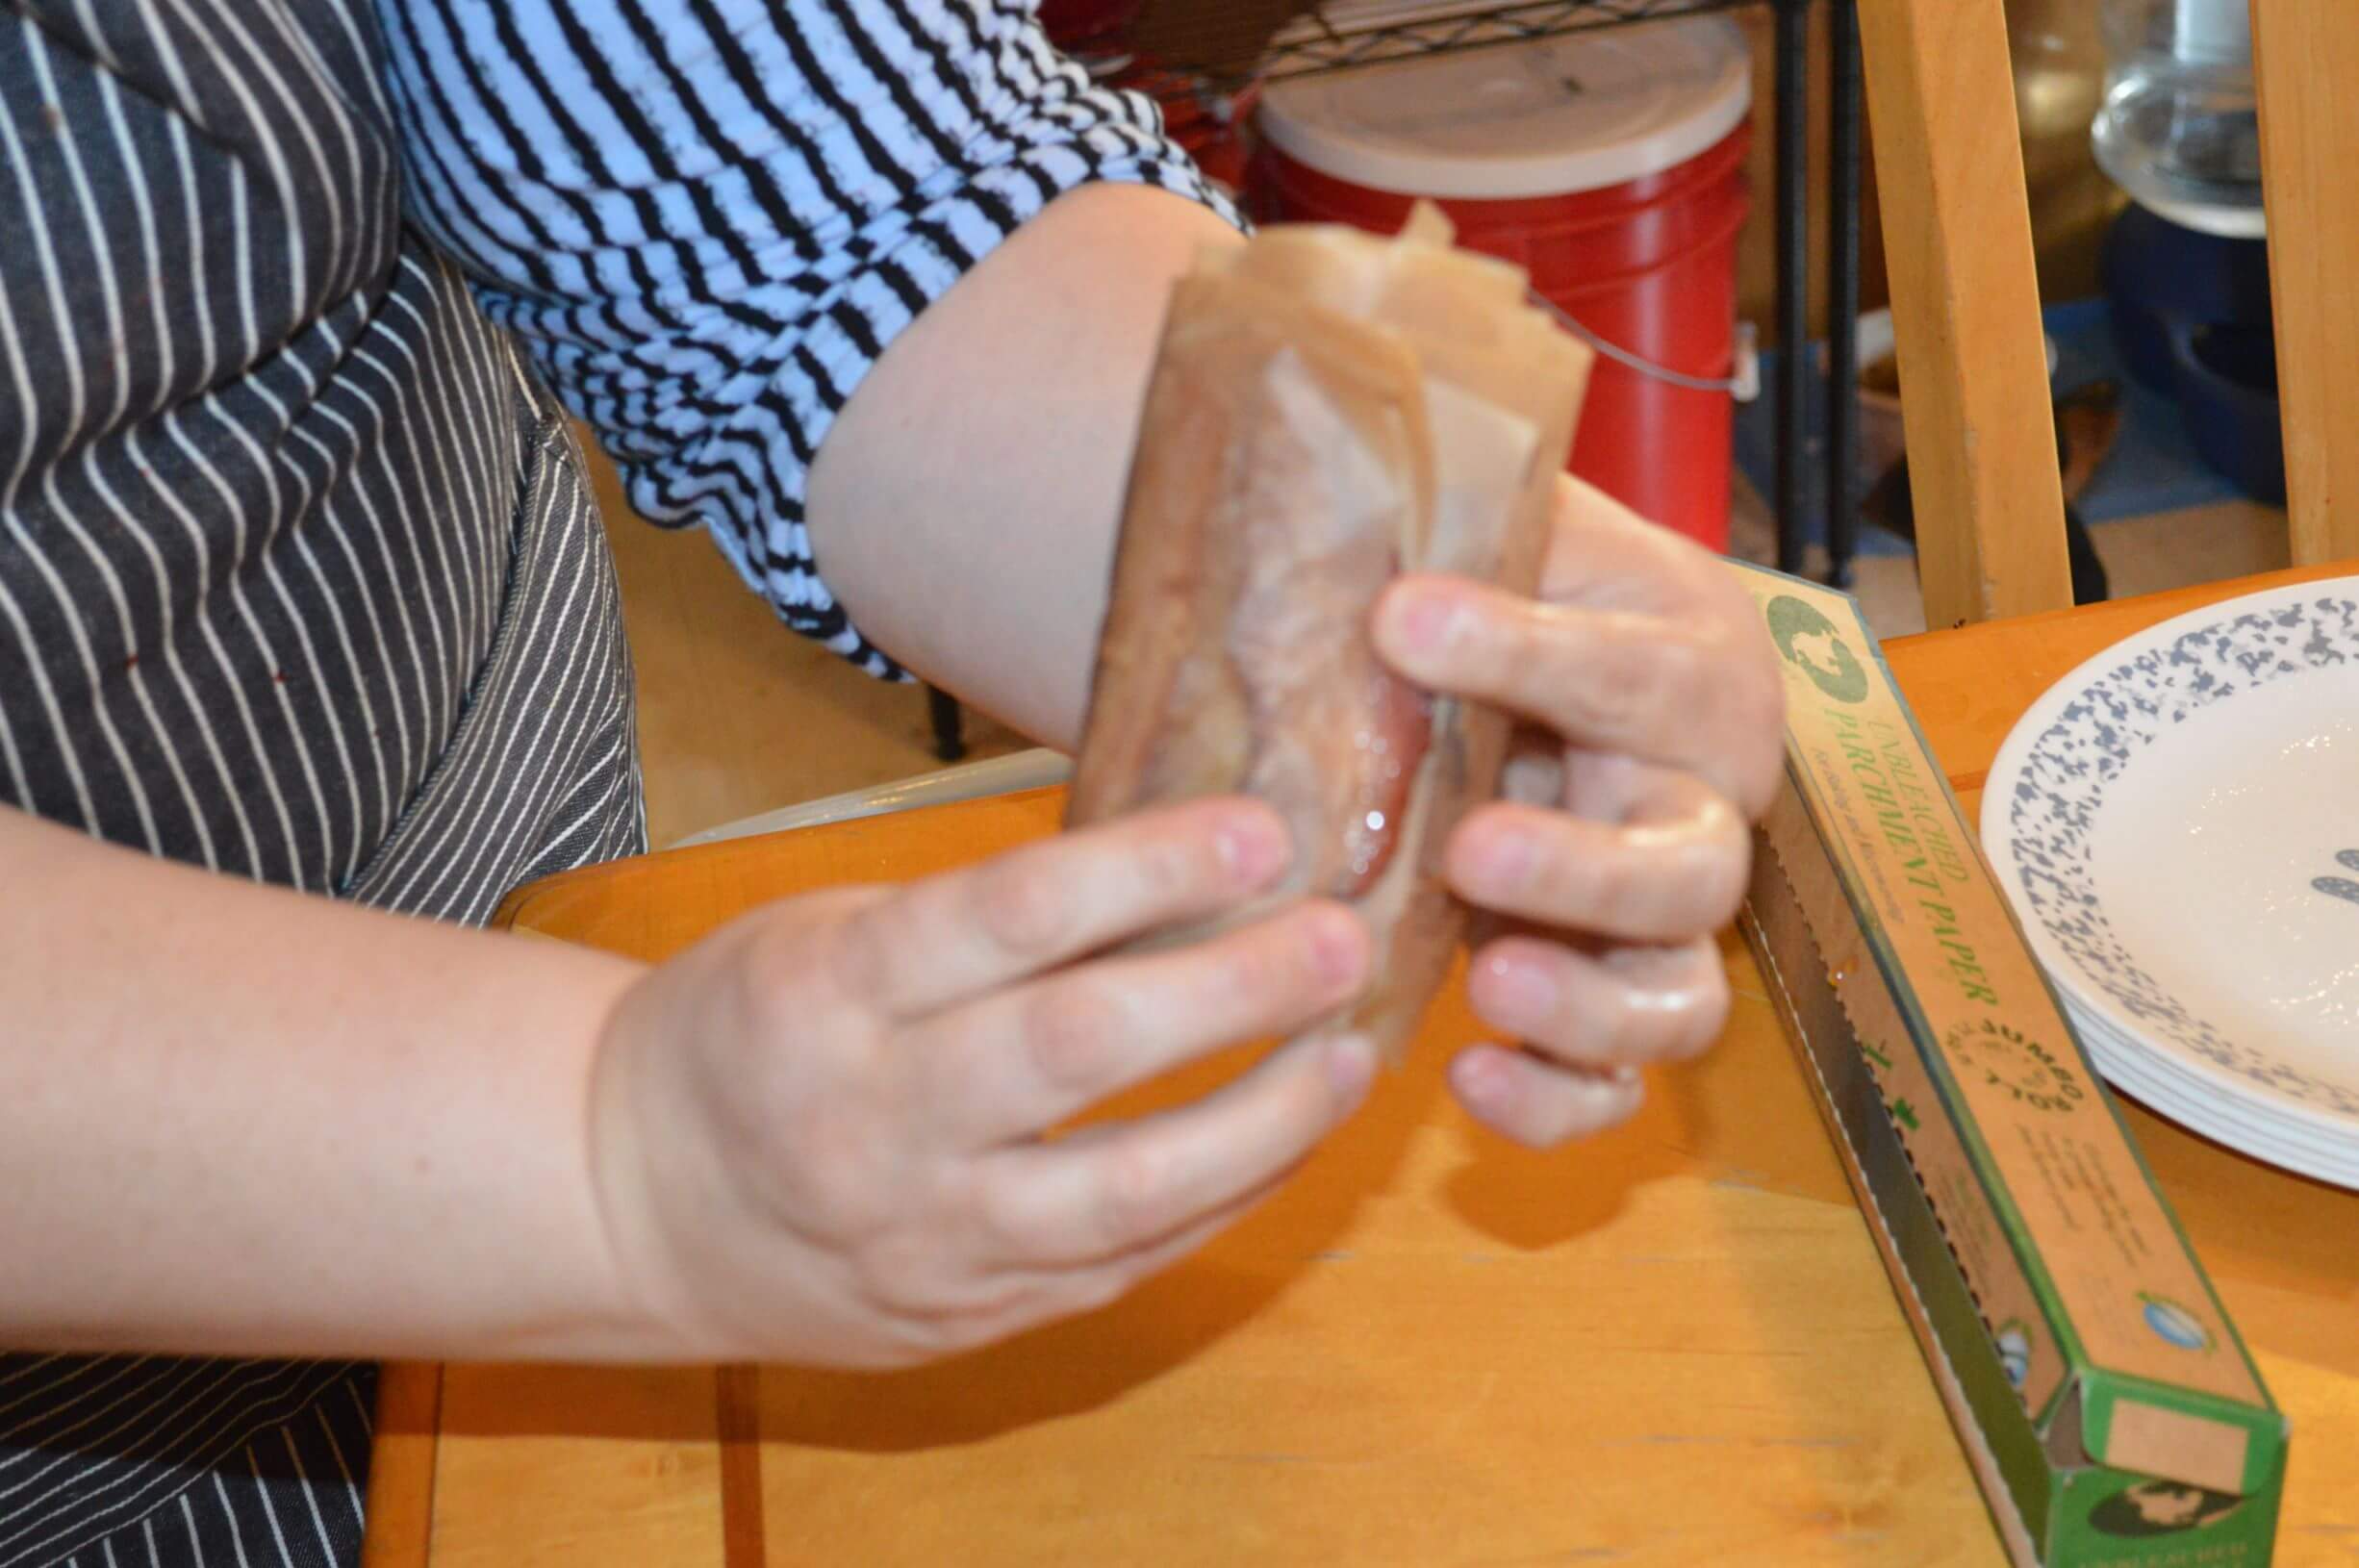
- When it’s all rolled up, it fits nicely into your sterilized wide-mouth pint jars. If it sticks up a little above the rim, just push it down below so the lid can fit nicely on top. Then wipe the rims of your jars with a paper towel dabbed in some vinegar. Vinegar will remove any bacon fat from the rim which could interfere with getting a good seal. Do not forget this part – it is key to ensuring a good seal.
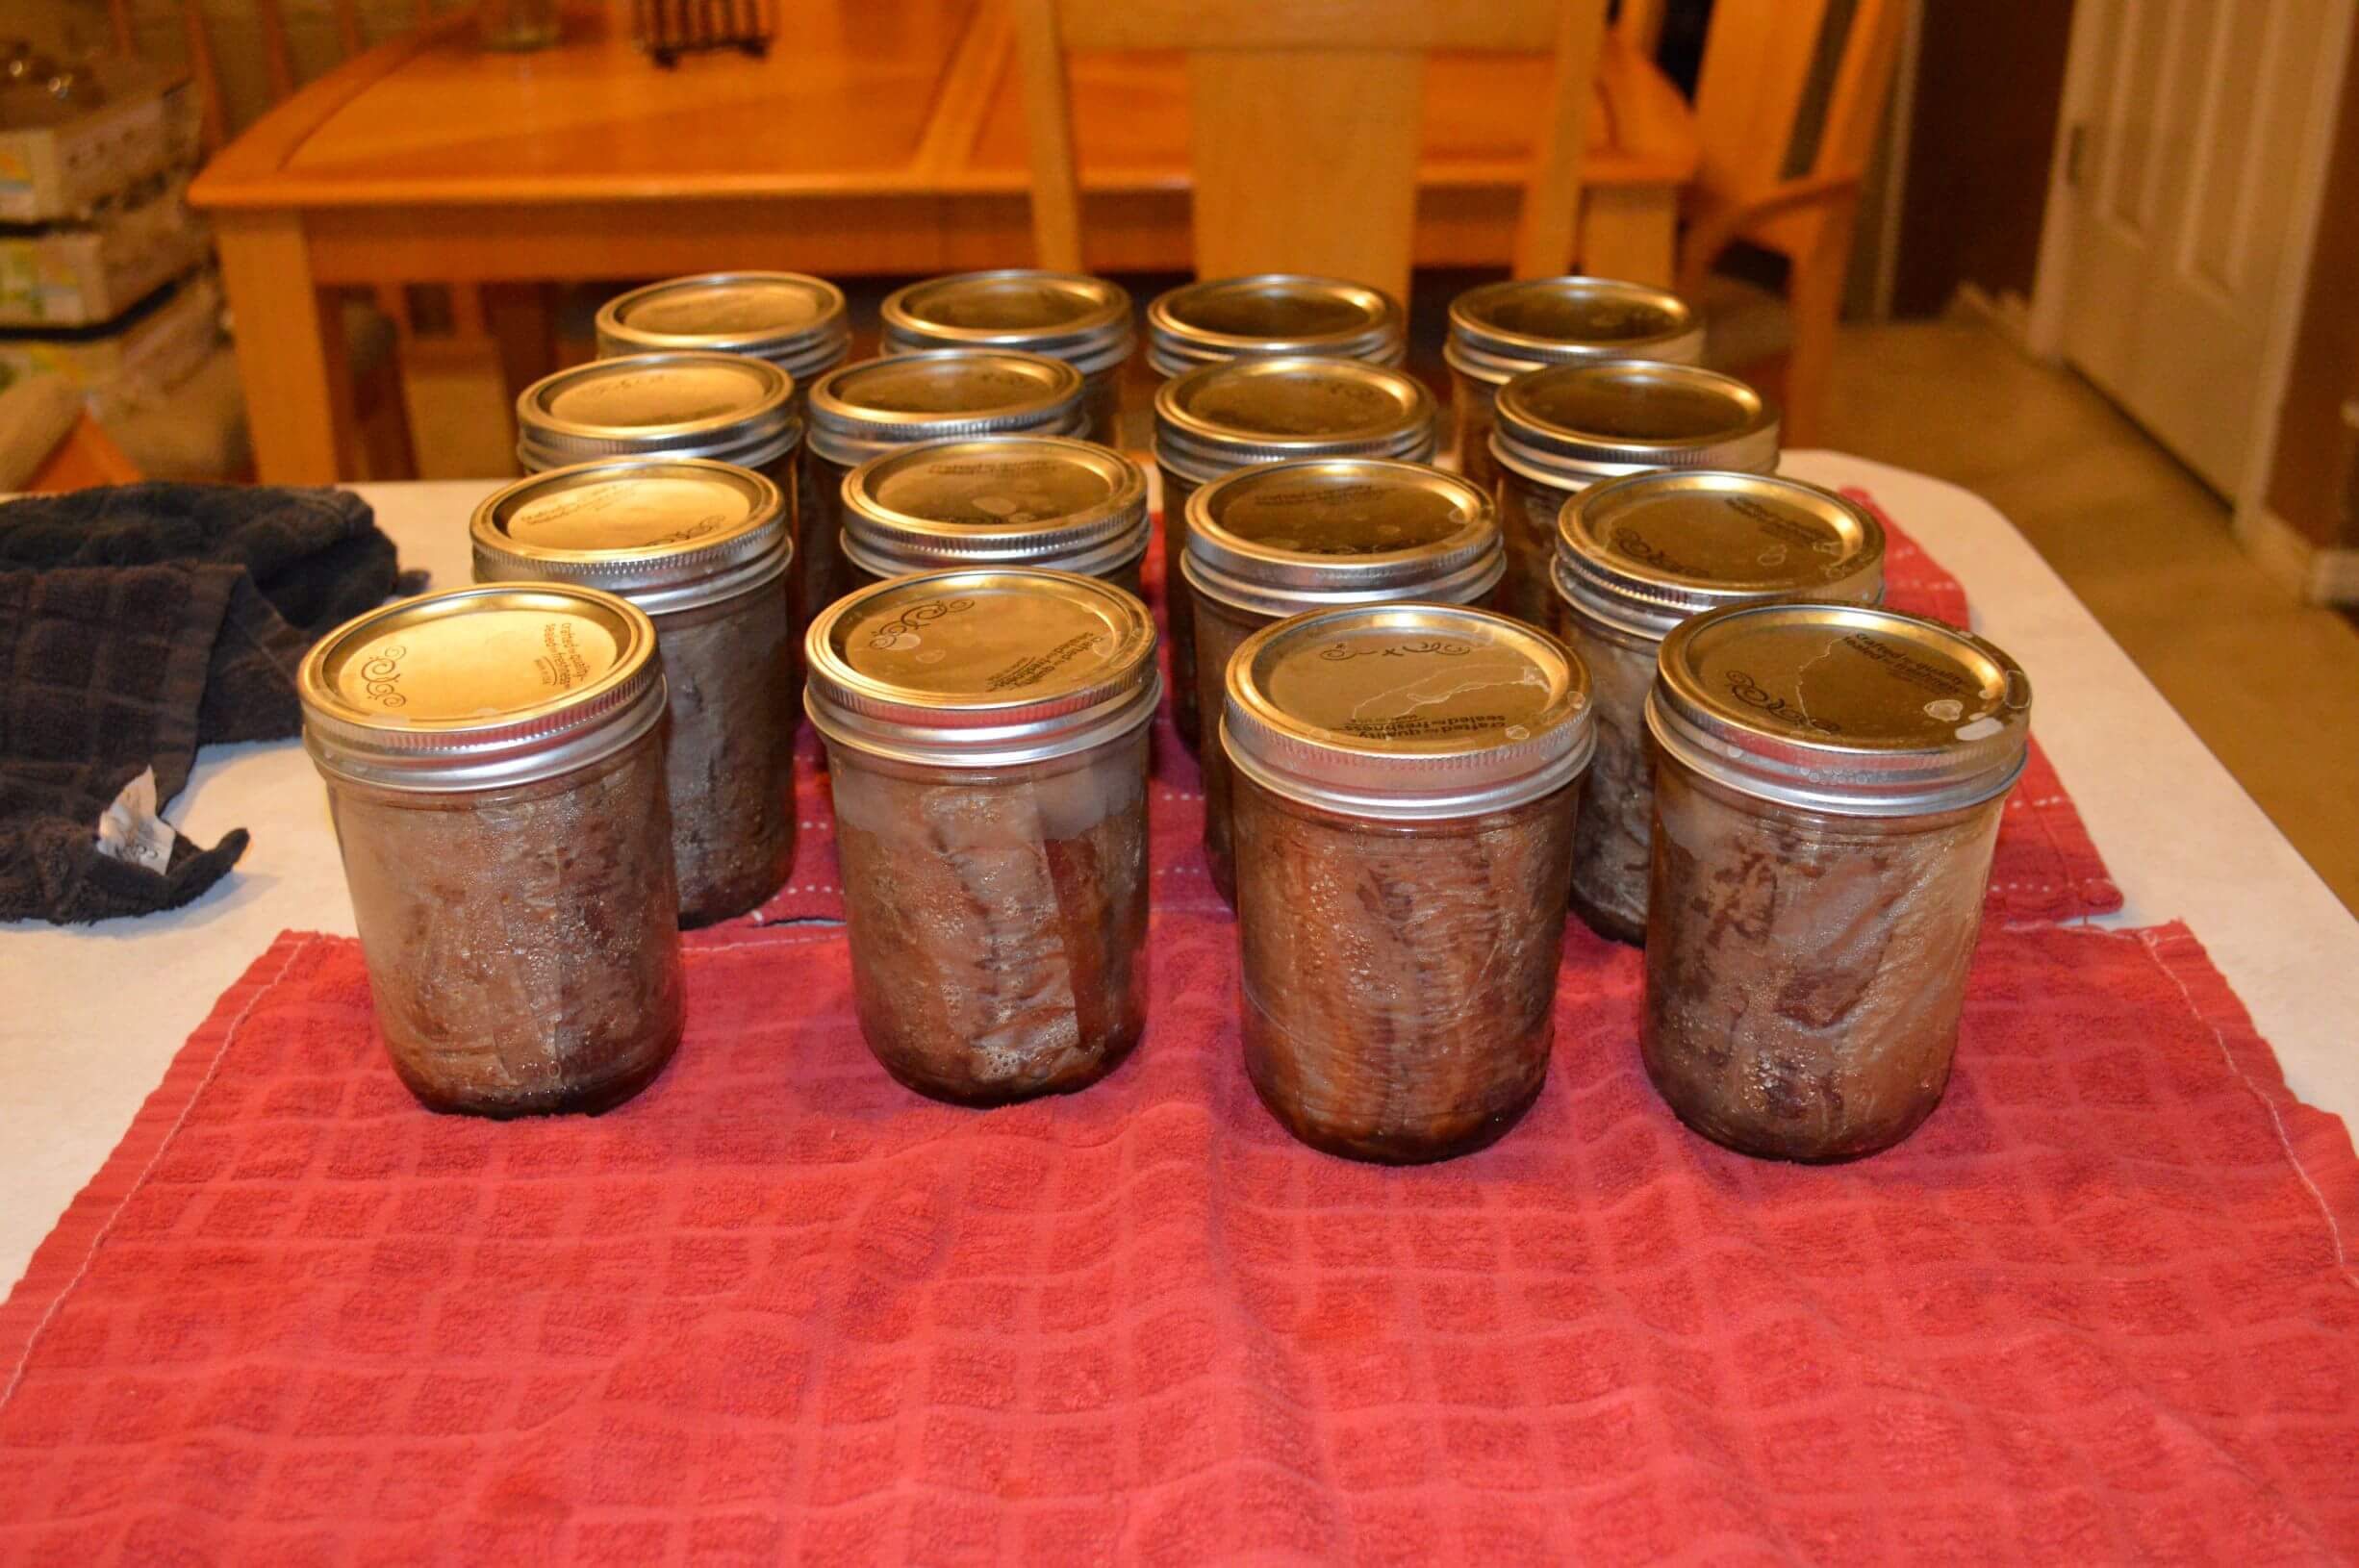
- Cover your jars with lids that have been warming up in a pan of water on a low setting. Screw on the rings finger tight, and set them in your pressure canner that has a few inches of water.
- Use the canning guide here to determine the processing time. Pint jars of “raw” meat need to pressure cook for 75 minutes (quarts for 90 minutes). Determine the pressure level of your canner by the elevation of where you live. I live at 6K above sea level, so I pressure at 14-15 lbs. Then process your jars.
- When it is done, take out the jars. Let them cool off and make sure they seal. After several hours or even the next day, I take off the rings and wash the jars and rings in warm soapy water to get any oily substance off. Then be sure and label them with what is inside and the date.
- To enjoy your bacon, simply open the jar and slide it out. Unroll the parchment – it will be messy, but peel it away. You can fry it for a bit to warm it up or eat it right away.
I found one blog that said it will last 6-8 month up to a year; however Yoders professionally canned bacon has been opened more than 3 years after canned and been good. I’ll let you determine how long you think yours will store for.
I started out with 24 pounds of bacon, and didn’t get to can quite all of it – but most of it filled up 25 pint jars. I ran out of parchment paper at that point, or I would have finished another 1-2 jars. I would also note, that if you do consider canning large batches like this, BE SURE you have help because it’s time consuming to cook all that bacon and then can it. I would think smaller batches would be less exhausting.
How to use your amazing canned bacon:
- Gobble it right out of the jar.
- Crumble up into bacon bits for salads and soups. Even add to corn muffins and bread.
- Use on sandwiches, in breakfast wraps, in taco’s, or even with fish.
- Add them to your bean dish to liven it up. Pork and beans!
- Reheat it for your breakfast meal.
- Use in an emergency or when camping. No need to refrigerate it.
- Use it to barter with – it will be a HOT commodity in an emergency situation.
Tip: try saving your parchment paper after opening and use it as a fire-starter.
—————————————————-UPDATE ——- I opened one of my Jars that was 4 months old ——————————————
Okay, I couldn’t wait much longer to try out my canned bacon, so one morning as we were craving bacon, I caved into trying a jar. So I popped off the lid. It looked and smelled fine.
Slid out the parchment wrapped bacon pretty easily. I could see the maple drippings.
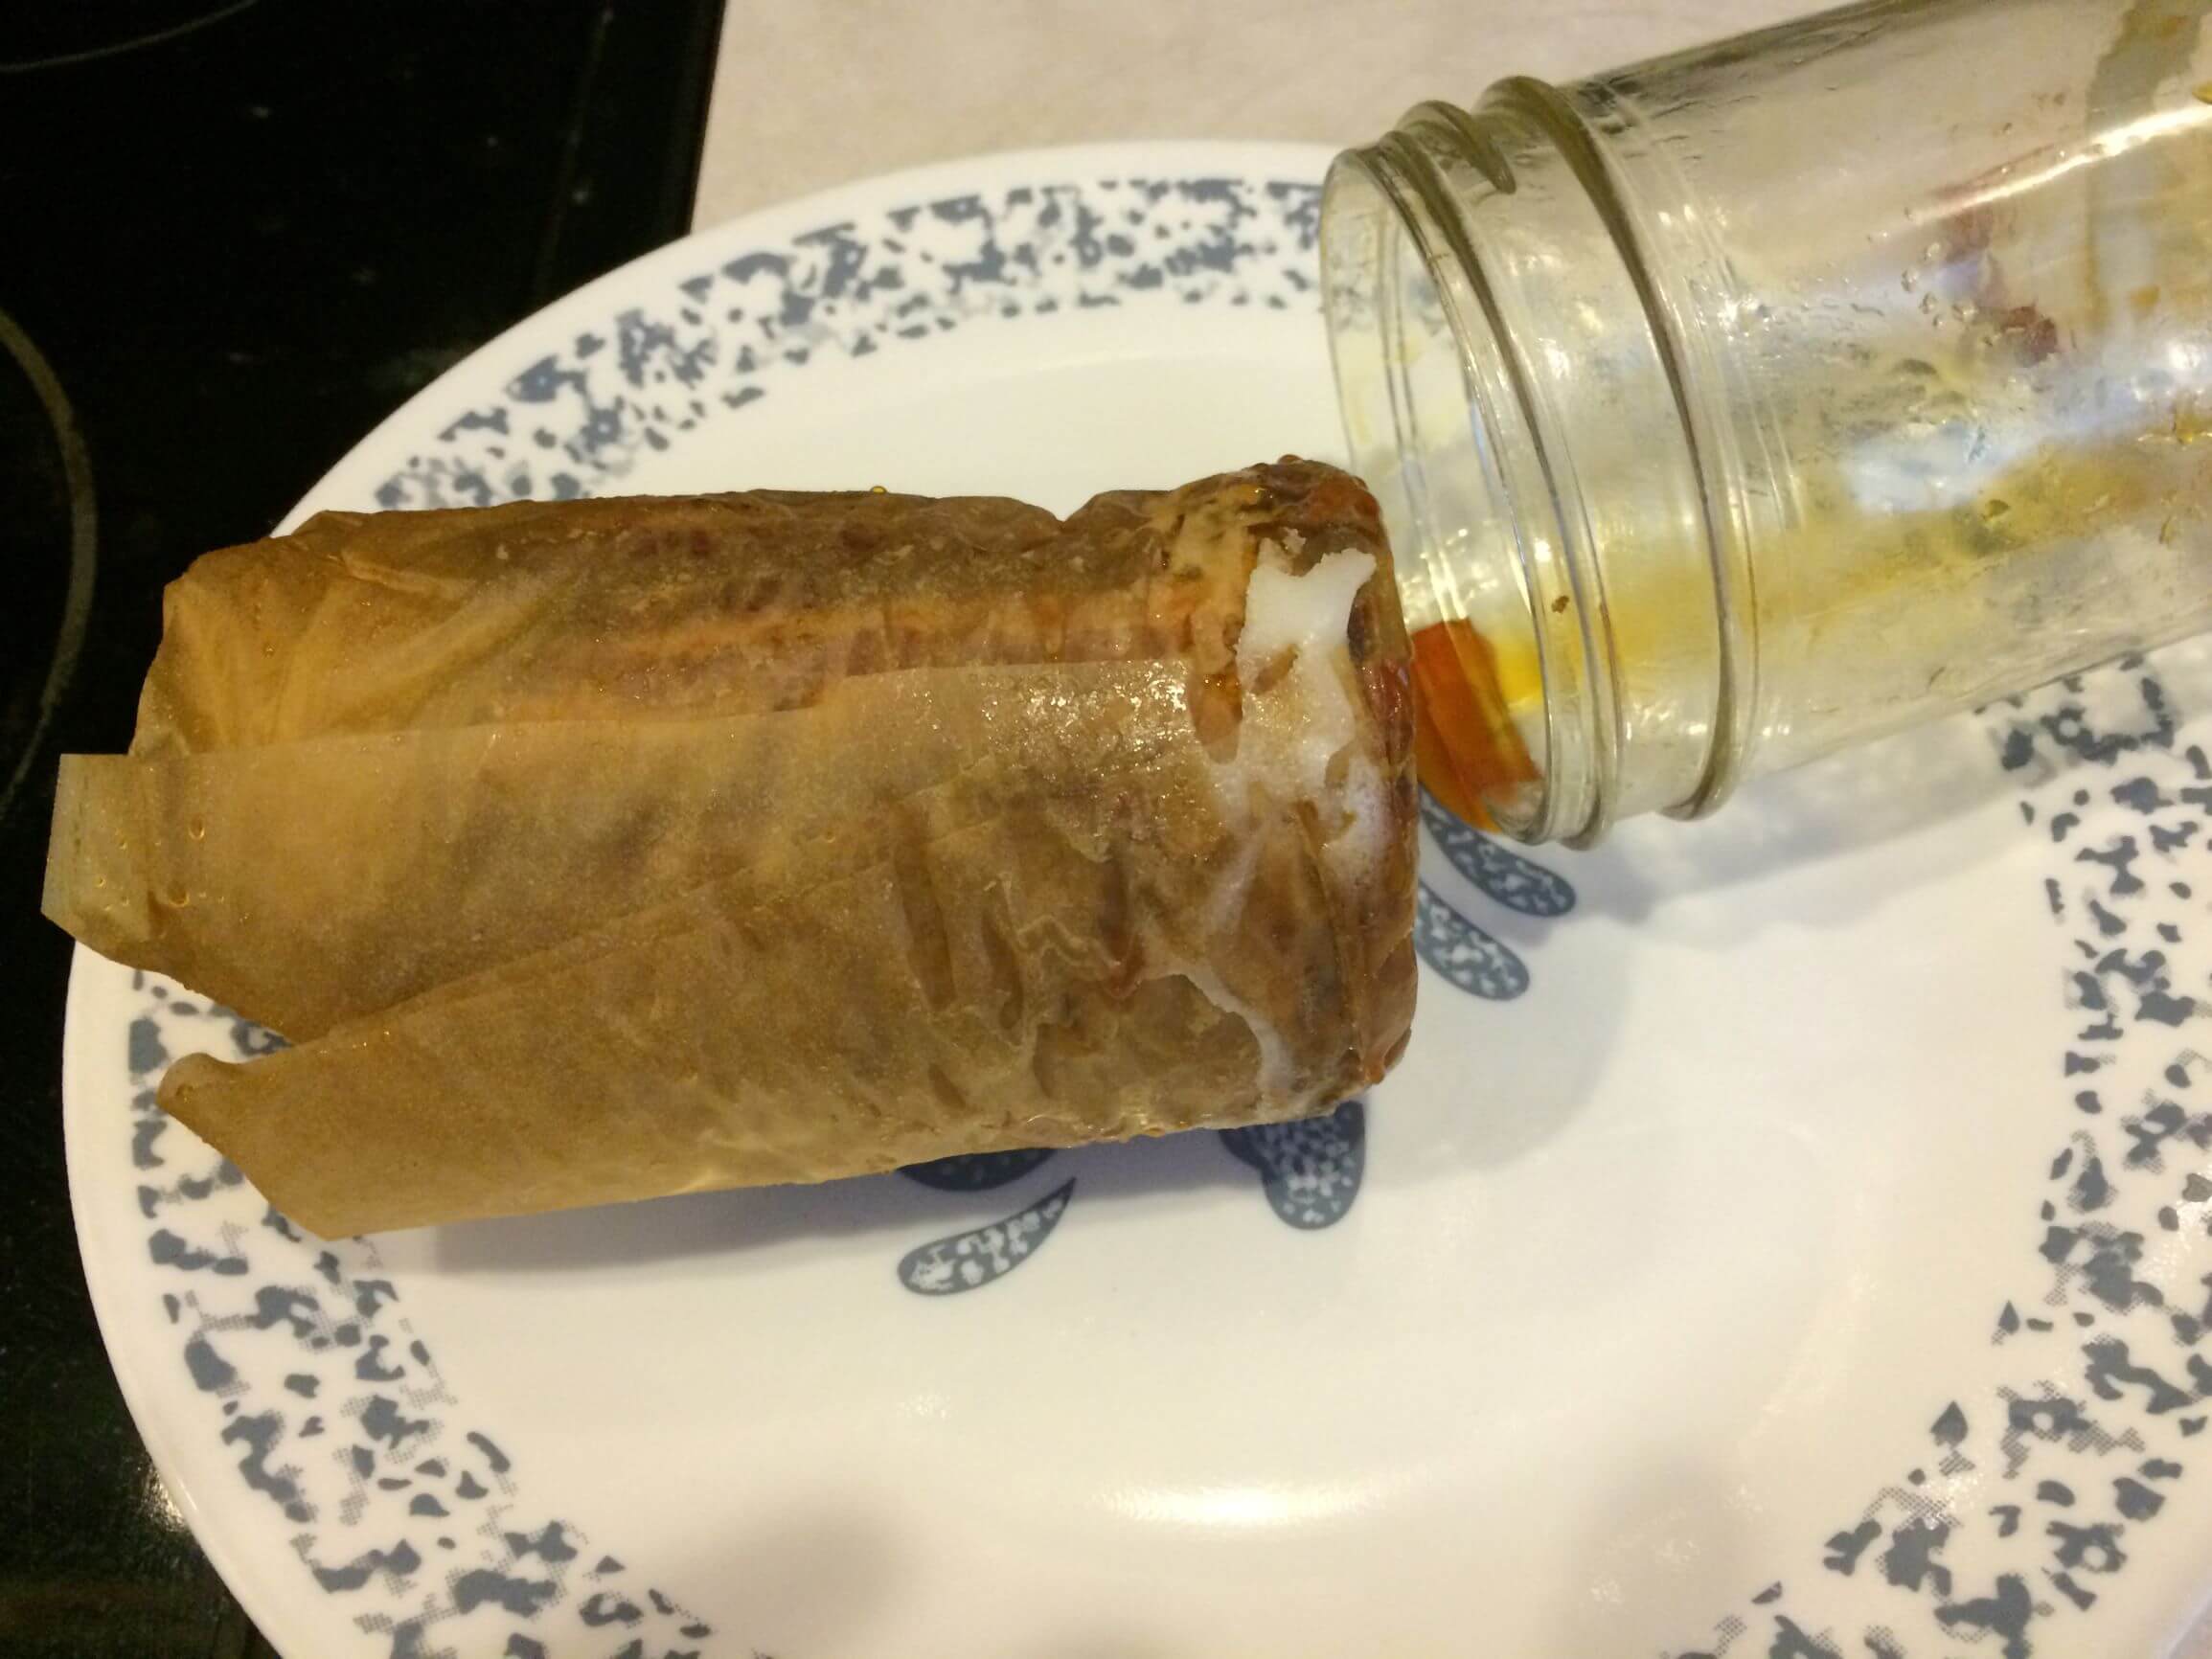
There was a little fat build up at the bottom as expected.
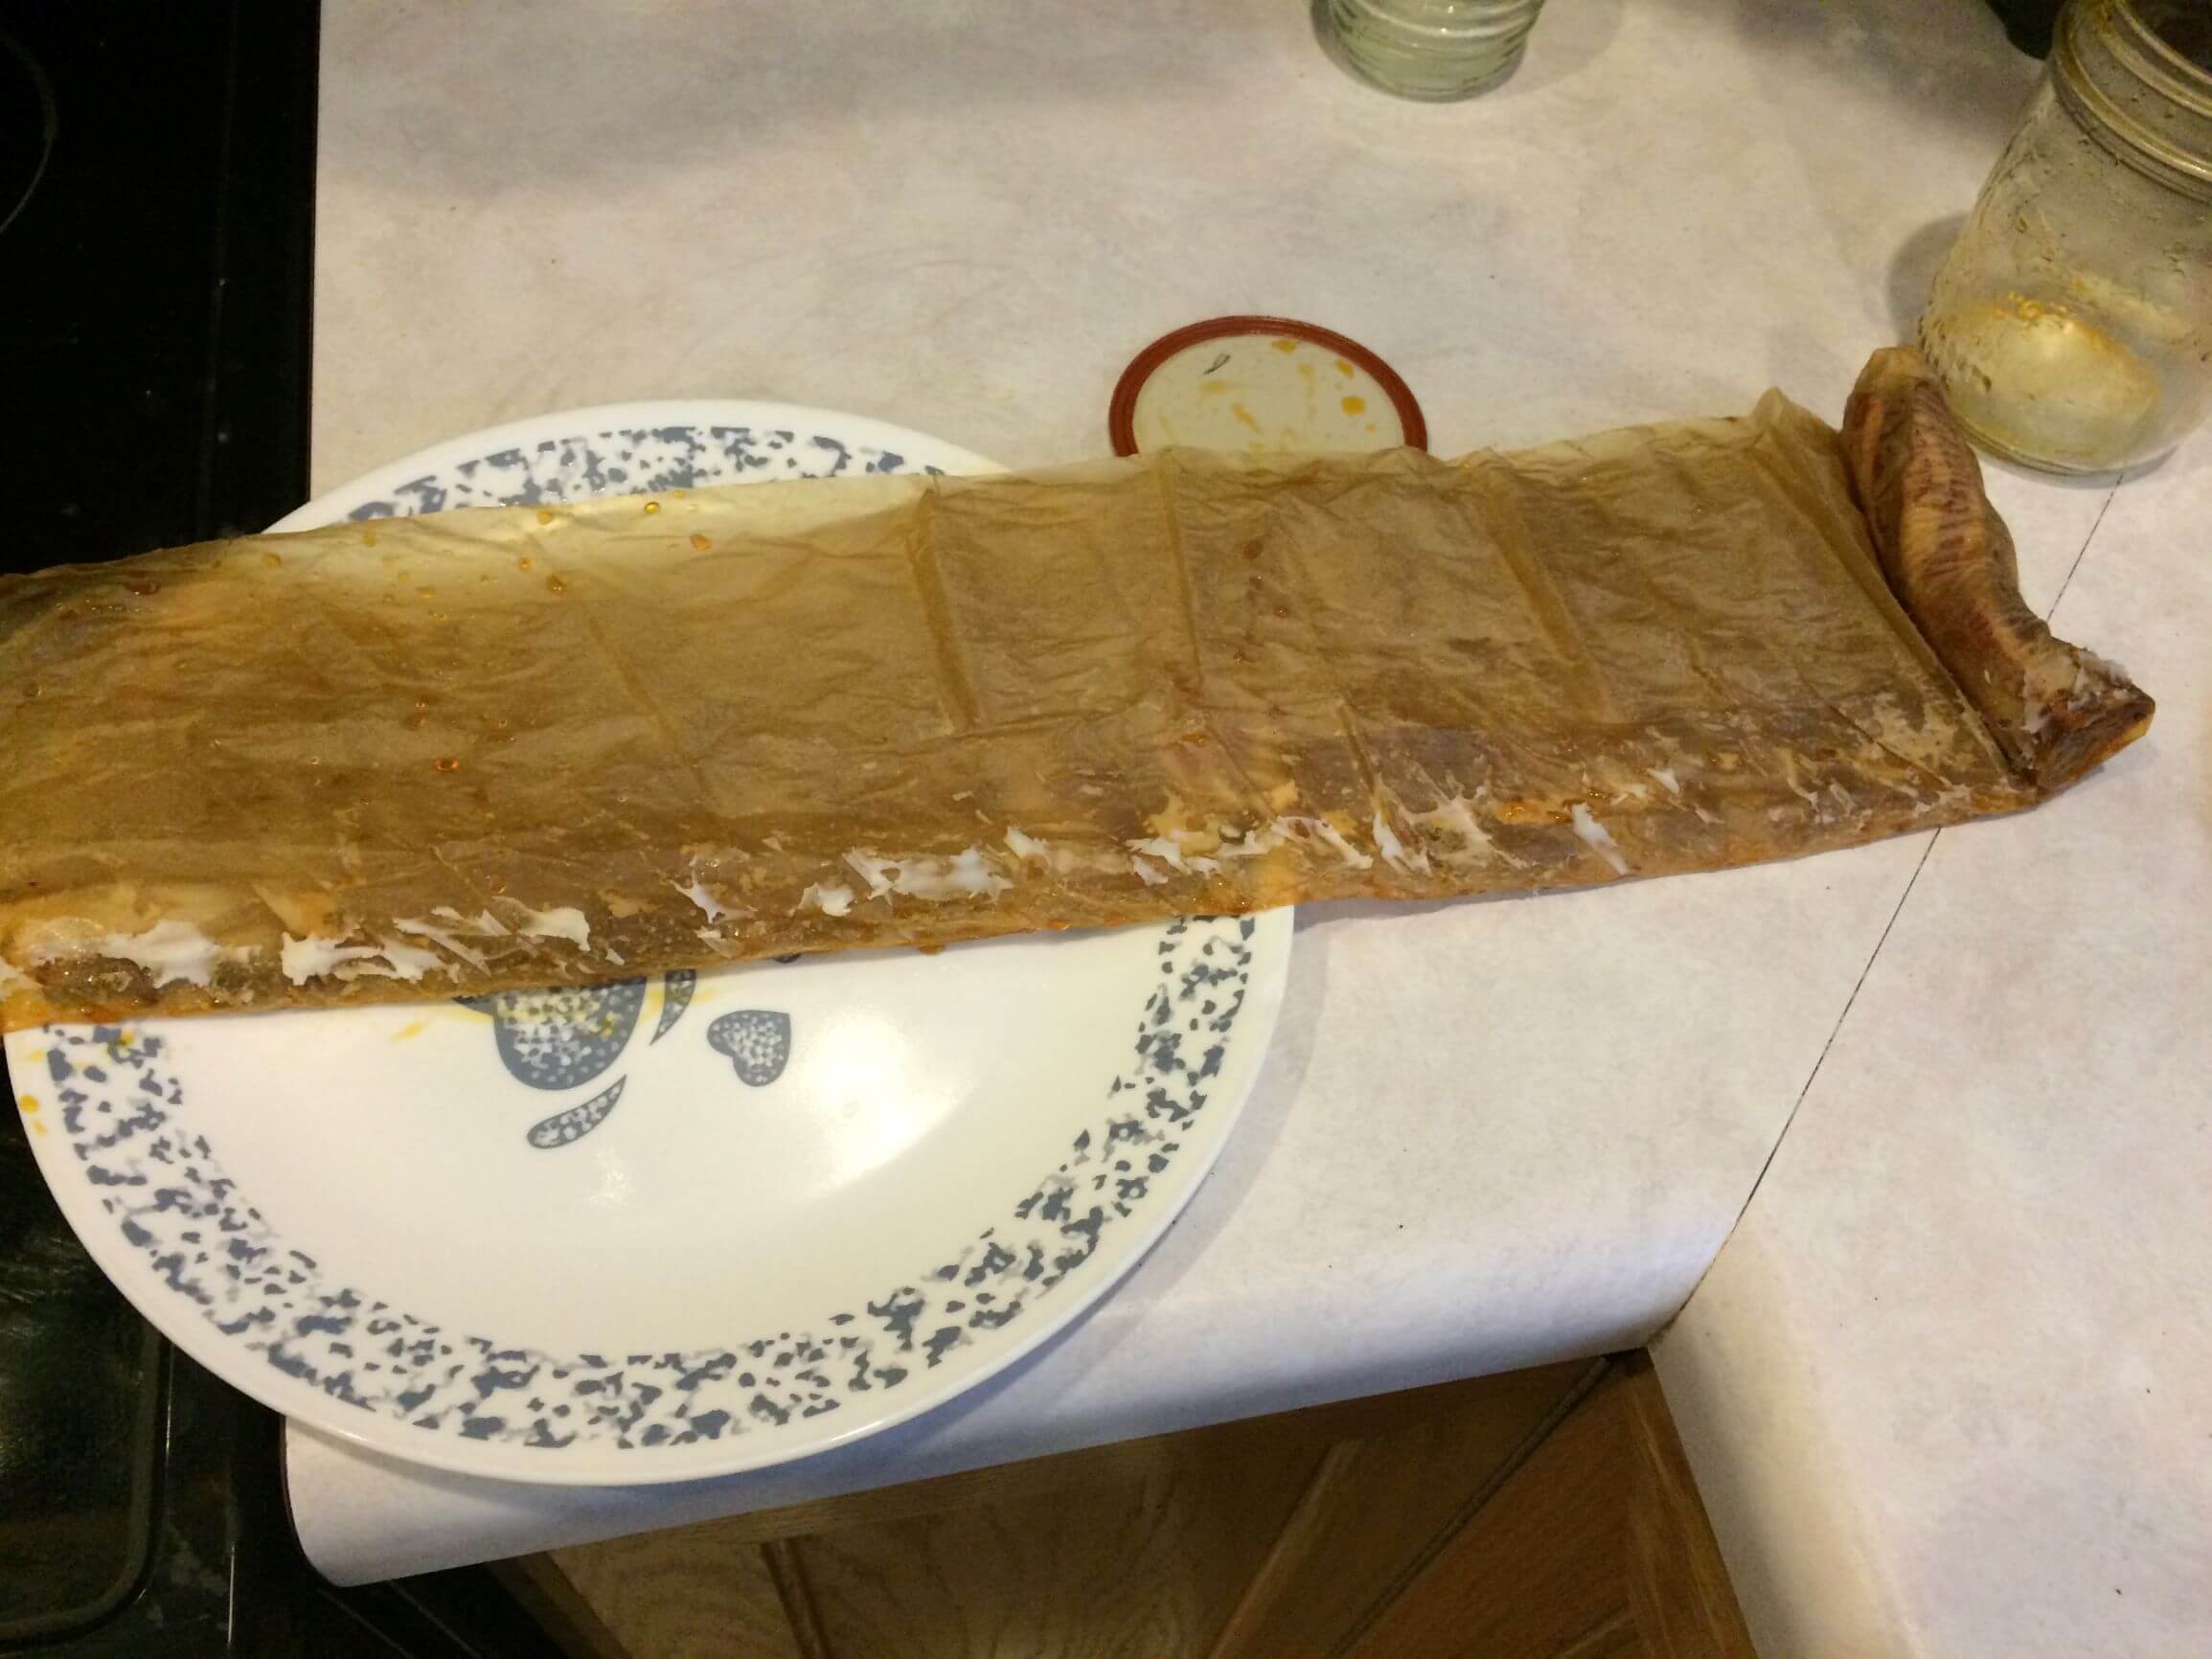
It rolled out easily.
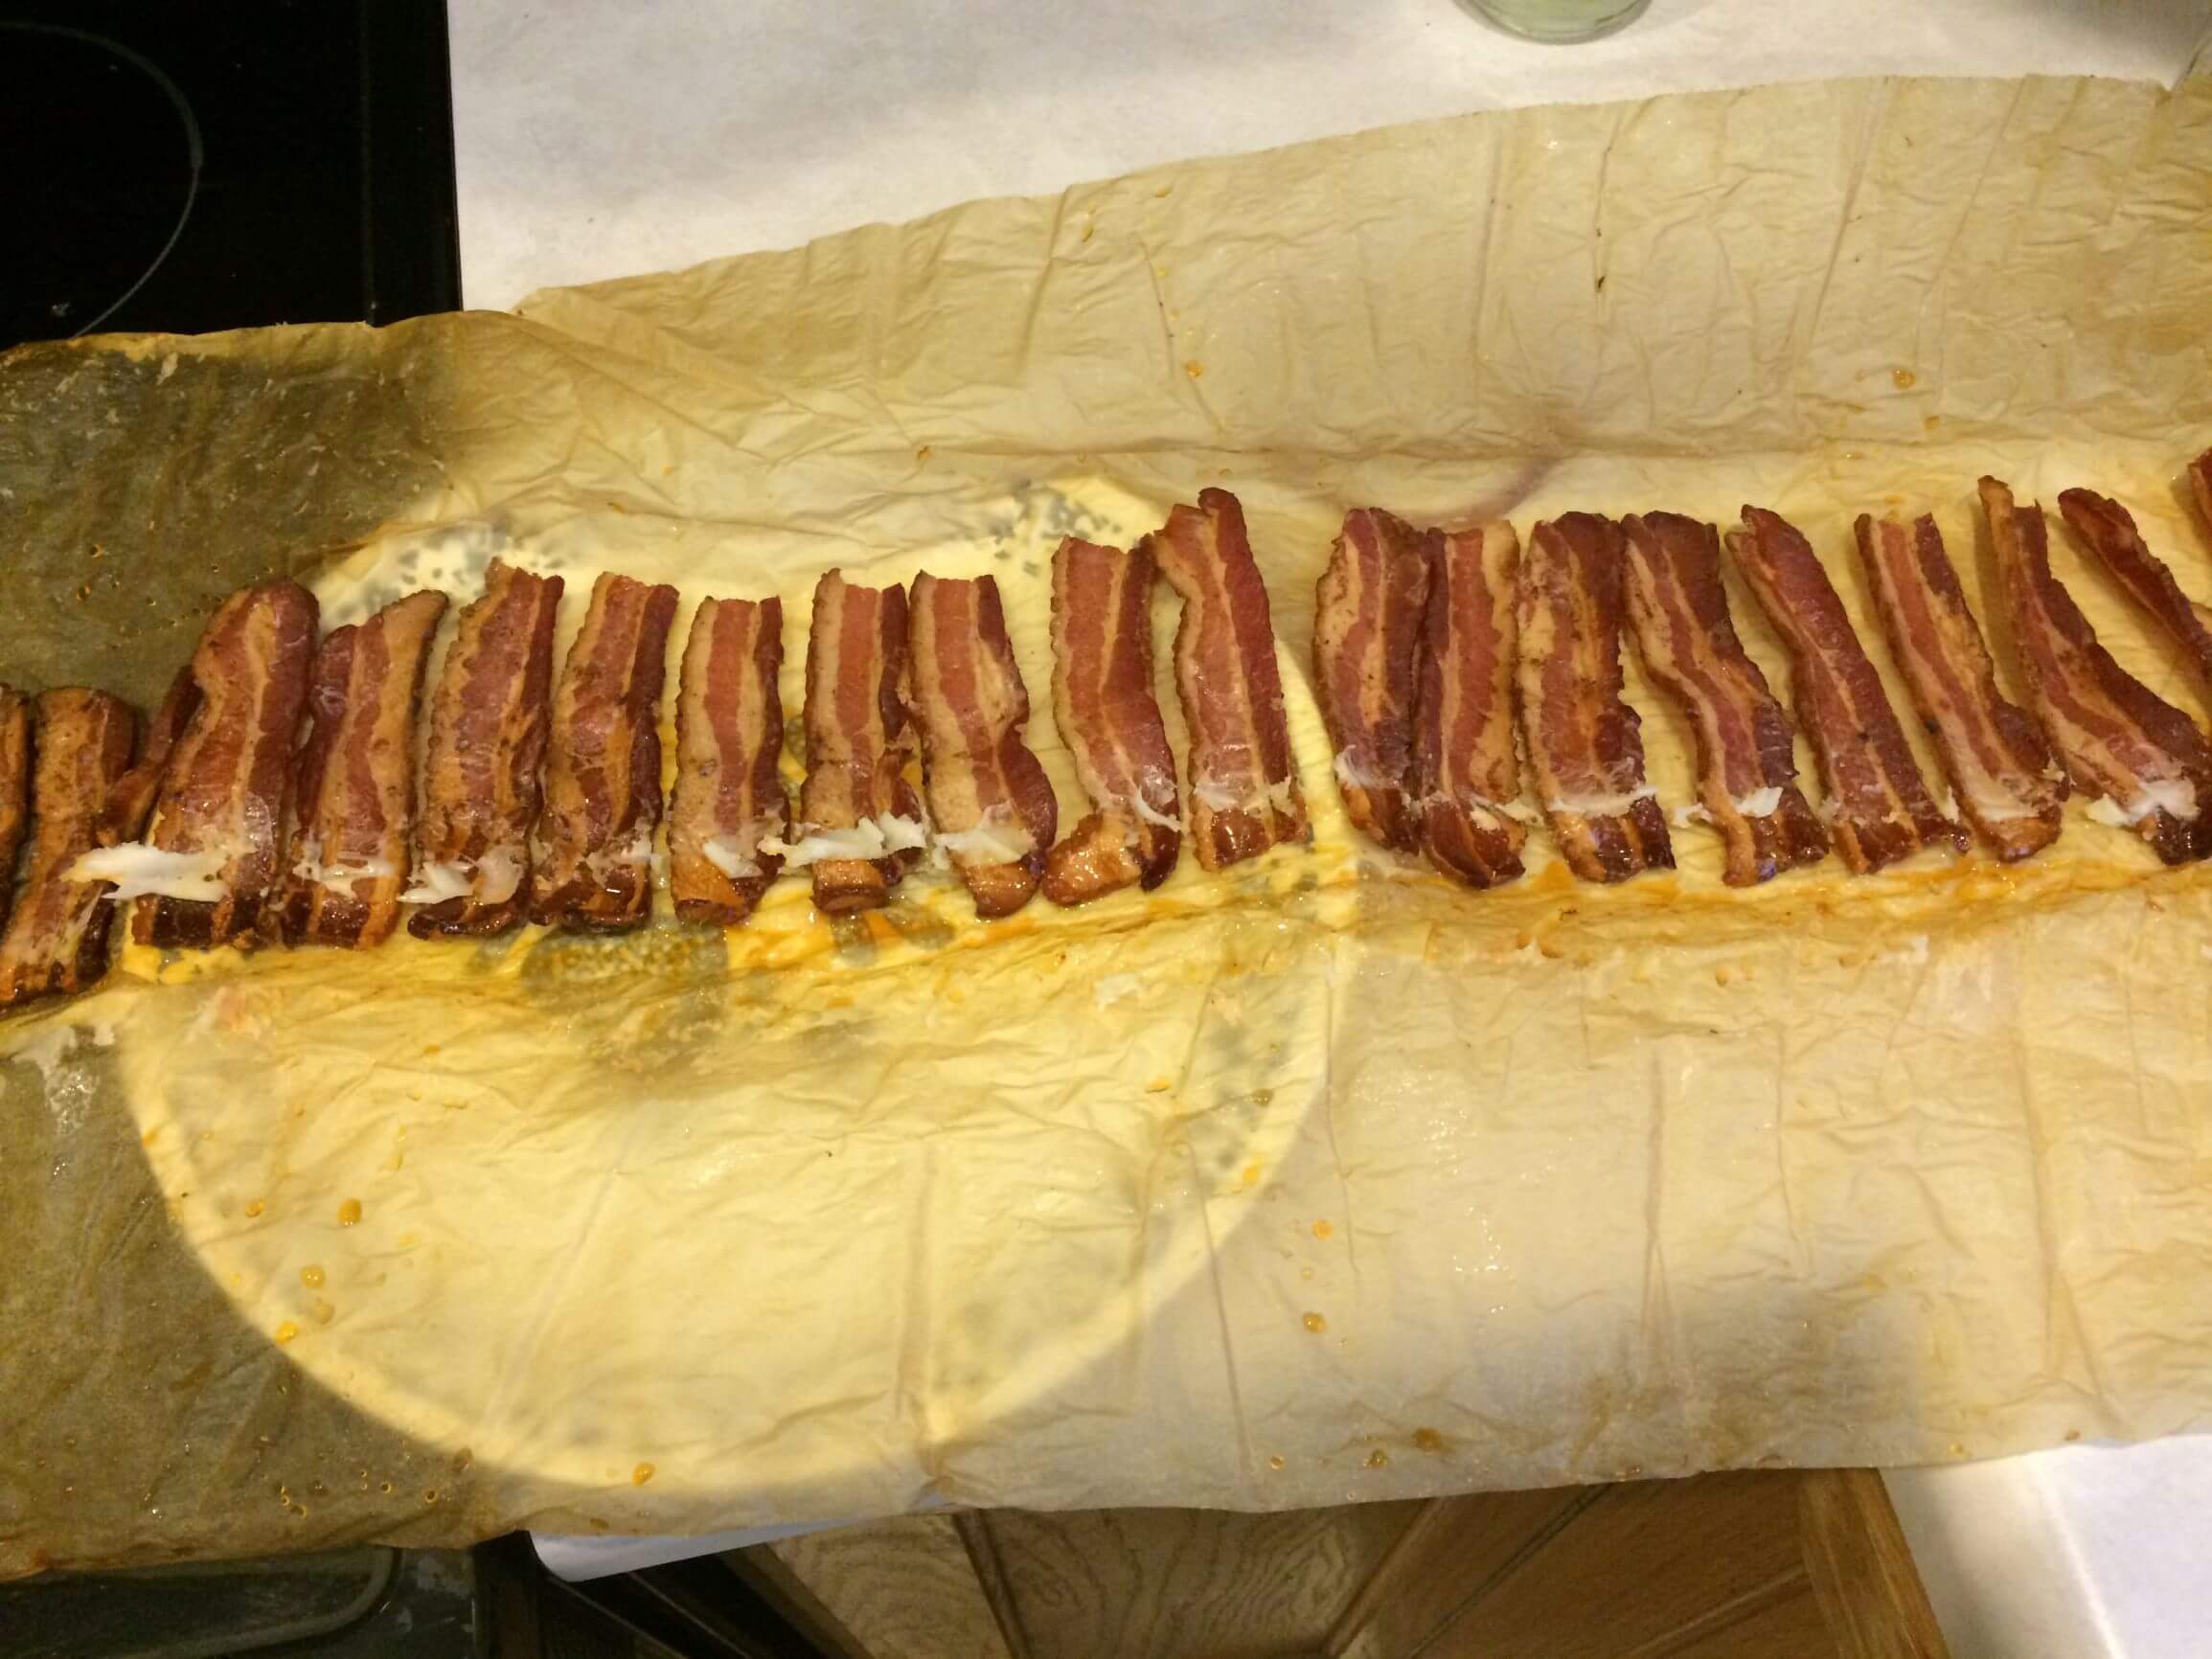
 Looked just beautiful when I opened it. The bacon didn’t crumble, but held it’s form.
We warmed up the bacon for a few minutes at 250 degrees.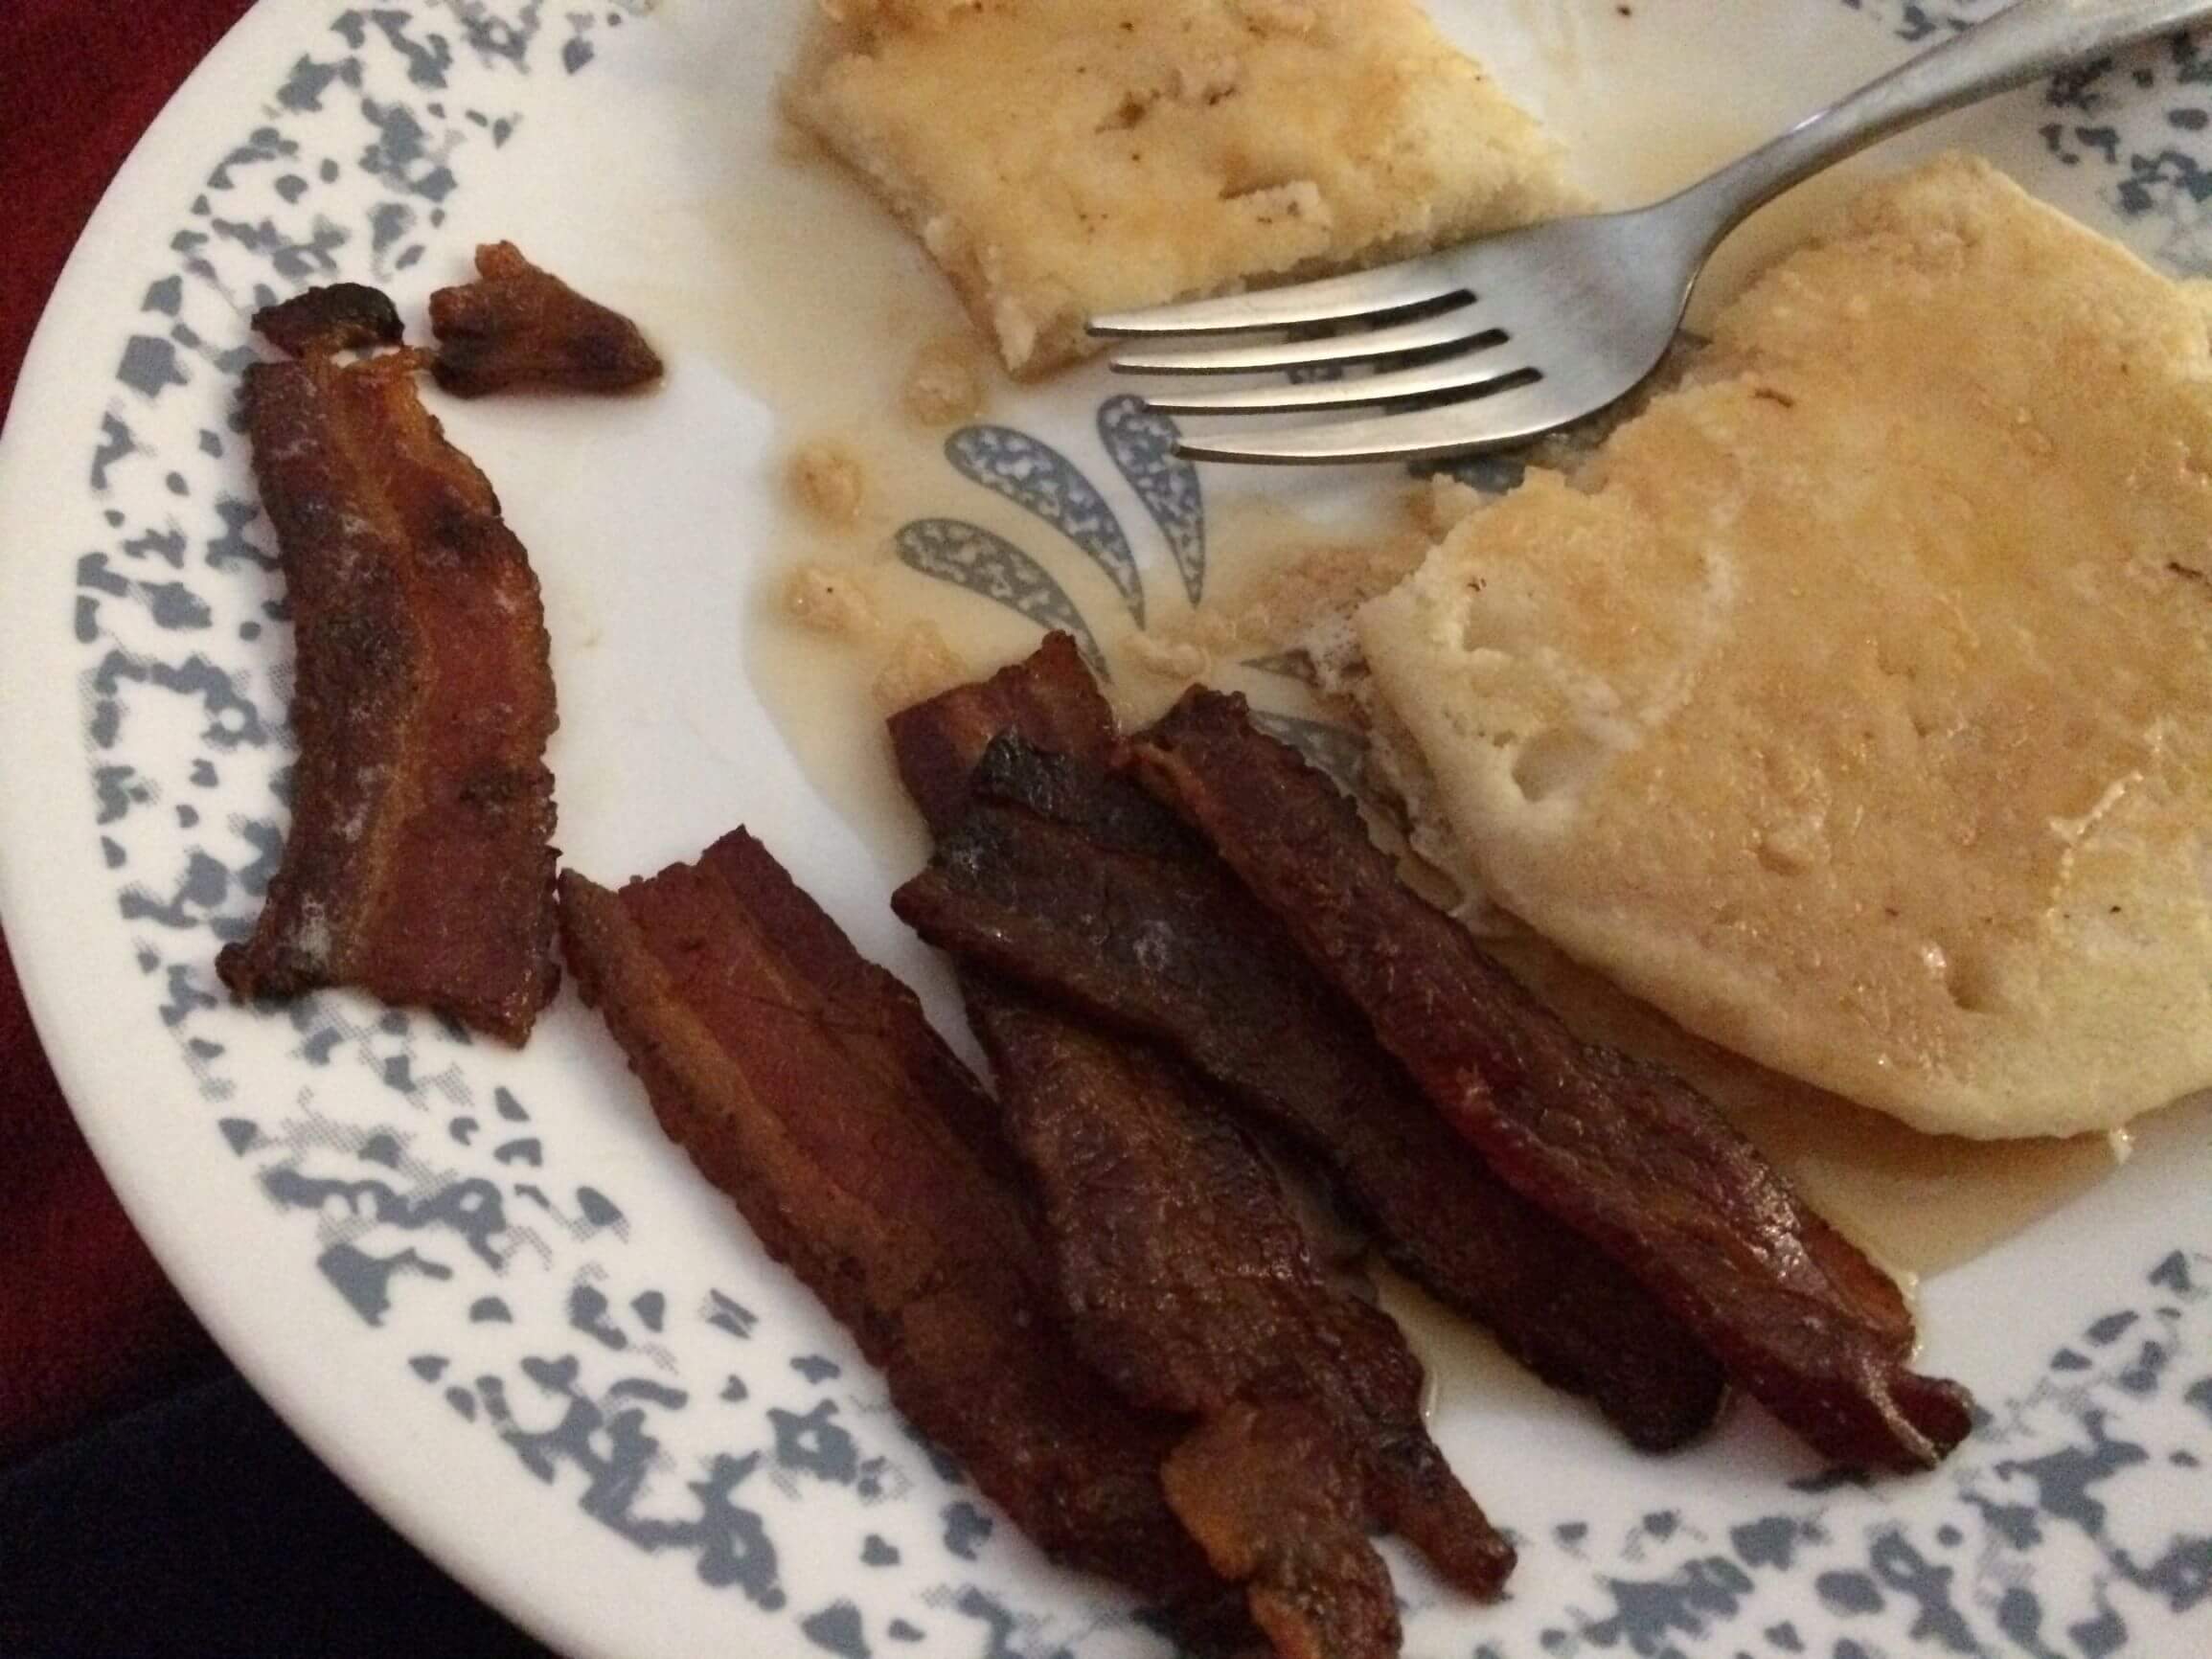
Very Tasty!! 🙂 I am pleasantly happy!


9 Comments
Alex
I tried canning bacon last weekend following this guide, and it turned out amazing! The step-by-step instructions were super helpful. Has anyone experimented with adding spices during the process?
mia
glad to hear your experience was positive! I’ve been considering adding a touch of smoked paprika for an extra kick. Has anyone else tried this?
joshua
This method seems intriguing. I’m curious about the shelf life of canned bacon. How long can it be stored safely?
nikk
from what I’ve read, properly canned bacon can last up to a year if stored in a cool, dark place. Always check the seal before consuming, though.
kimm e
I followed this tutorial but found my bacon a bit too greasy after canning. Any tips on reducing the fat content?
admin
Perhaps try blotting the bacon with paper towels more thoroughly before rolling it in the parchment paper. That might help reduce the greasiness.
inna m
Has anyone tried using turkey bacon instead of pork? Wondering if the process or results differ.
azalie kate
I haven’t tried turkey bacon myself, but I imagine the leaner meat might affect the texture after canning. Would love to hear if anyone has experience with this.
migell
Just finished my first batch of canned bacon! The tip about using real maple syrup added a delightful sweetness. Thanks for the suggestion!