December 24, 2024 | Medical - First Aid, Temporal Preparedness | No Comments
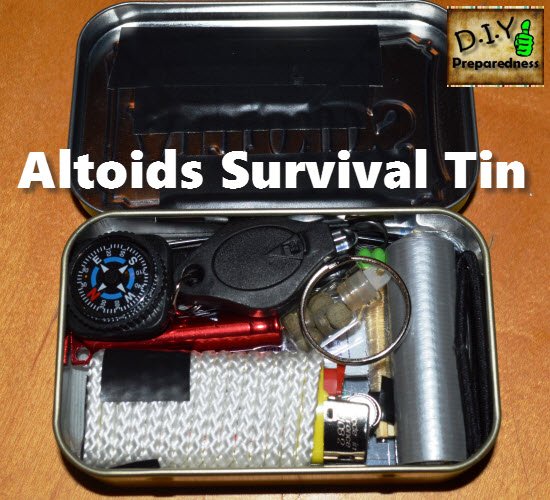
Ever since I saw an example of these Altoids tins used for a survival kit, I have wanted to make some. I just LOVE these!
It became a minor obsession. Minor because I slowly began gathering items and ideas for what I wanted in ours. I love how many useful things you can fit in a small container. I do have to note that not all mint tins are the same size as an Altoids tin. Keep that in mind if you buy a different brand. You can also buy a non-brand sturdy tin for this project. I found the price for those higher than the Altoids tins, though so I opted to use these.
** GATHERING ITEMS **
I looked at a lot of YouTube videos showing all kinds of survival tins of what others had made. I got a lot of great ideas that way and began making my own list of what I wanted. As I was gathering the items I wanted to put in them, I eventually got a tool box container with small compartments from Wal-Mart to keep them all organized.
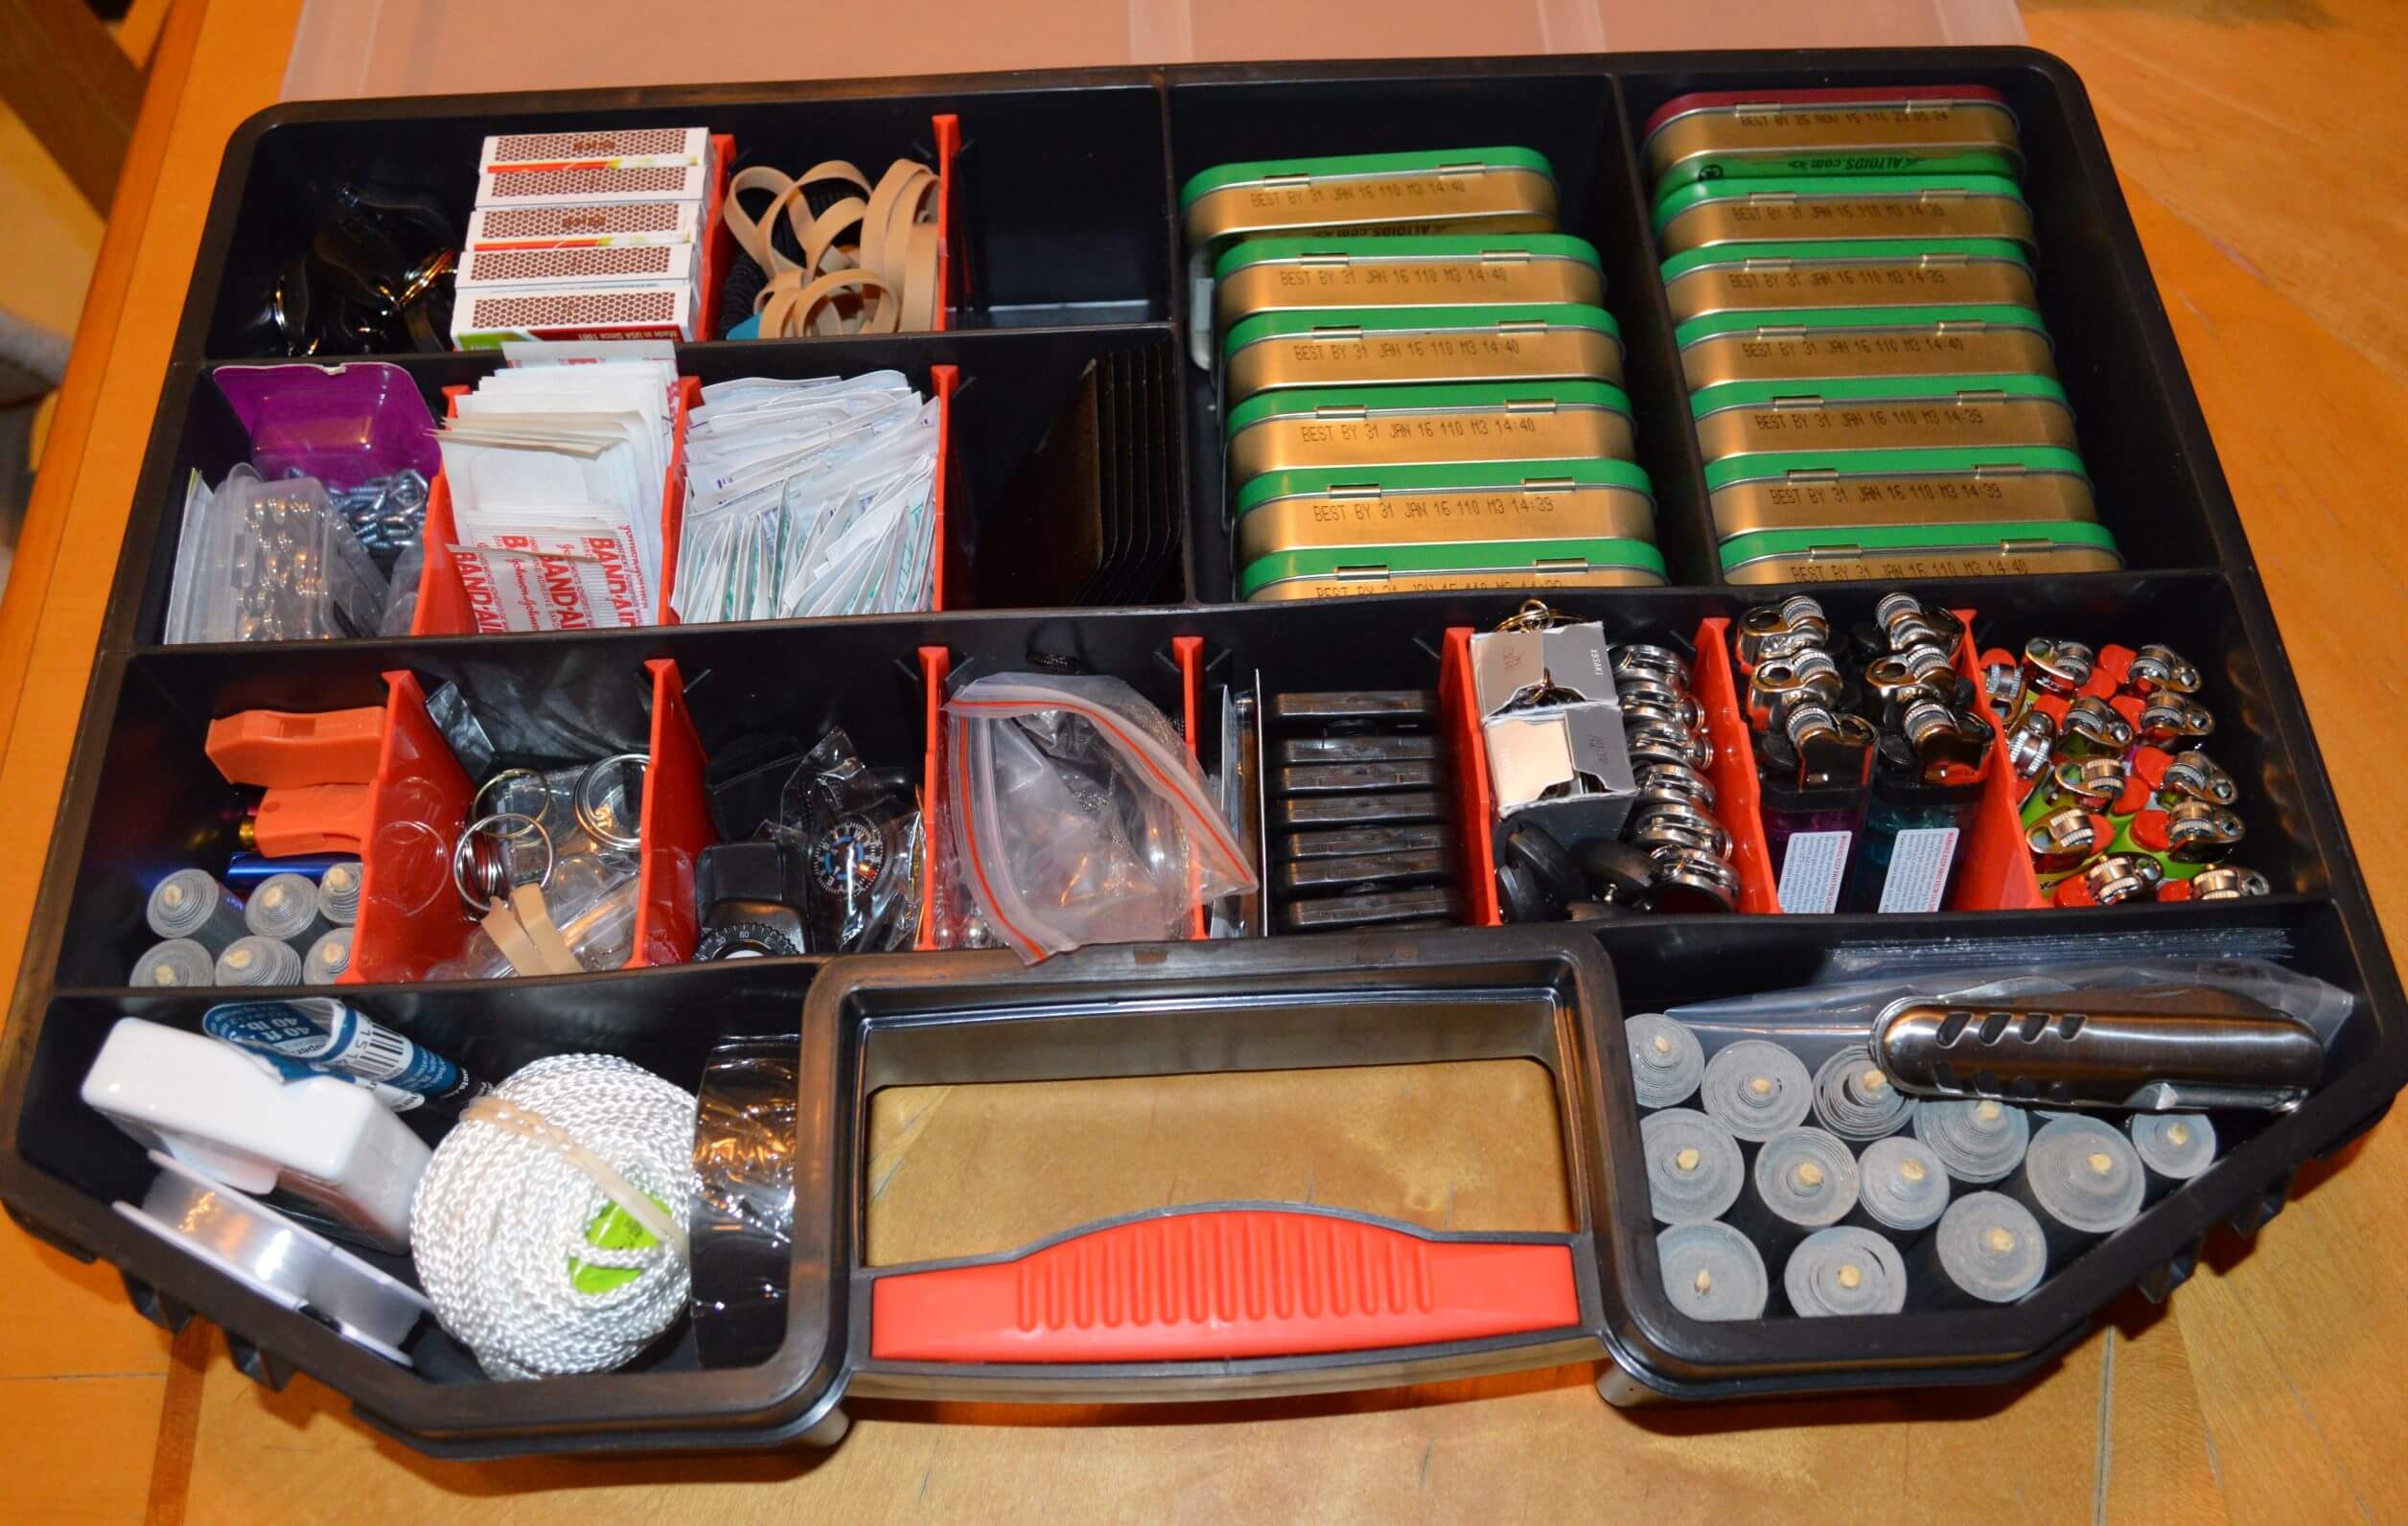
Then I began getting items I needed. I got the Altoids tins, mini compasses, mini LED lights, magnifiers, 4″ zip ties, whistles, first aid ointment packets all on Amazon. I picked up things like needles, razor blades, lighters, fishing line, cord, electrical tape, nails, safety pins, matches at stores like Dollar Tree and Wal-Mart. I made my own little duct tape rolls by carefully rolling about 2- 3 feet of duct tape around a wooden skewer then snipping off the ends. Some of the little multi-tool pocket knives I had on hand, or bought. I also bought on Amazon these flat metal credit card size multi-tool (my hubs loved these), and I found some decent pocket knives at a survival store for only $1. They appeared good enough for small emergency use and the price was right.
Here is my list of what items I put in our survival tins:
| 2 | Band-Aids – Always good to have on hand |
| 1 | Packet – Hydrocortisone – Great for bug bites |
| 1 | Packet – Antibiotic cream – Great for cuts |
| 4 | Tiny Nails – Fix, hook, or use as a tool |
| 2 | Small Nails – Fix, hook, or use as a tool |
| 2 | Small Eye Hooks – Tie line to it, use to set up things |
| 3 | Safety Pins – Fix something, use for fishing |
| 1 | Paper Clip – So many uses |
| 2 | Plastic Zip Ties – secure things together |
| Magnifier – Look closer at something, make fire | |
| Multi-Tool Blade – Always good to have blade & tools | |
| Whistle – Way to signal for help or find someone | |
| 1 yd | Duct Tape – So many uses, fix things, make things |
| 2.5′ | 40 lb Cord (wrapped around lighter) |
| 2 yds | 10 lb Fishing Line (wrapped around matches), use to fish or sew |
| Small Bic Lighter – Make a fire | |
| Tiny LED Light – See in the dark, look in small areas | |
| Needle – Taped to lid – Use with line for sewing, repairing | |
| Razor Blade – Taped to lid – extra blade, make mini ax | |
| 2 | Hair Bands – secure something together, use for your hair! |
| 8 | Water Purification Tablets (mini glass container), purify water |
| Mini Compass (in some not all) – your GPS | |
| Key Ring – attach light and whistle to it |
Other items I wanted or thought about putting in but didn’t: small mirror for signaling, Paper and small pen/pencil, Pain reliever pills, dental floss, and cotton to help start a fire.
** PREPARING ITEMS **
I found these little mini glass jars at dollar tree filled with micro beads and decor for decorating painted nails and such. A single pack for a dollar had 8 of these tiny jars.
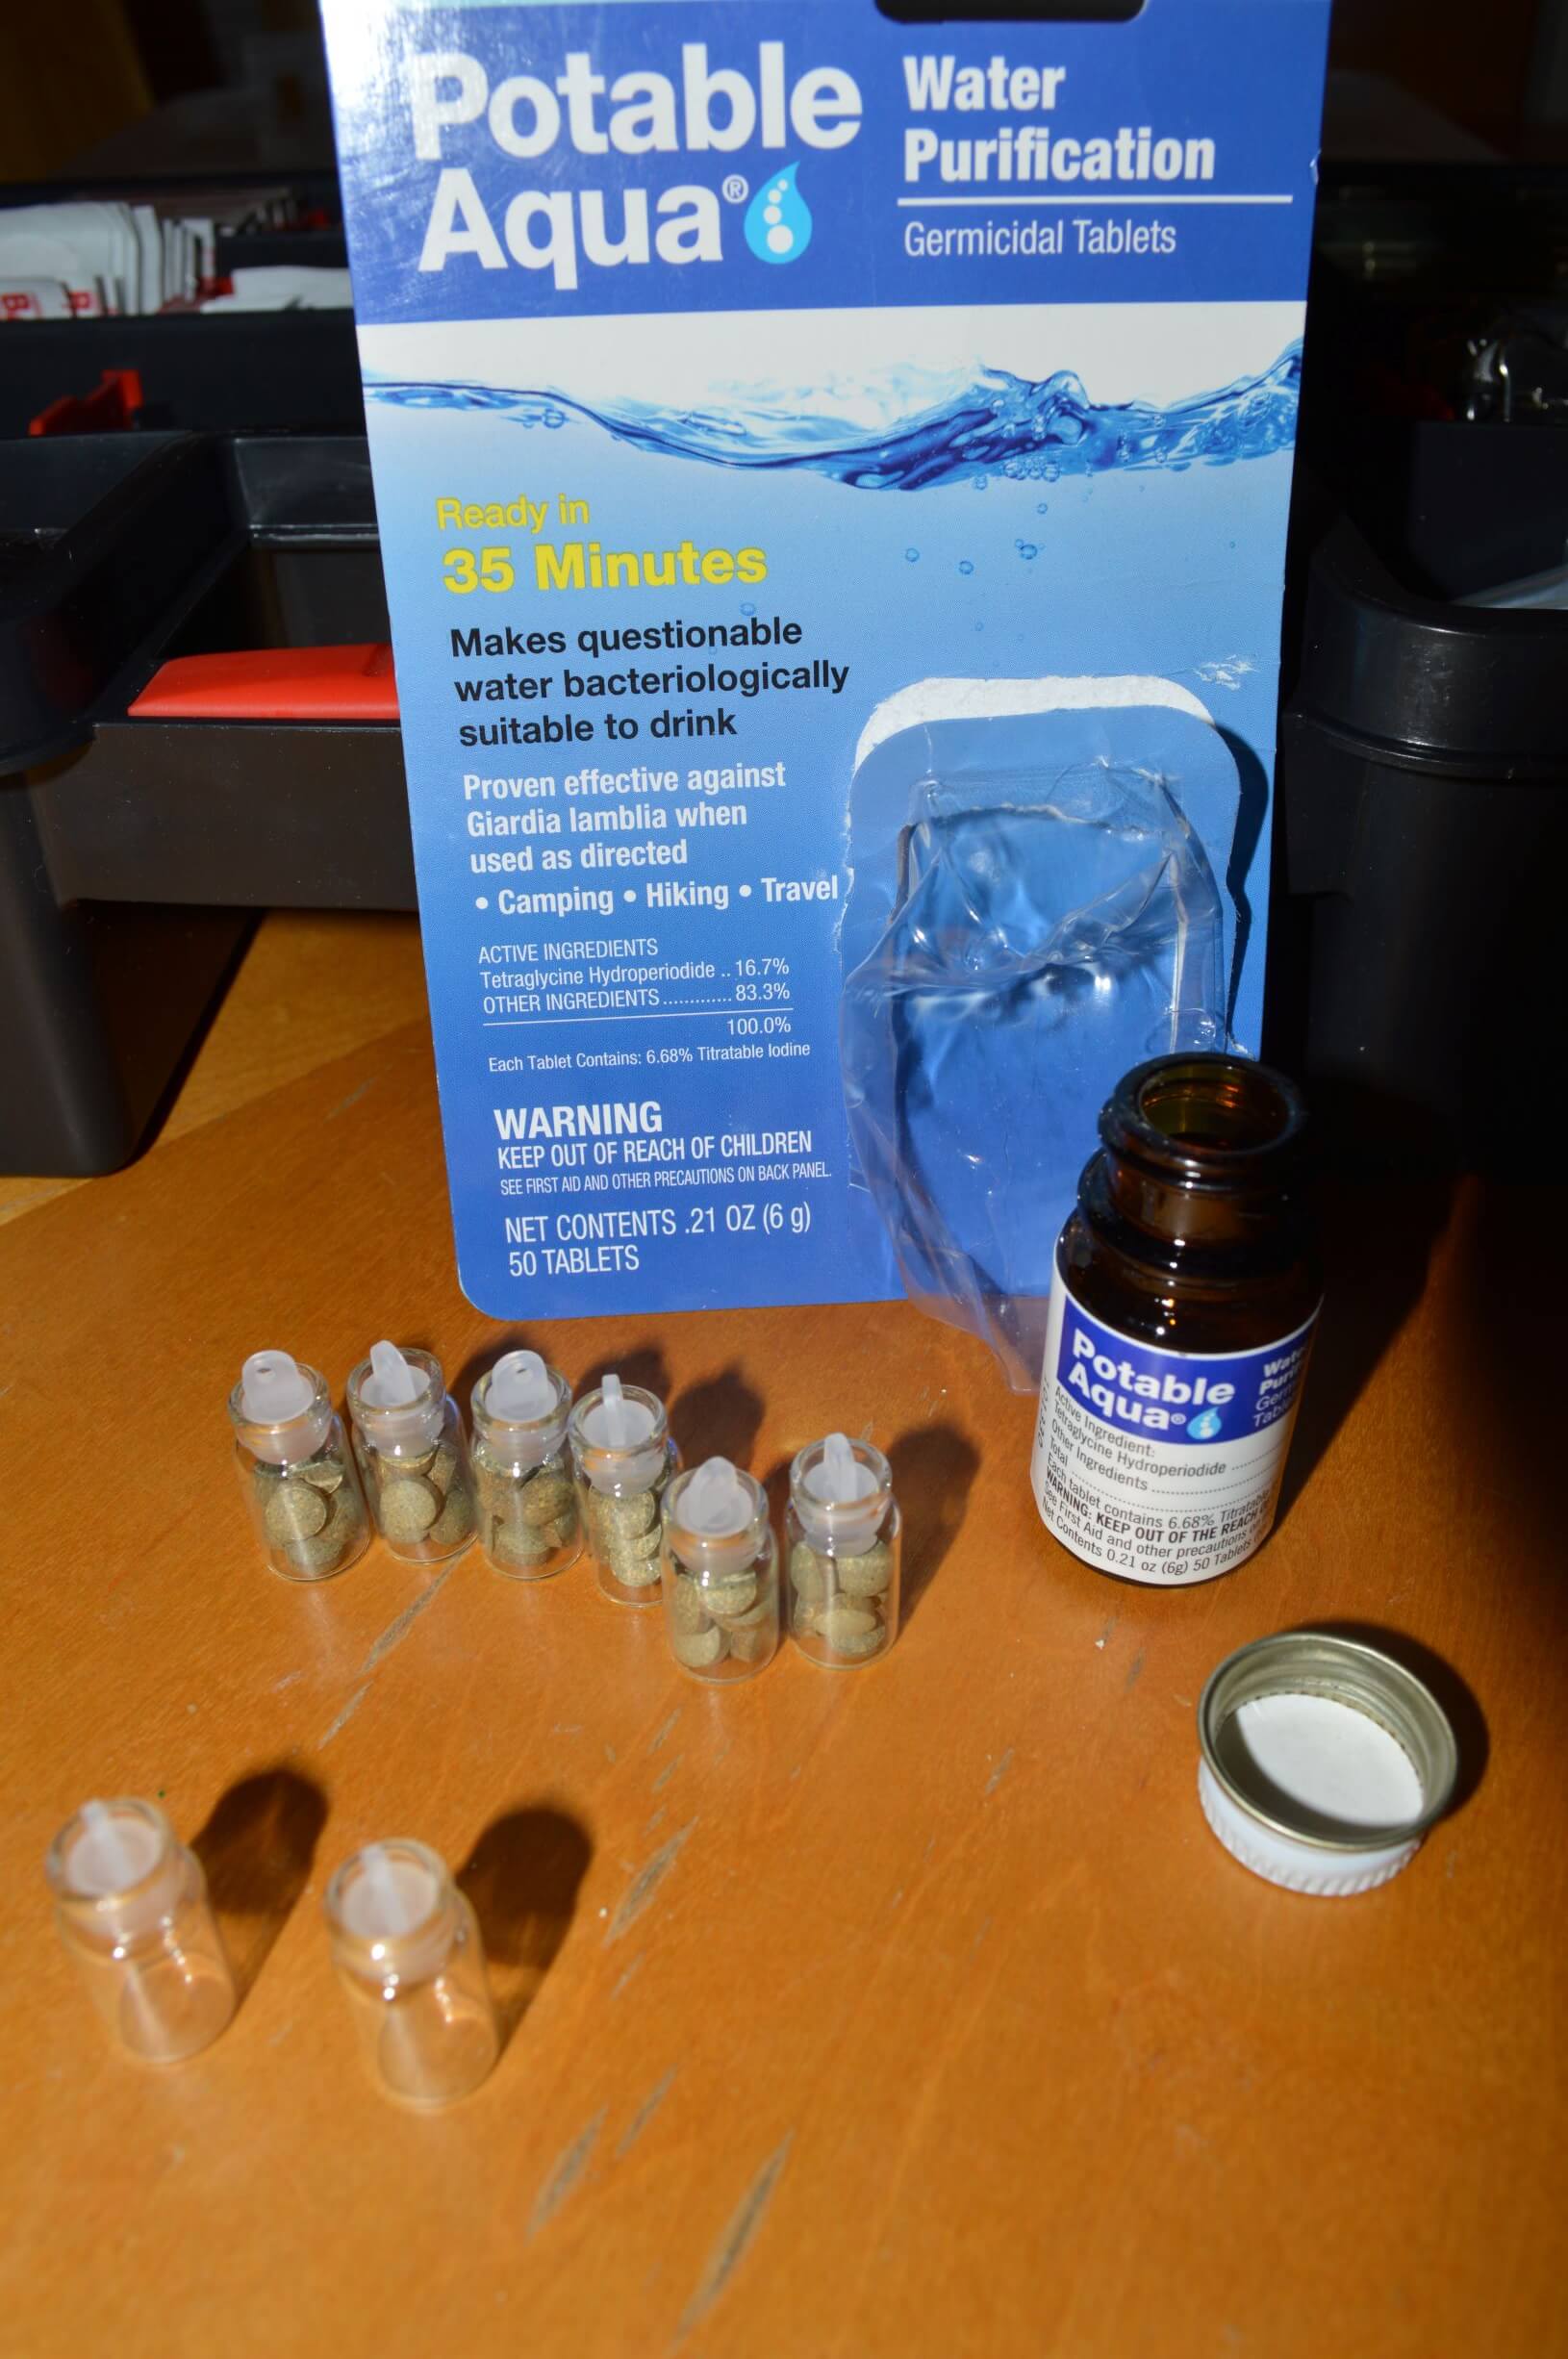
So I dumped out the contents and cleaned them, then put in some water purification tablets. They are so small and perfect for my survival tins.
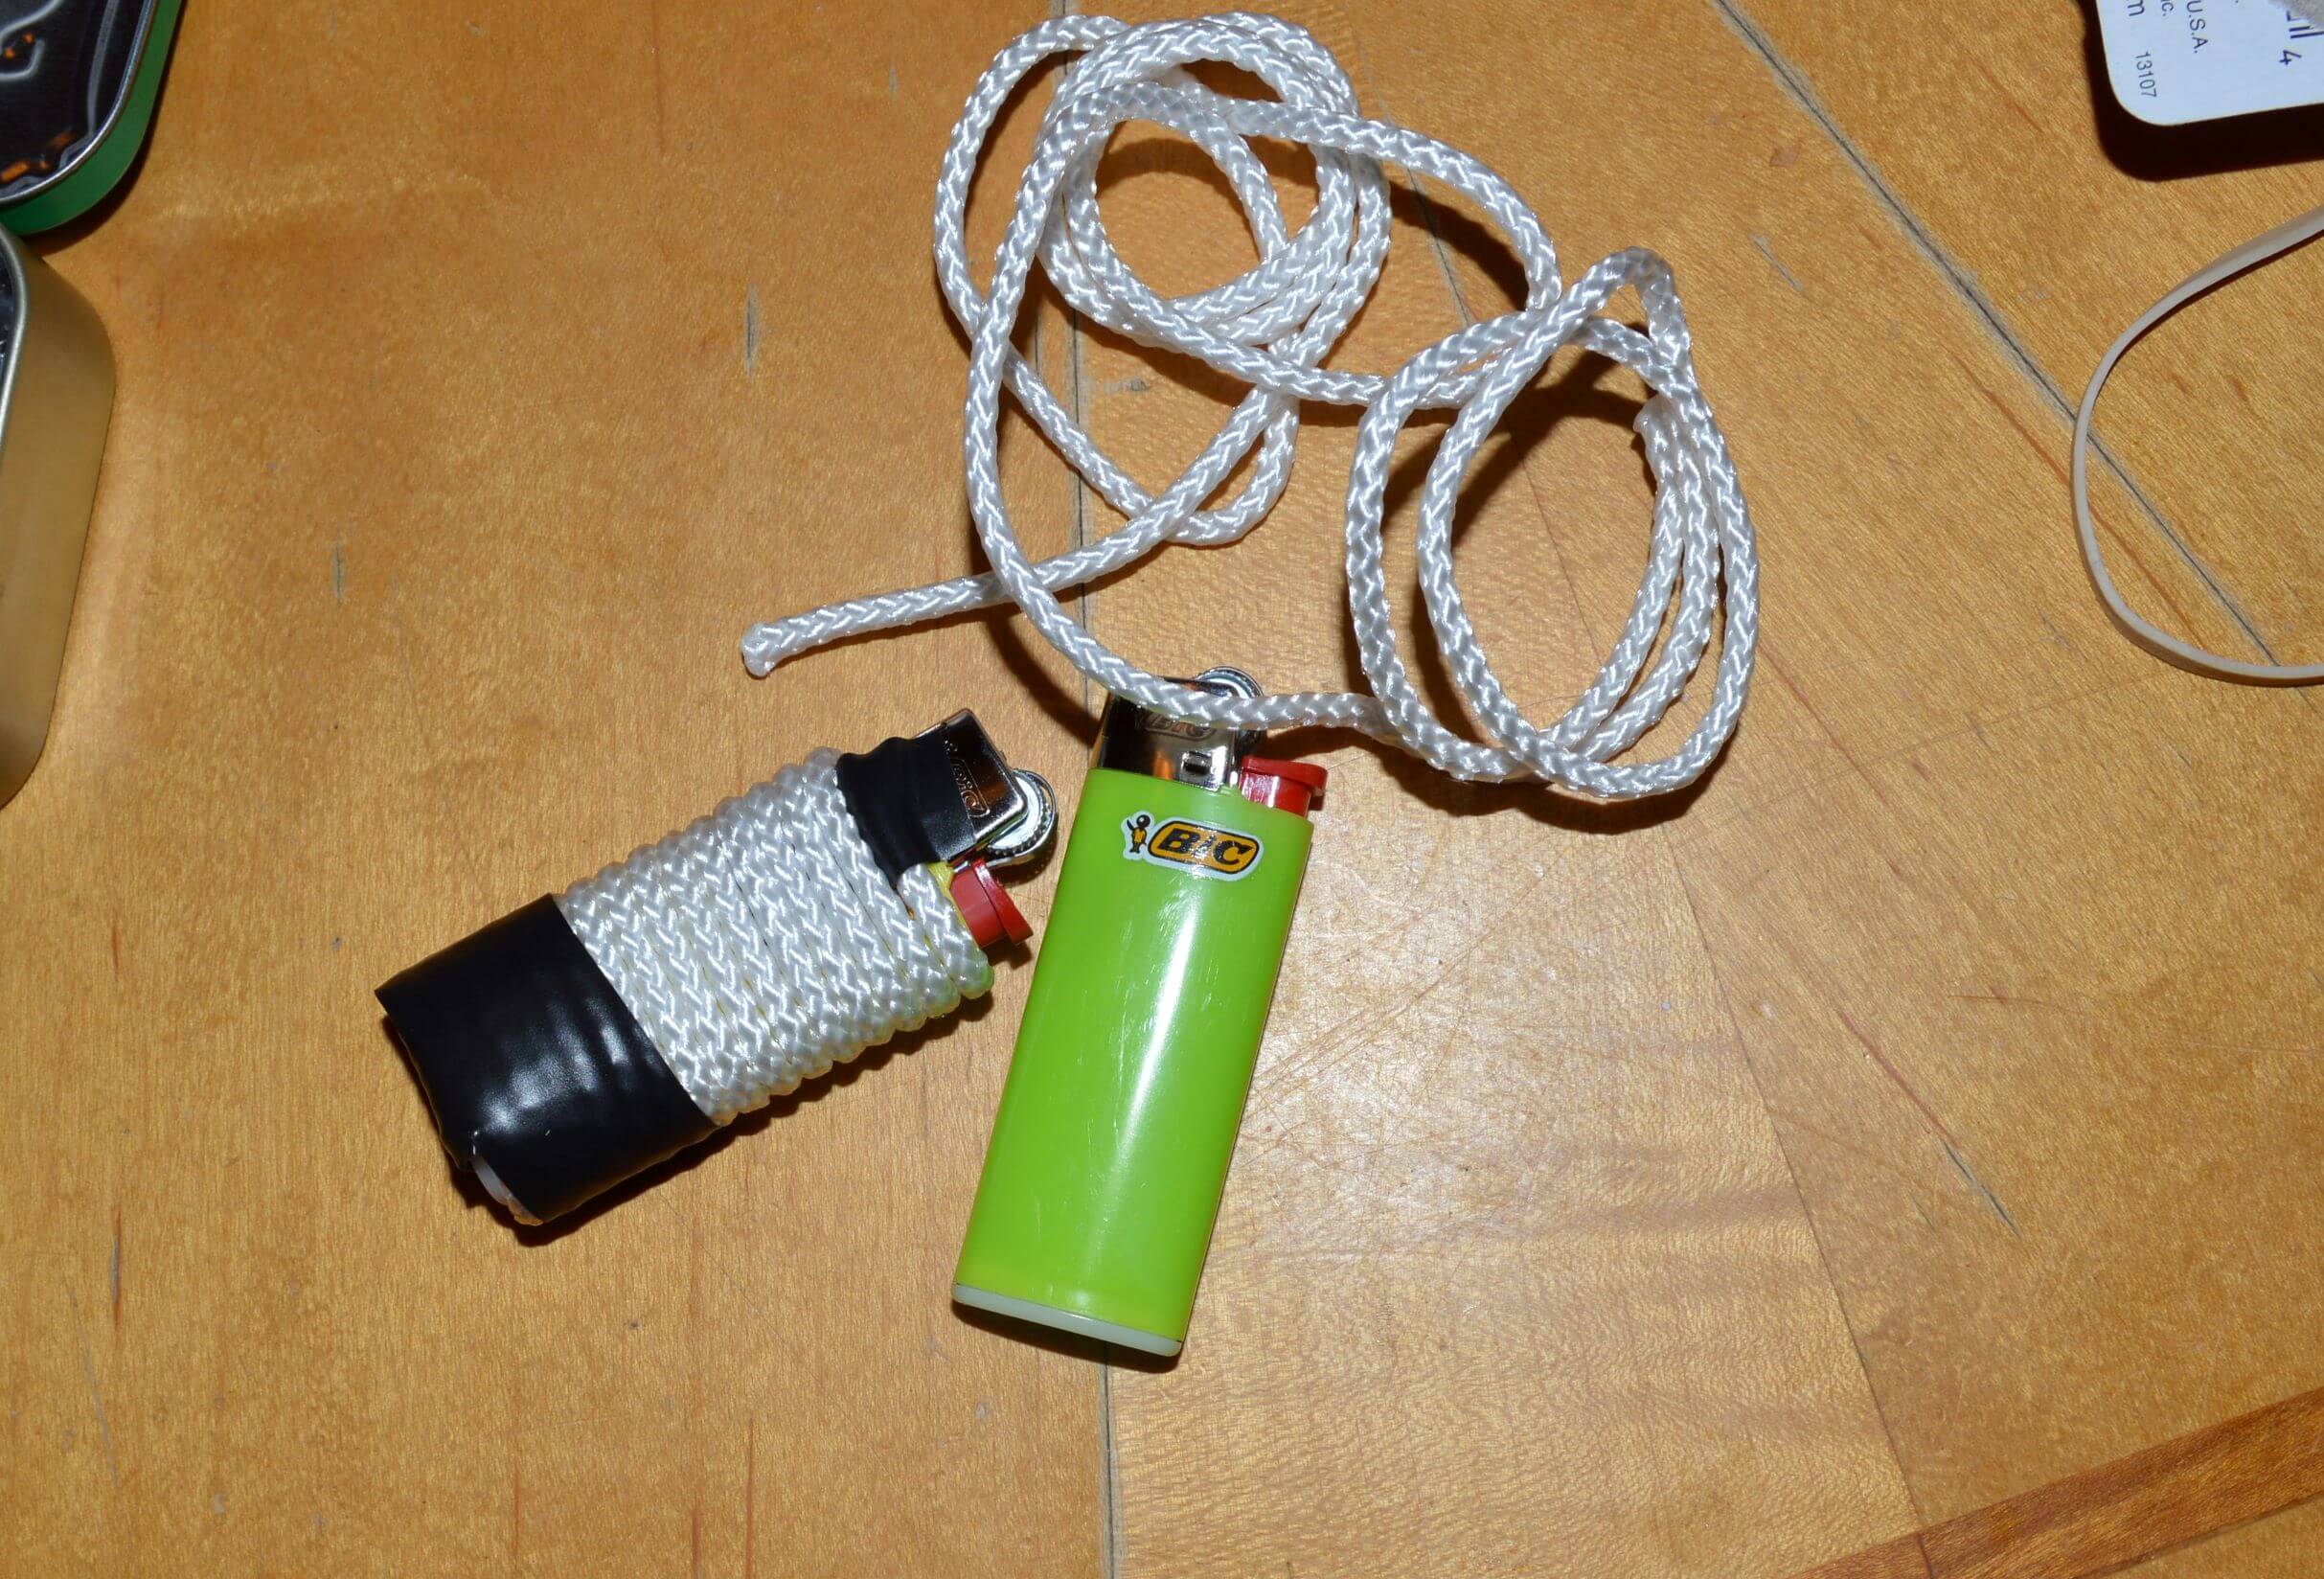
I bought some of the shorter size Bic lighters, and then wrapped them with about 2 and a half feet of 40 lb cord. I taped it with electrical tape. The rope will serve many useful purposes like in trap making, tying a brace, first aid, lashing, etc.
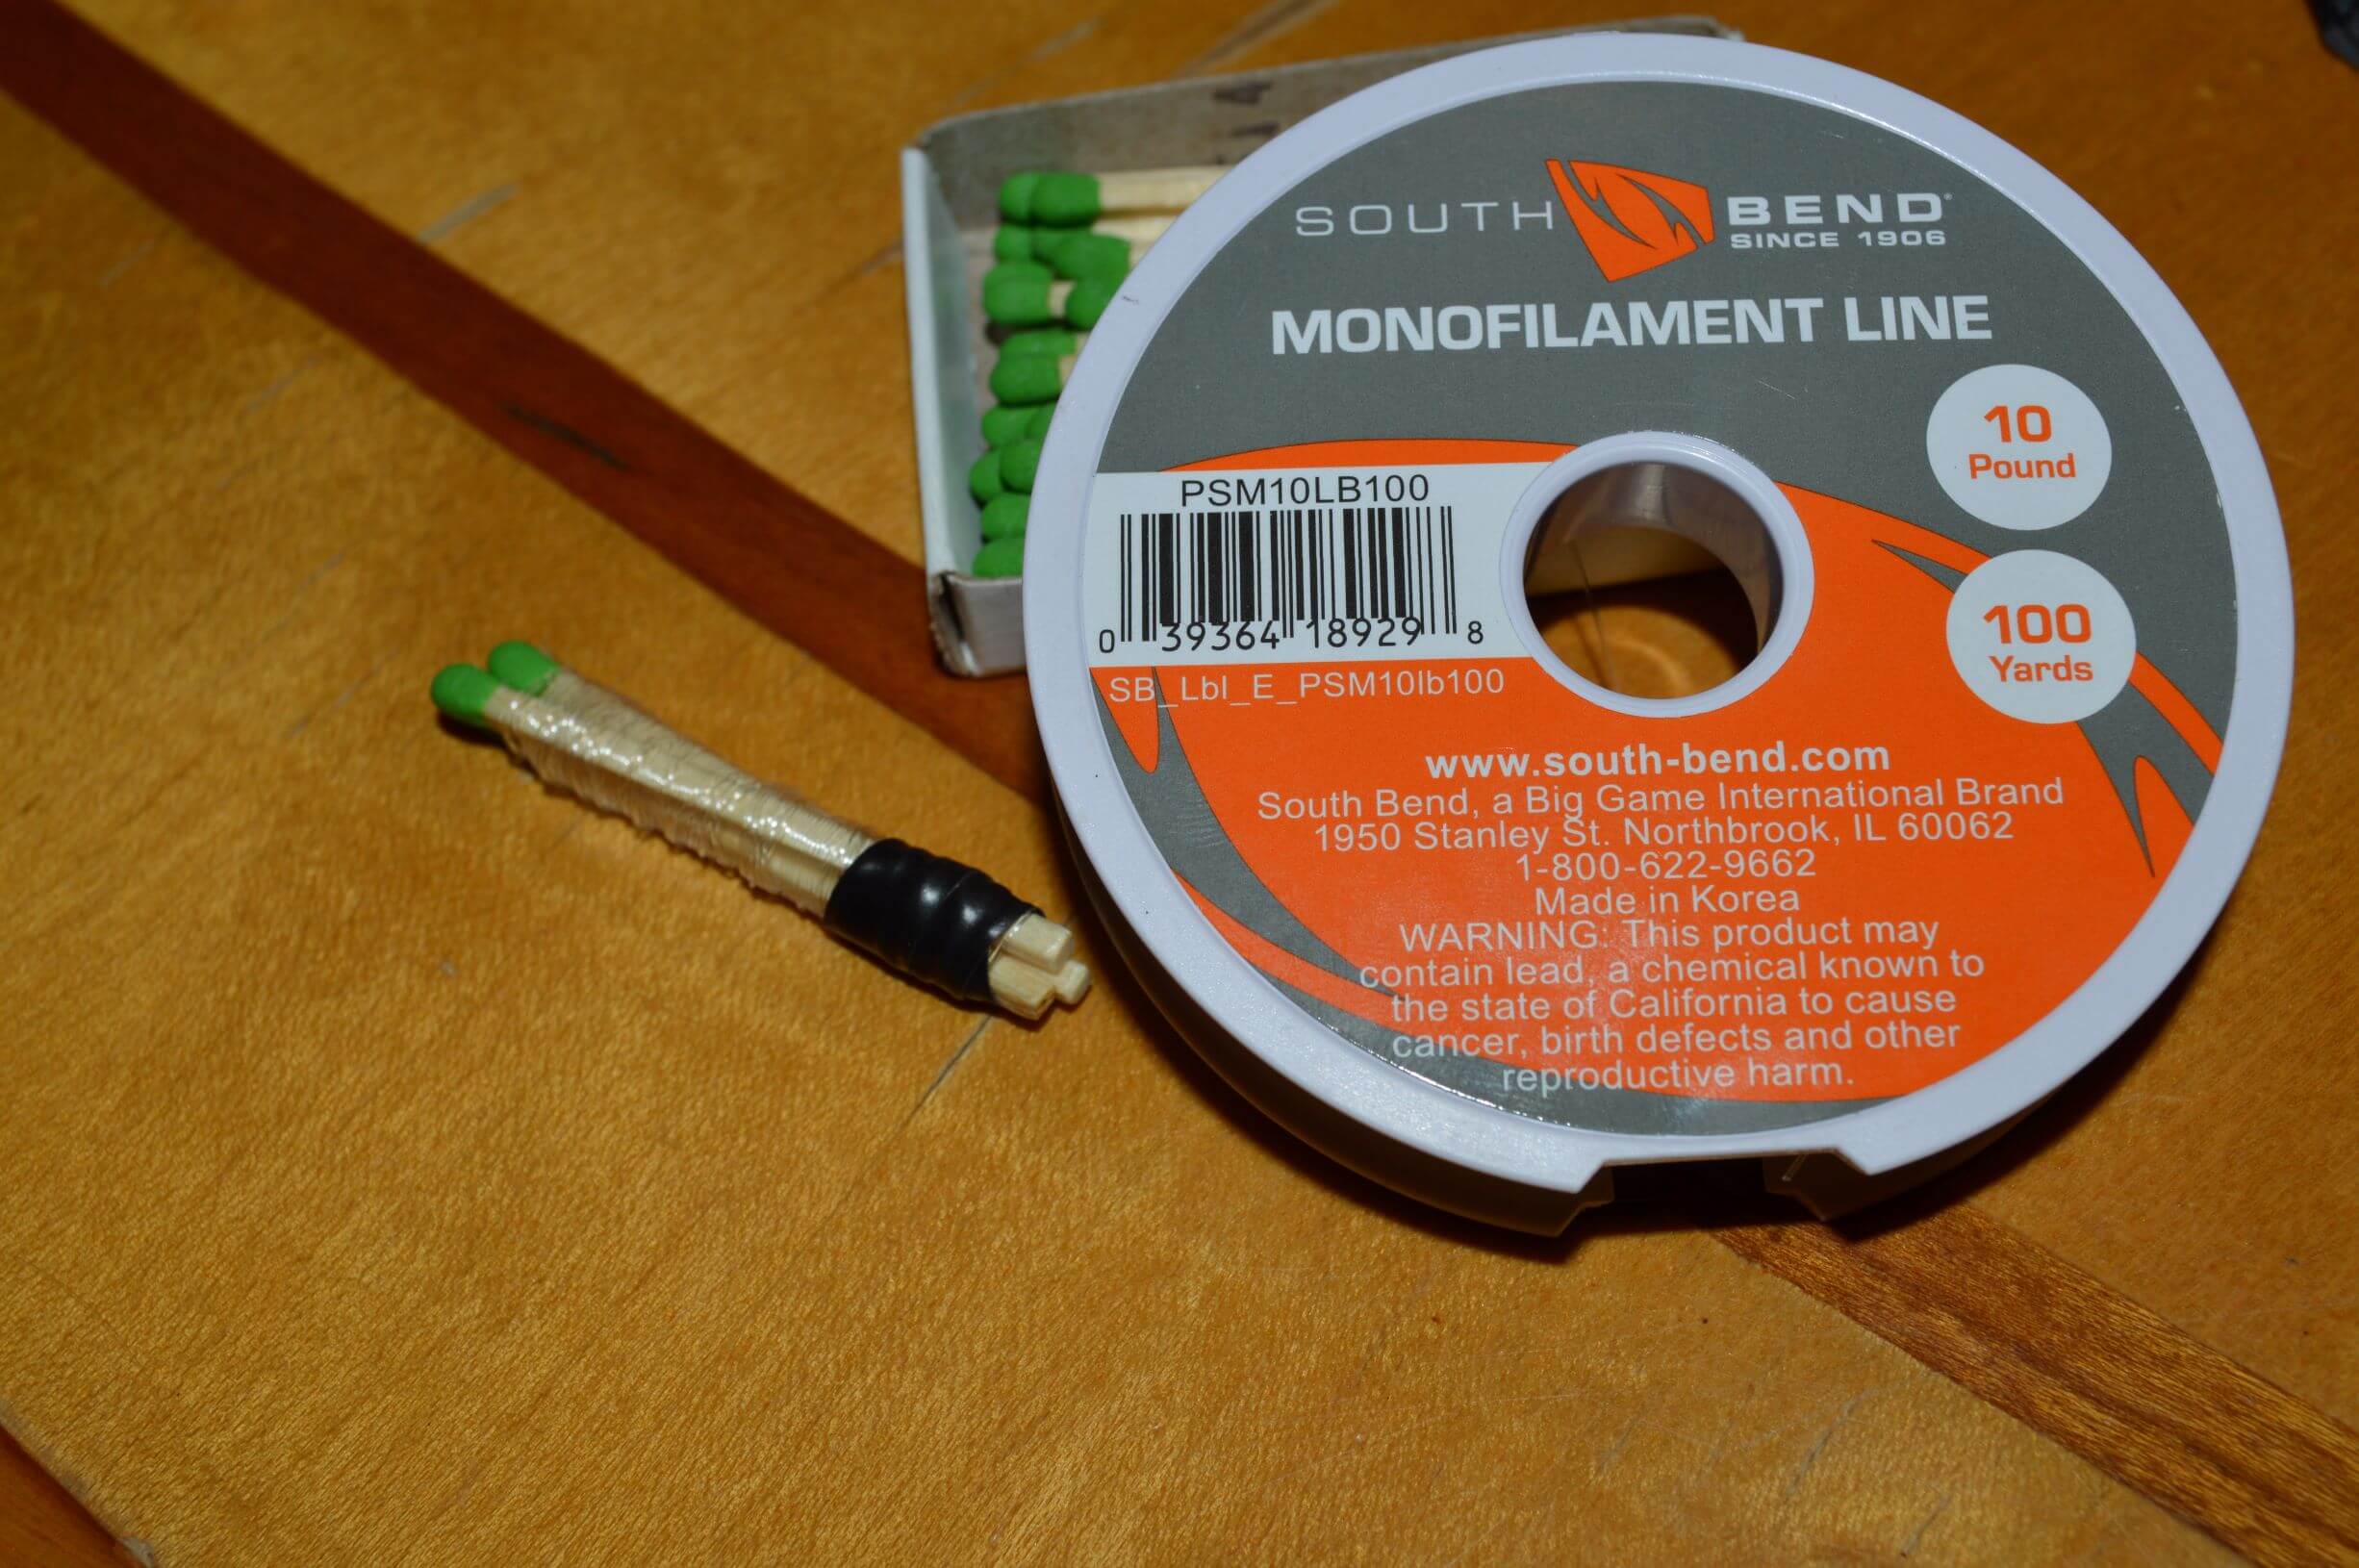
I used three matches to wrap about 2 yards of 10 lb fishing line to, securing it also with electrical tape. This can be used with the needle for sewing or tying things like a blade to a stick, or a number of other super helpful uses.
** LAYERING ITEMS IN THE TIN **
- First, I put in TWO Band-Aids on the very bottom of the tin.
-
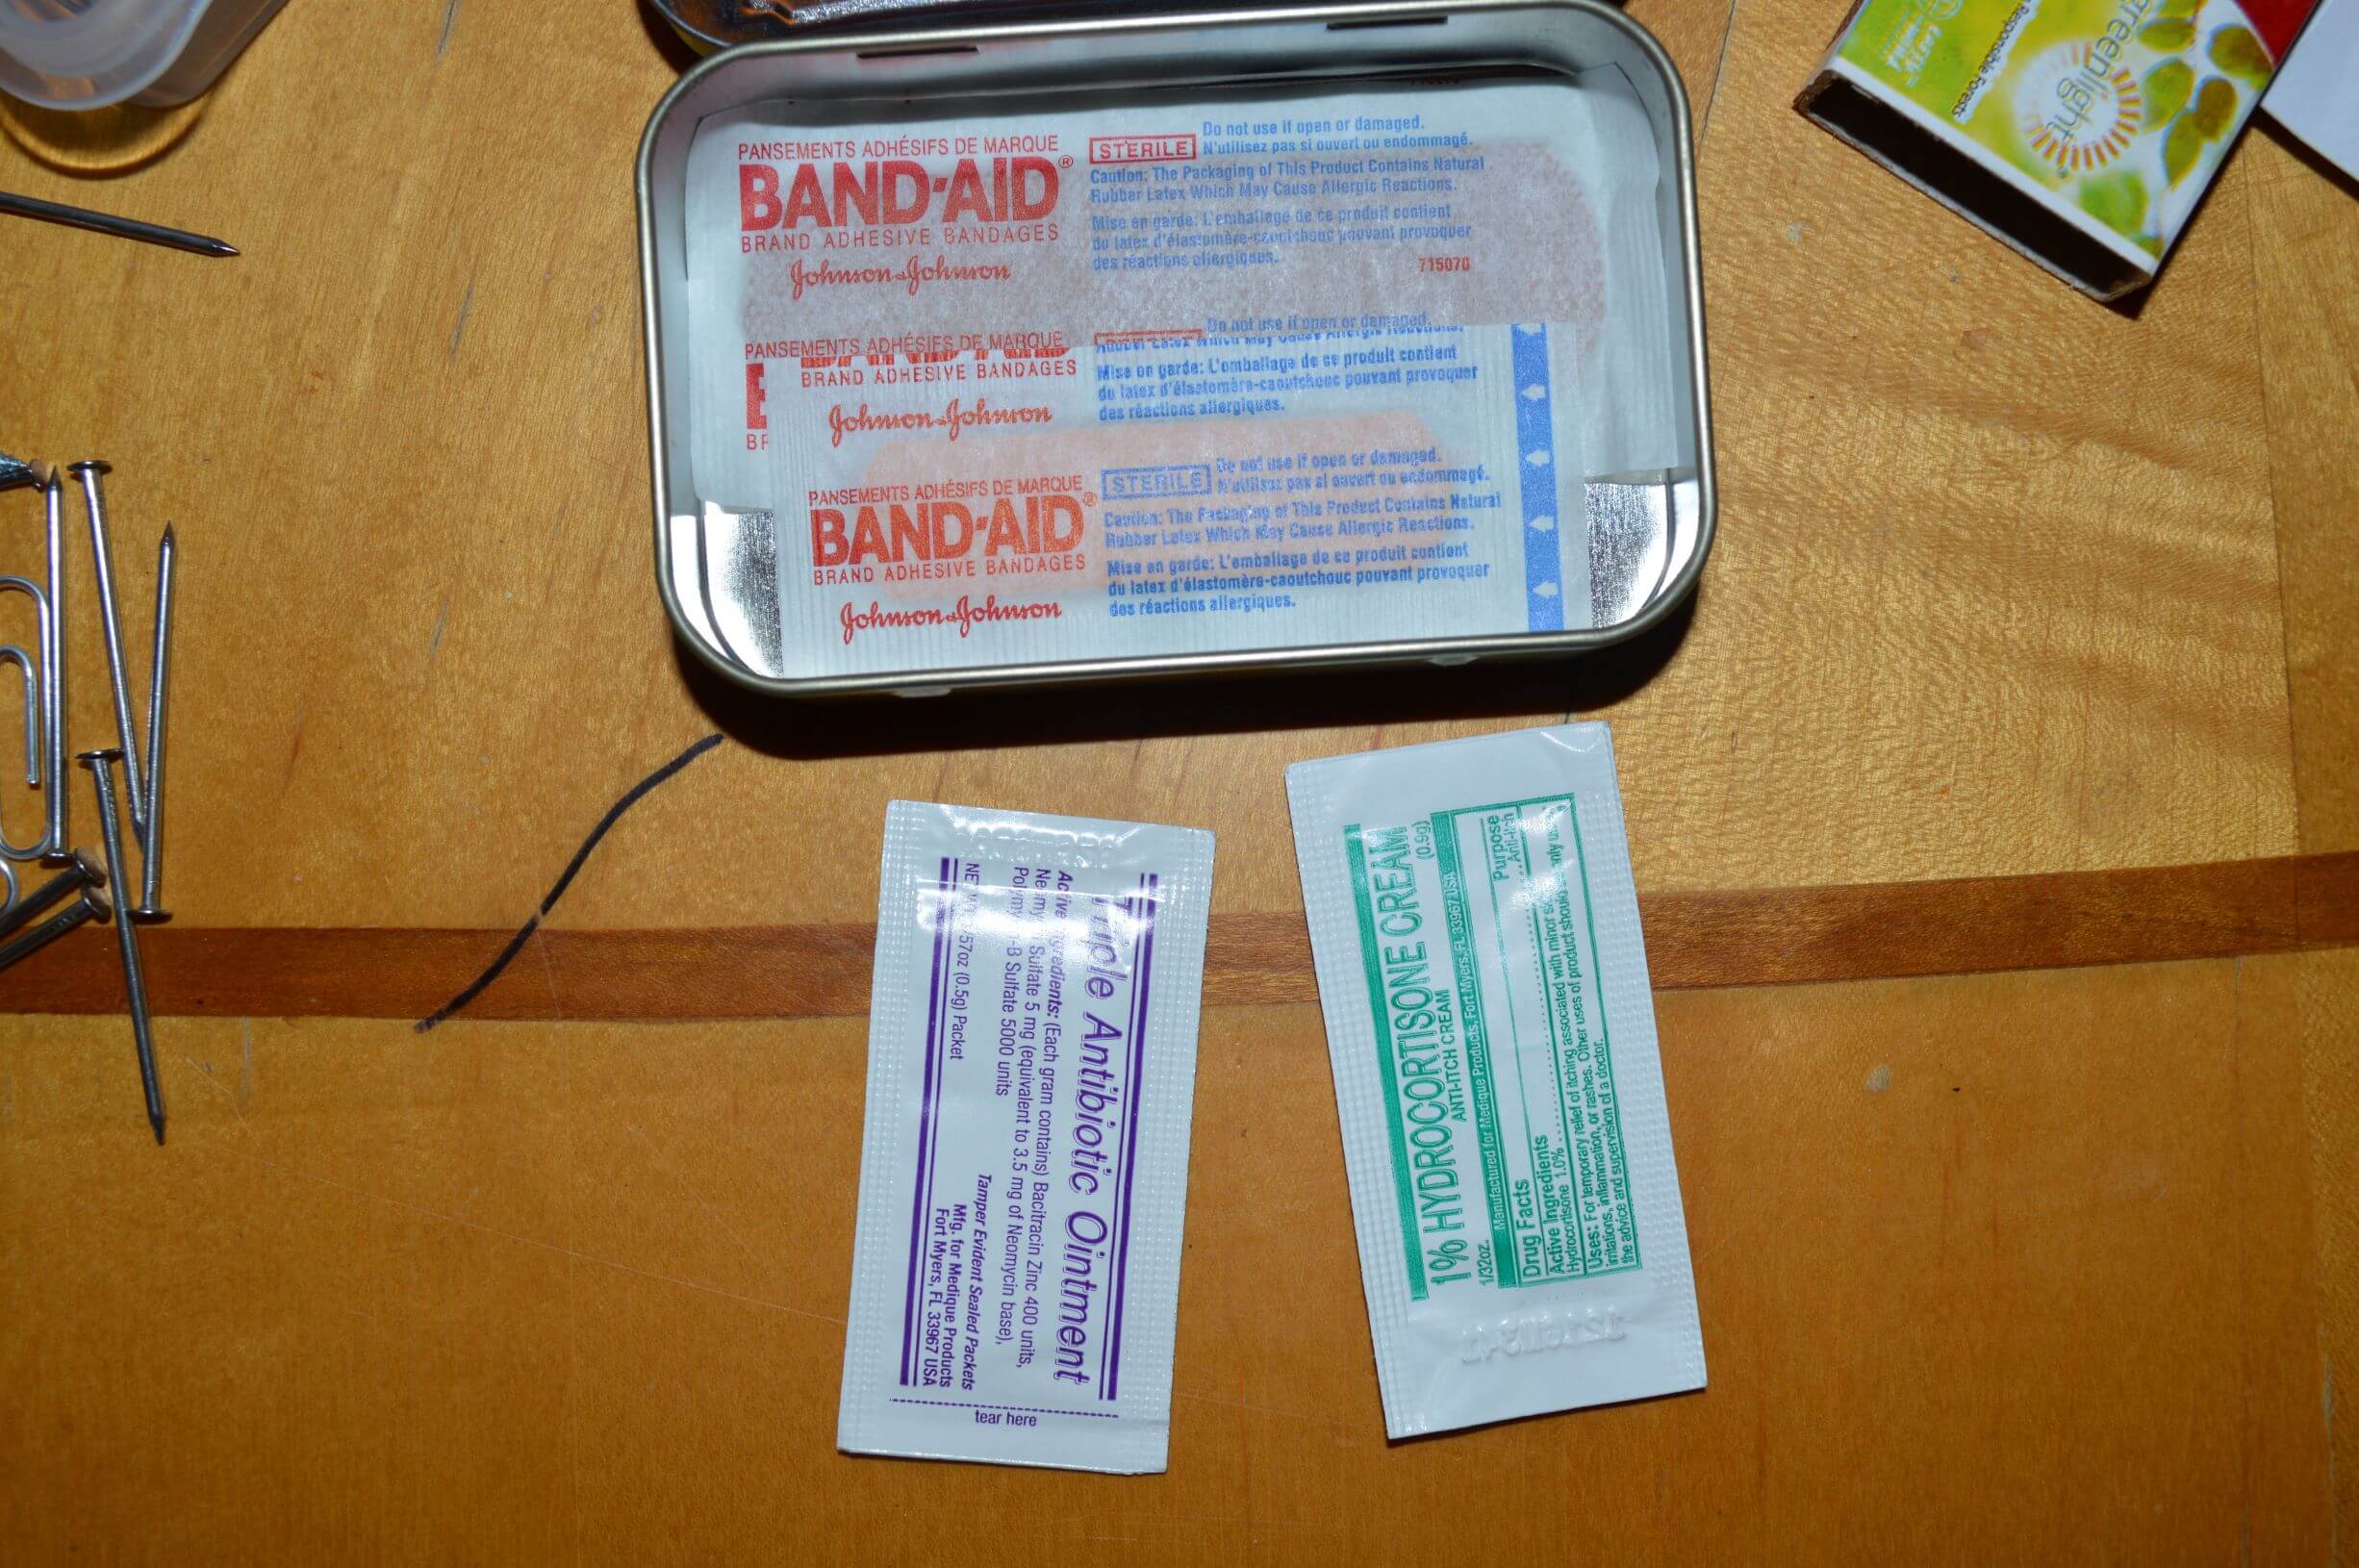
First aid I put on the bottom Then I put in my two first aid ointments (Antibiotic ointment and hydrocortisone cream)
-
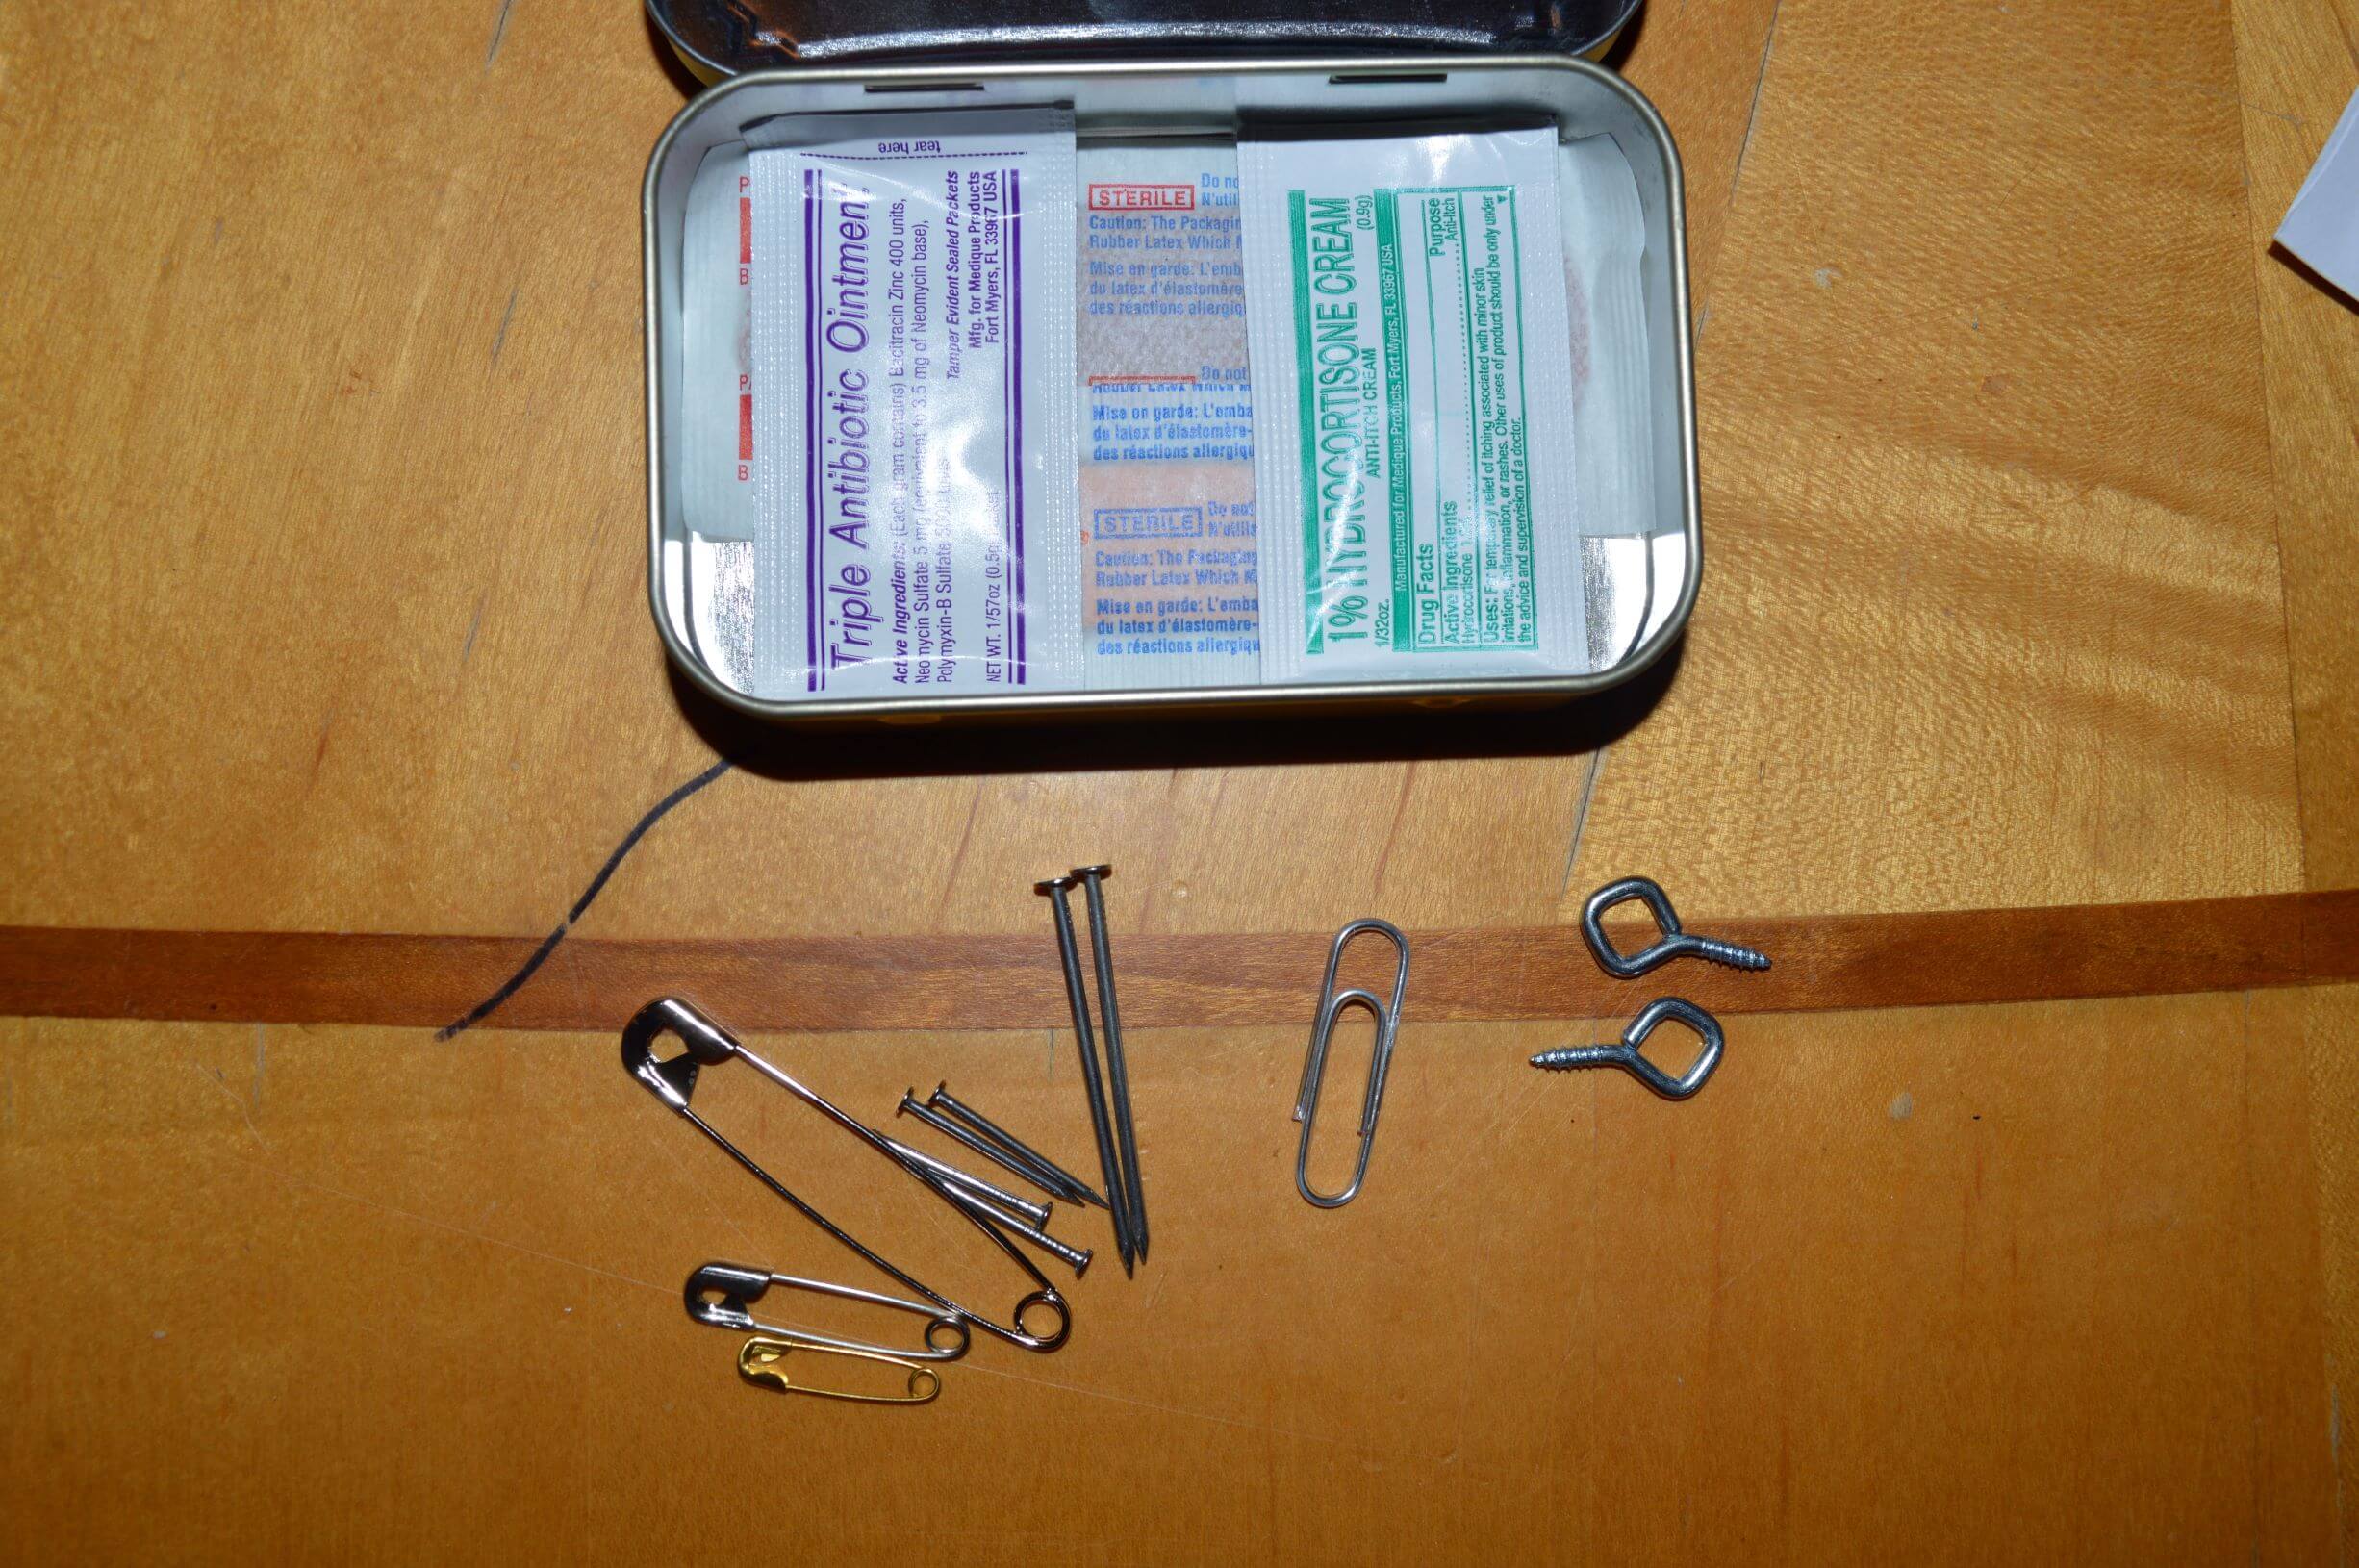
Mini packets of ointment are perfect for this little kit Next I put in my nails and safety pins on the sides, and the eyelets and small nails in the middle. Below that you see the magnifier in a plastic sleeve ready to go in right on top of that.
-
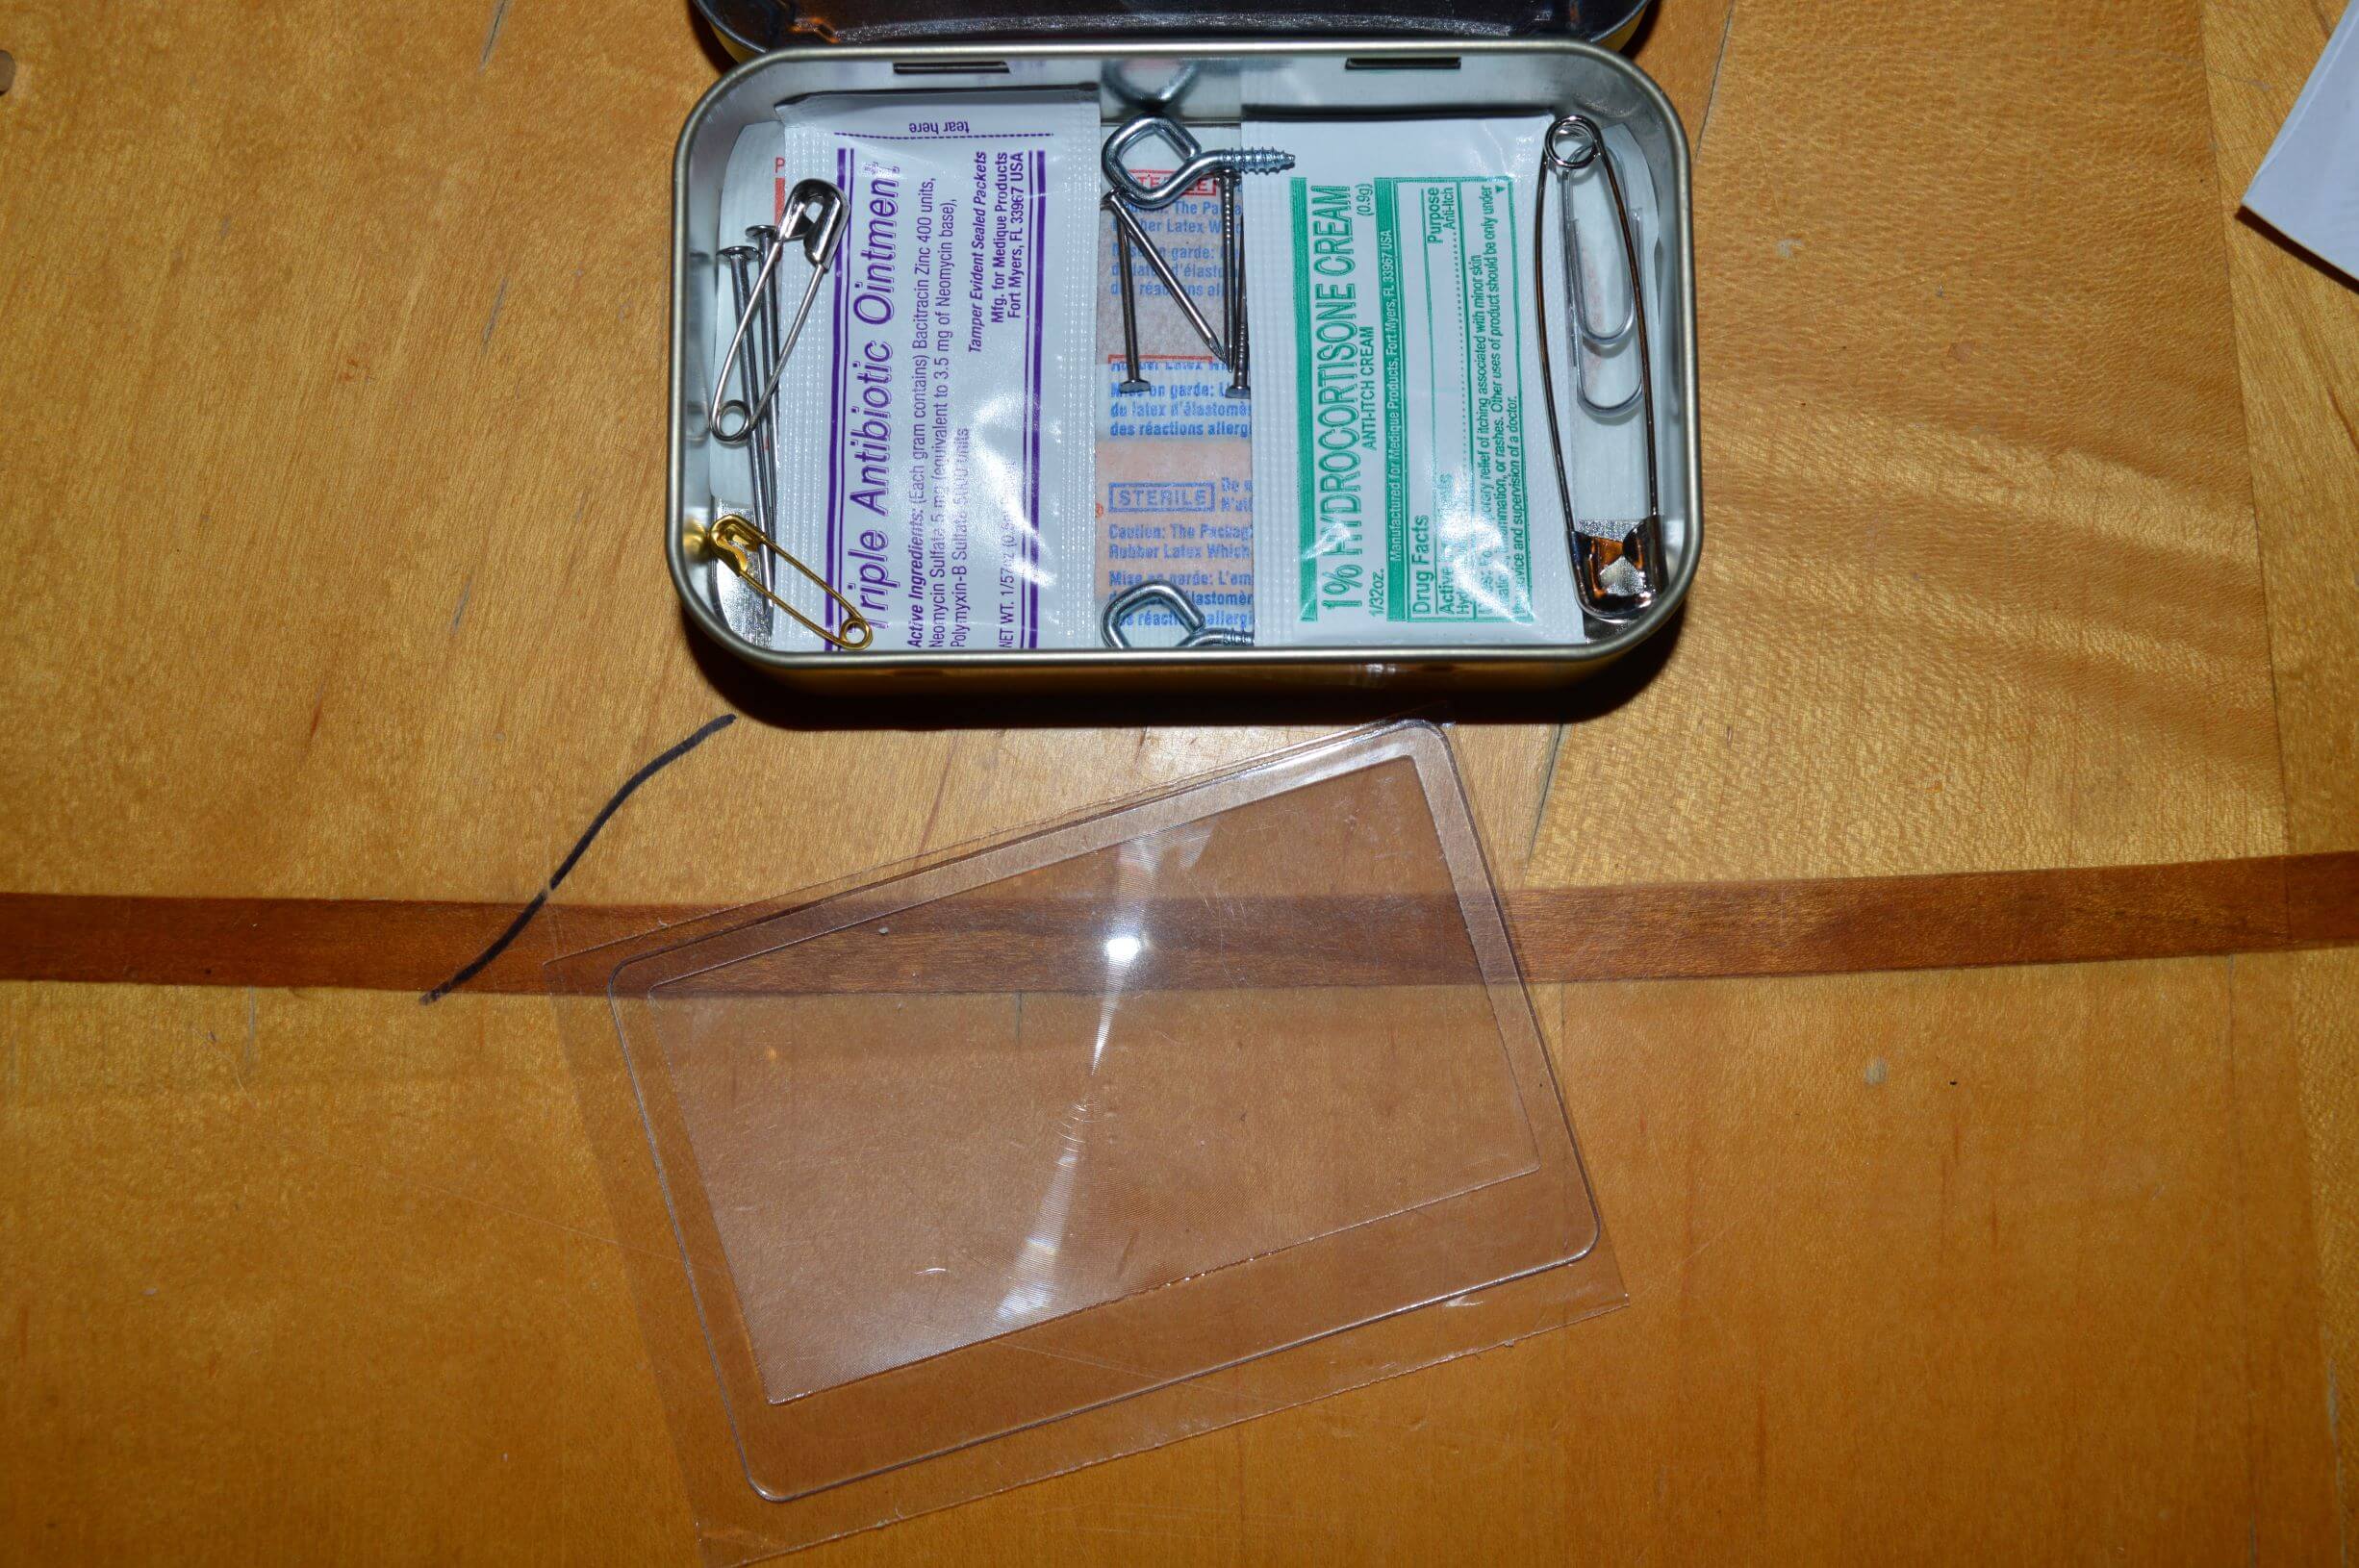
I put in my magnifier over the nails and pins to keep them together I put in the magnifier to on top of the ointments and nails to keep it all in place. Now I’m ready for the rest of the items.
-
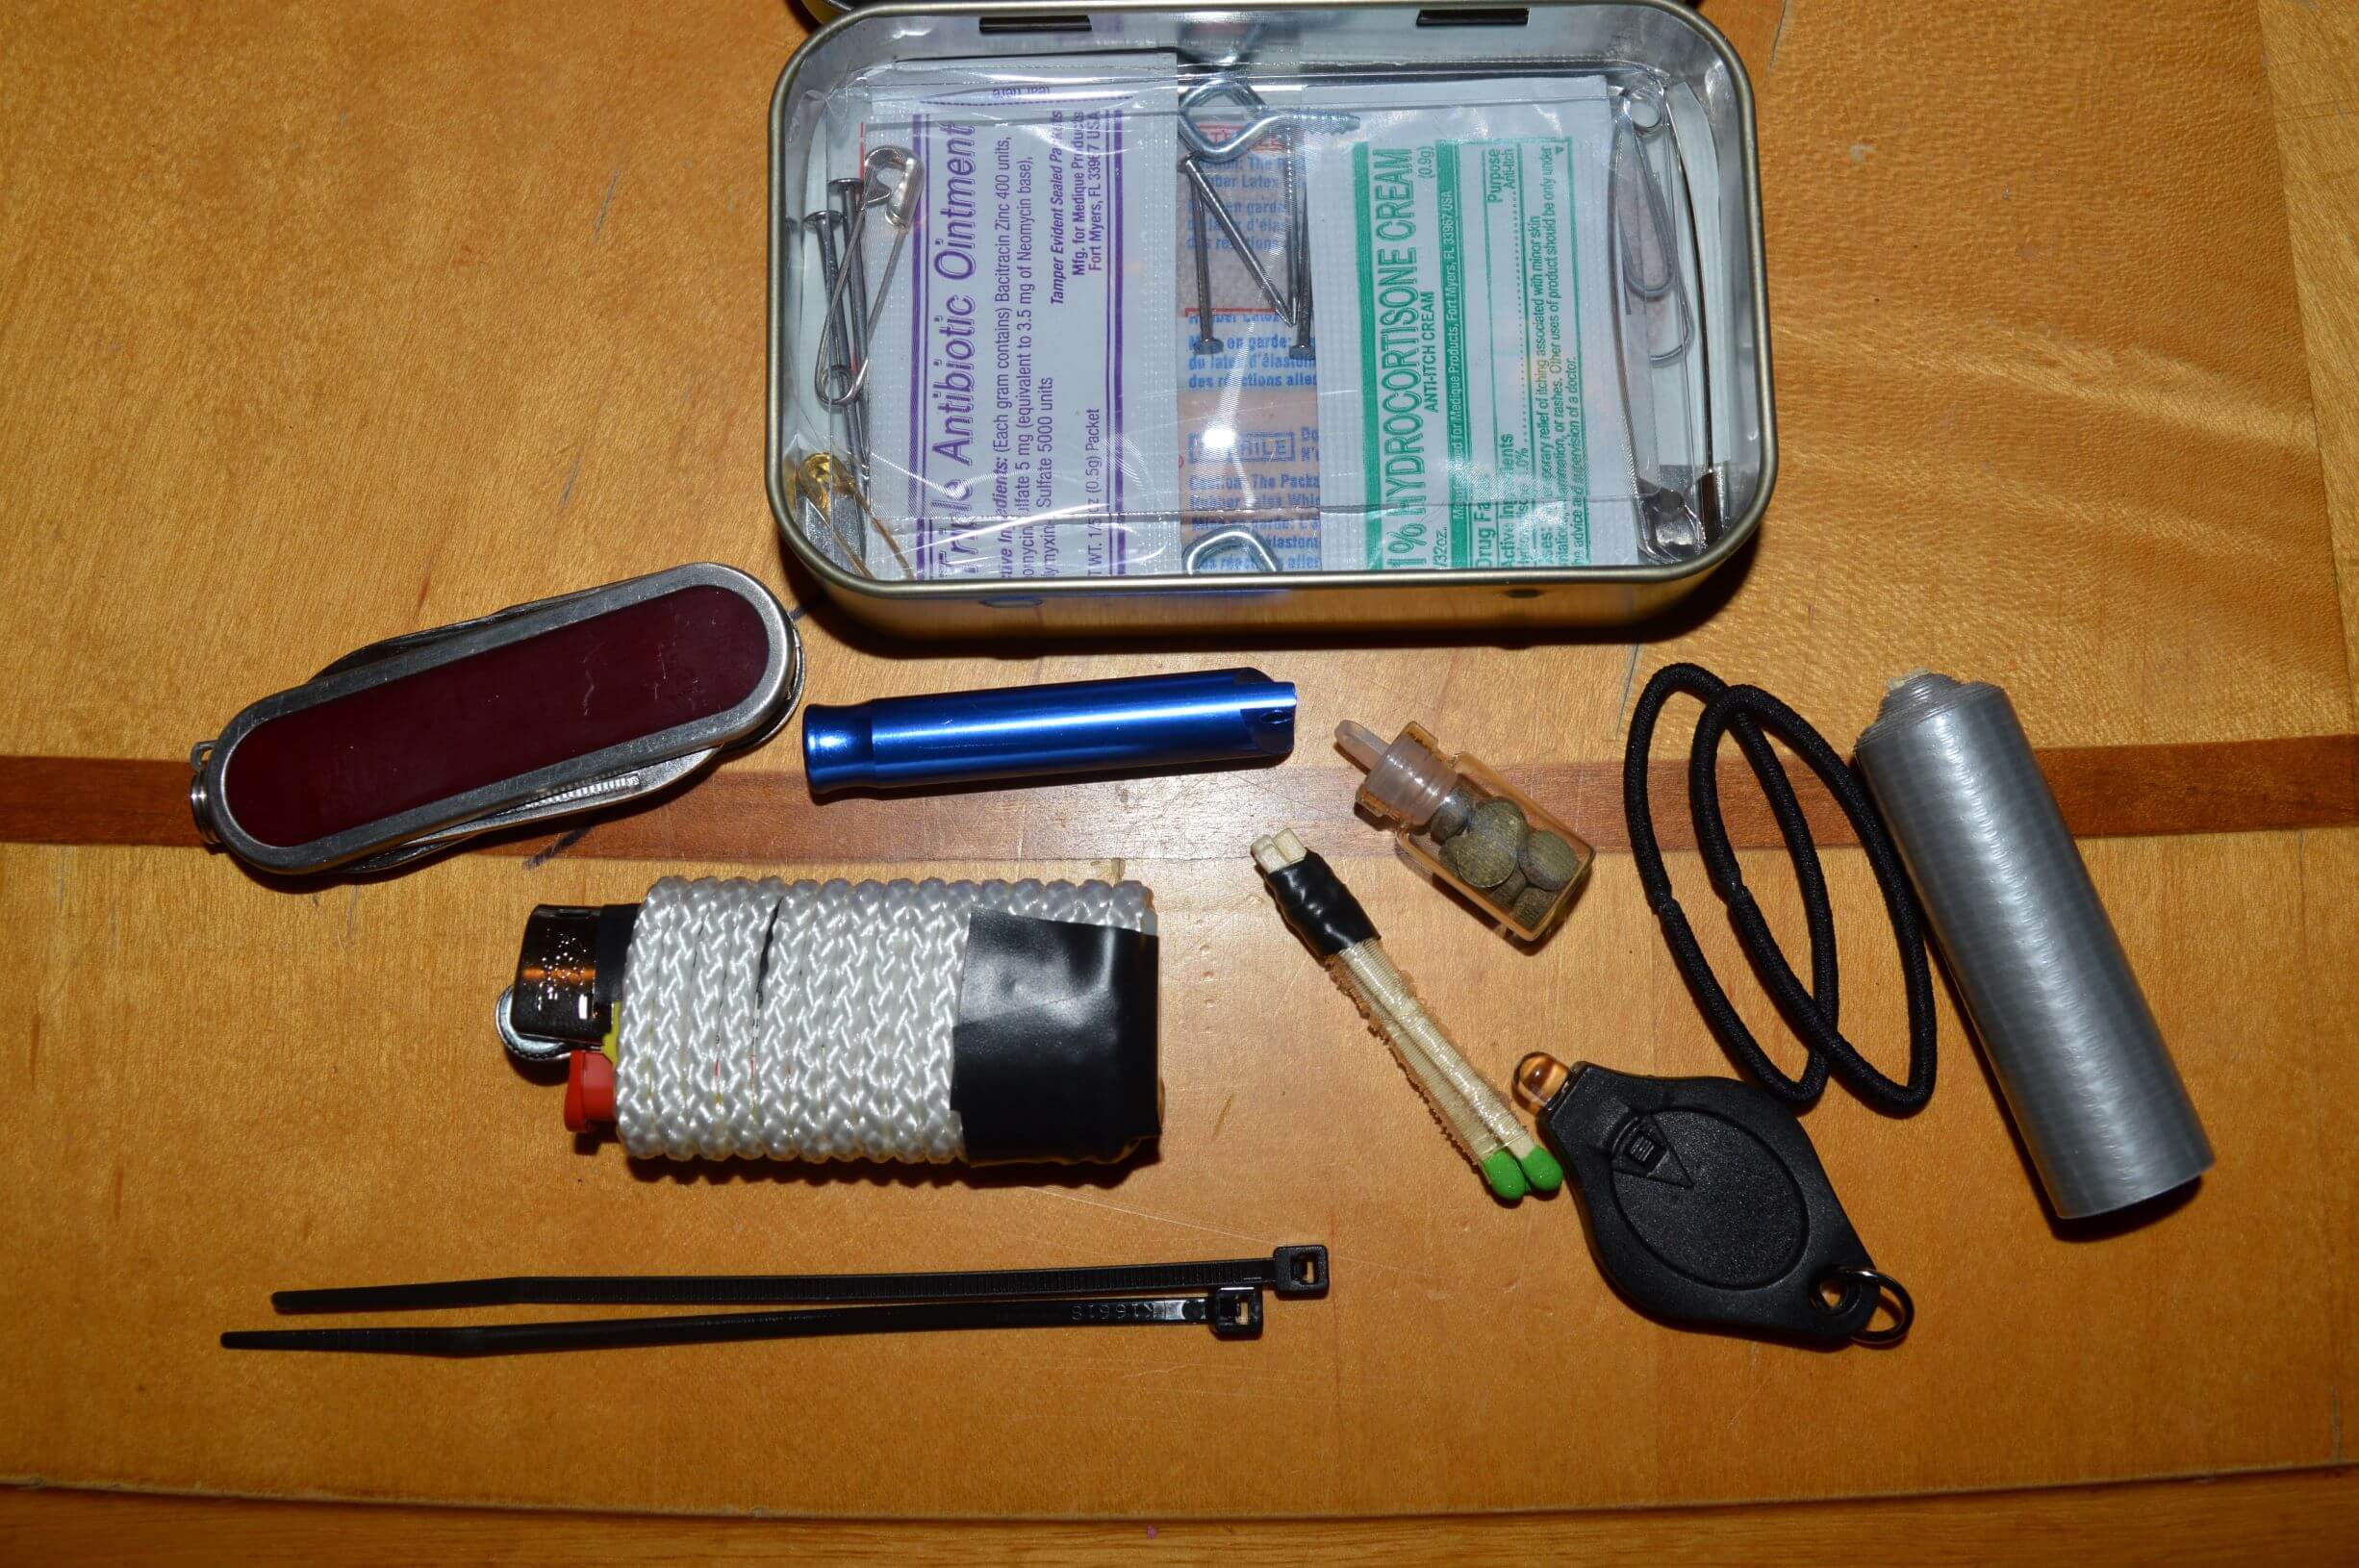
Other items ready to put in I put my duct tape on the right side, with the 2 hair bands tucked in to the right of it. Then the two little zip ties at the top.
-
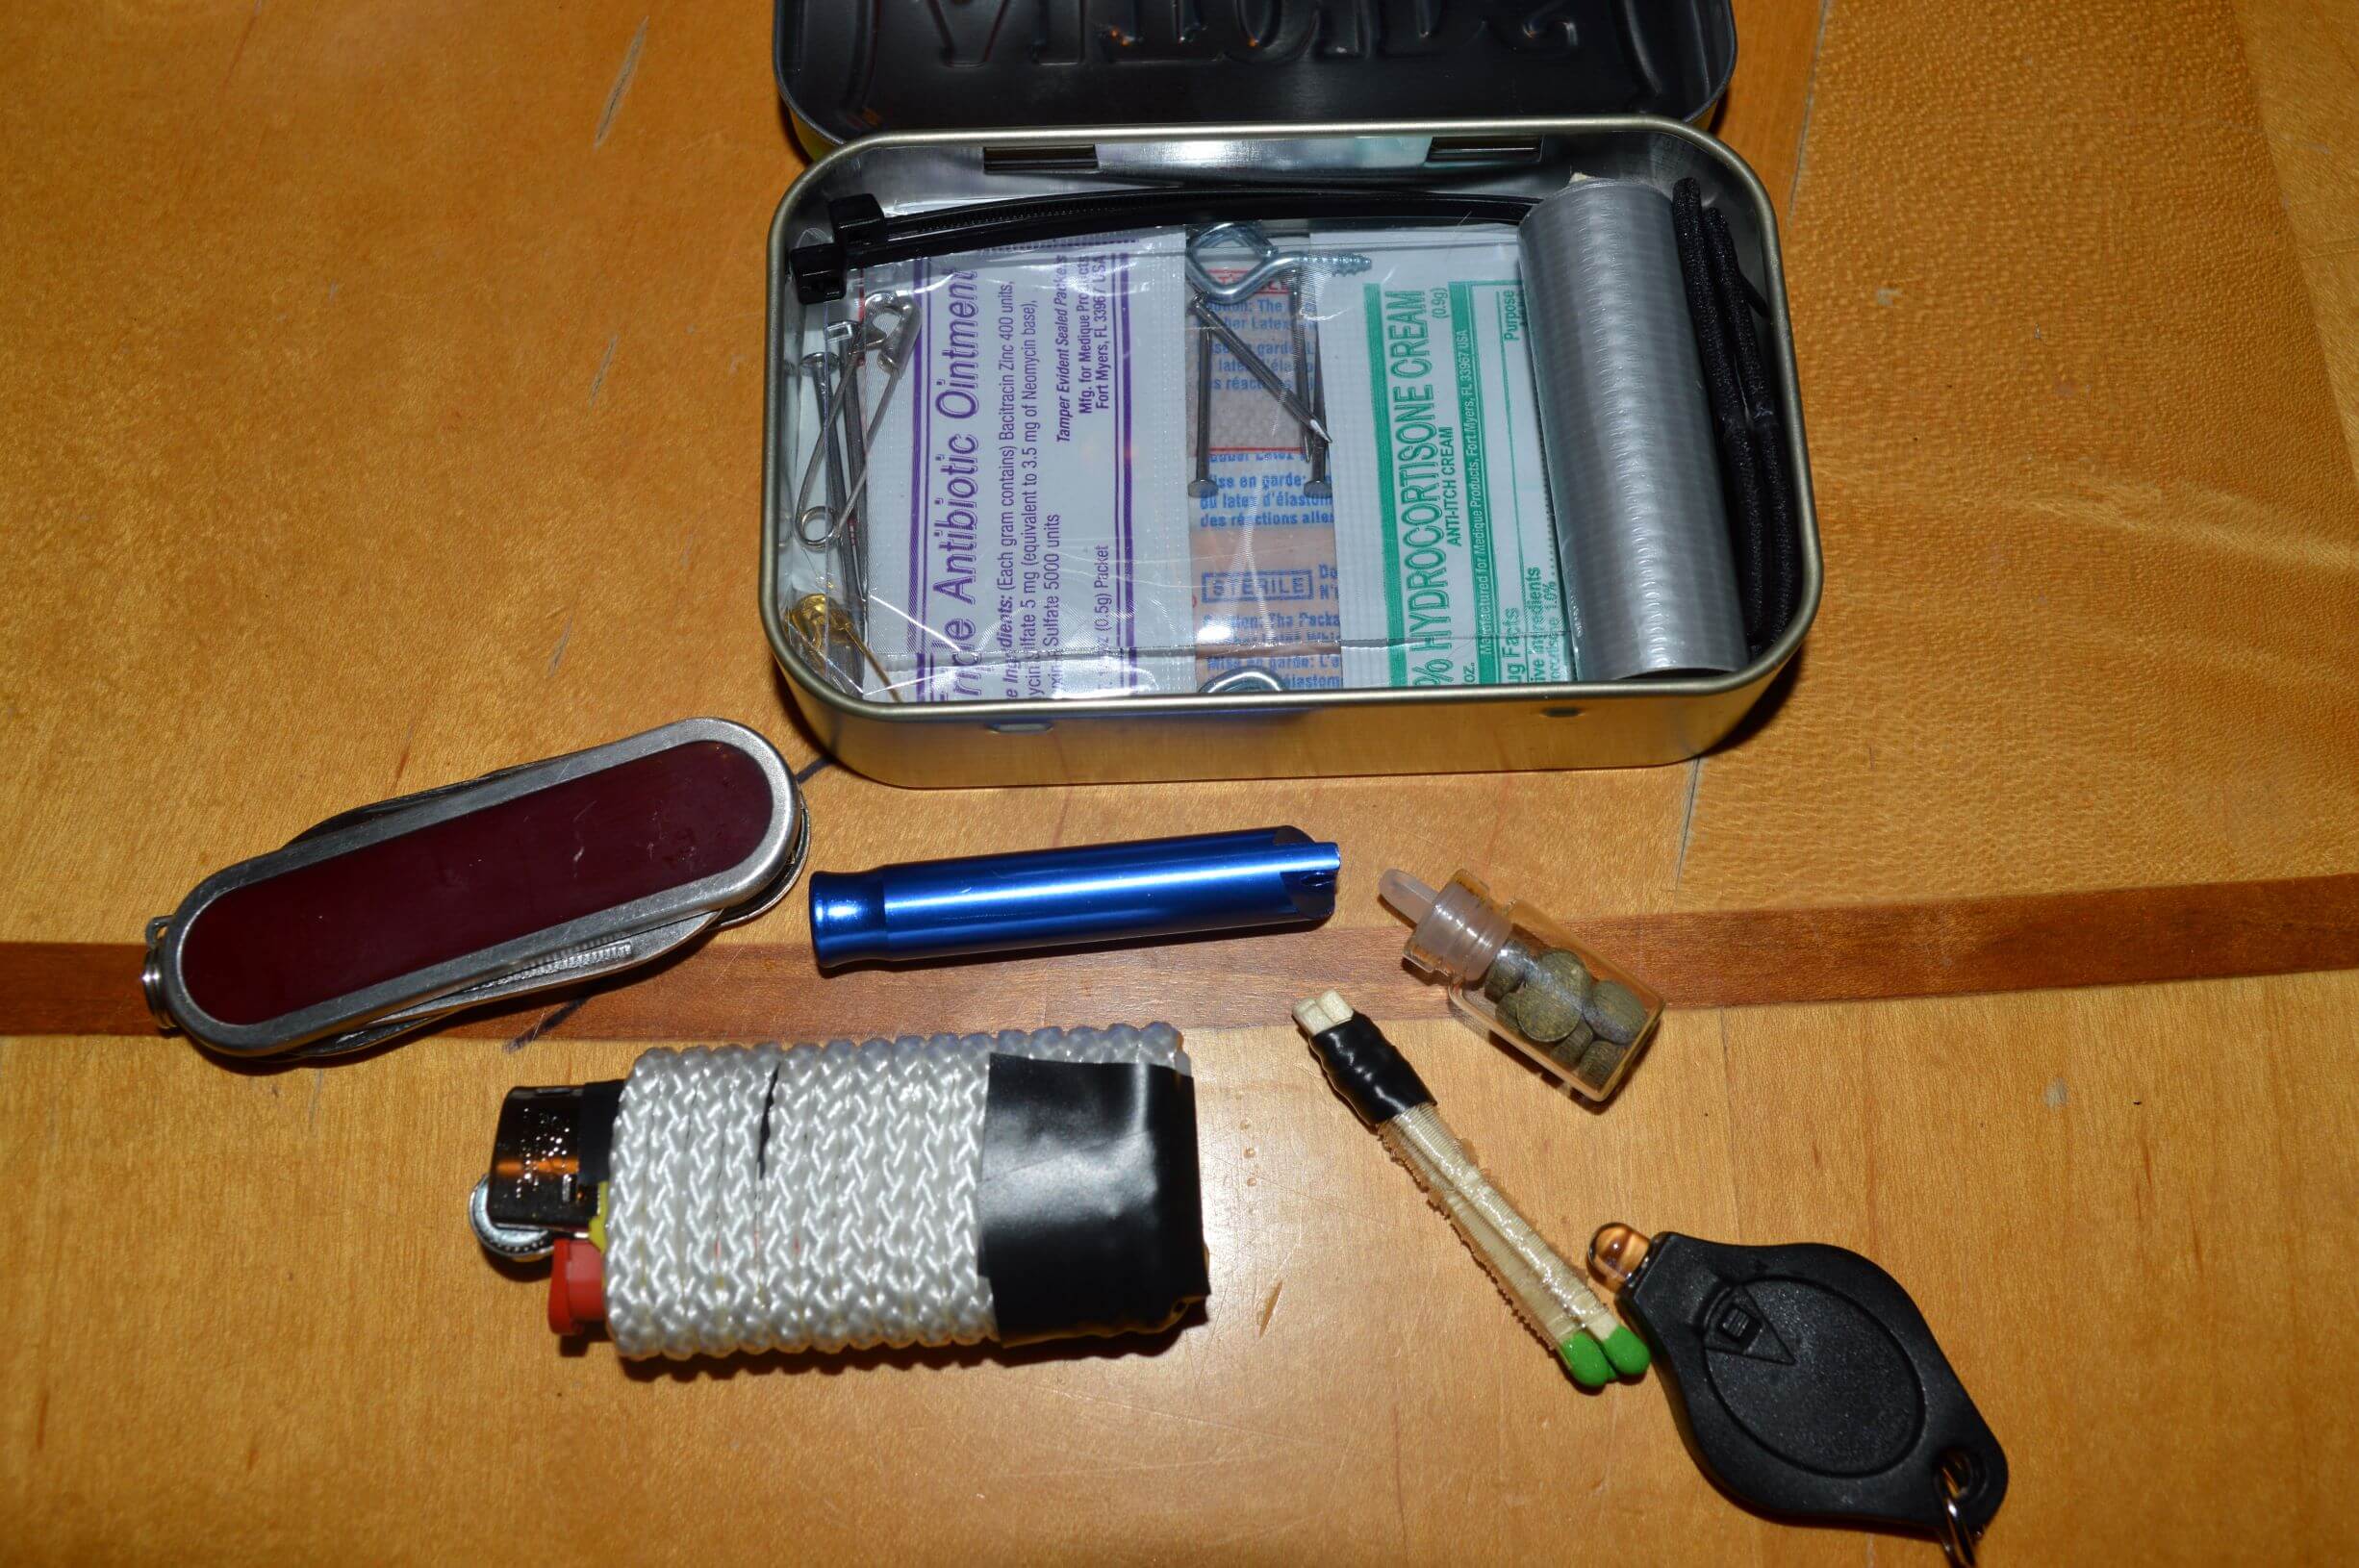
Practice putting items in where they fit best The whistle goes on the top and the tiny jar of water purification tablets fits snug between the whistle and the duct tape. The bic lighter goes on the bottom left with the matches in-between the lighter and the duct tape. The pocket knife goes in-between the lighter and whistle. Then the little LED light on top.
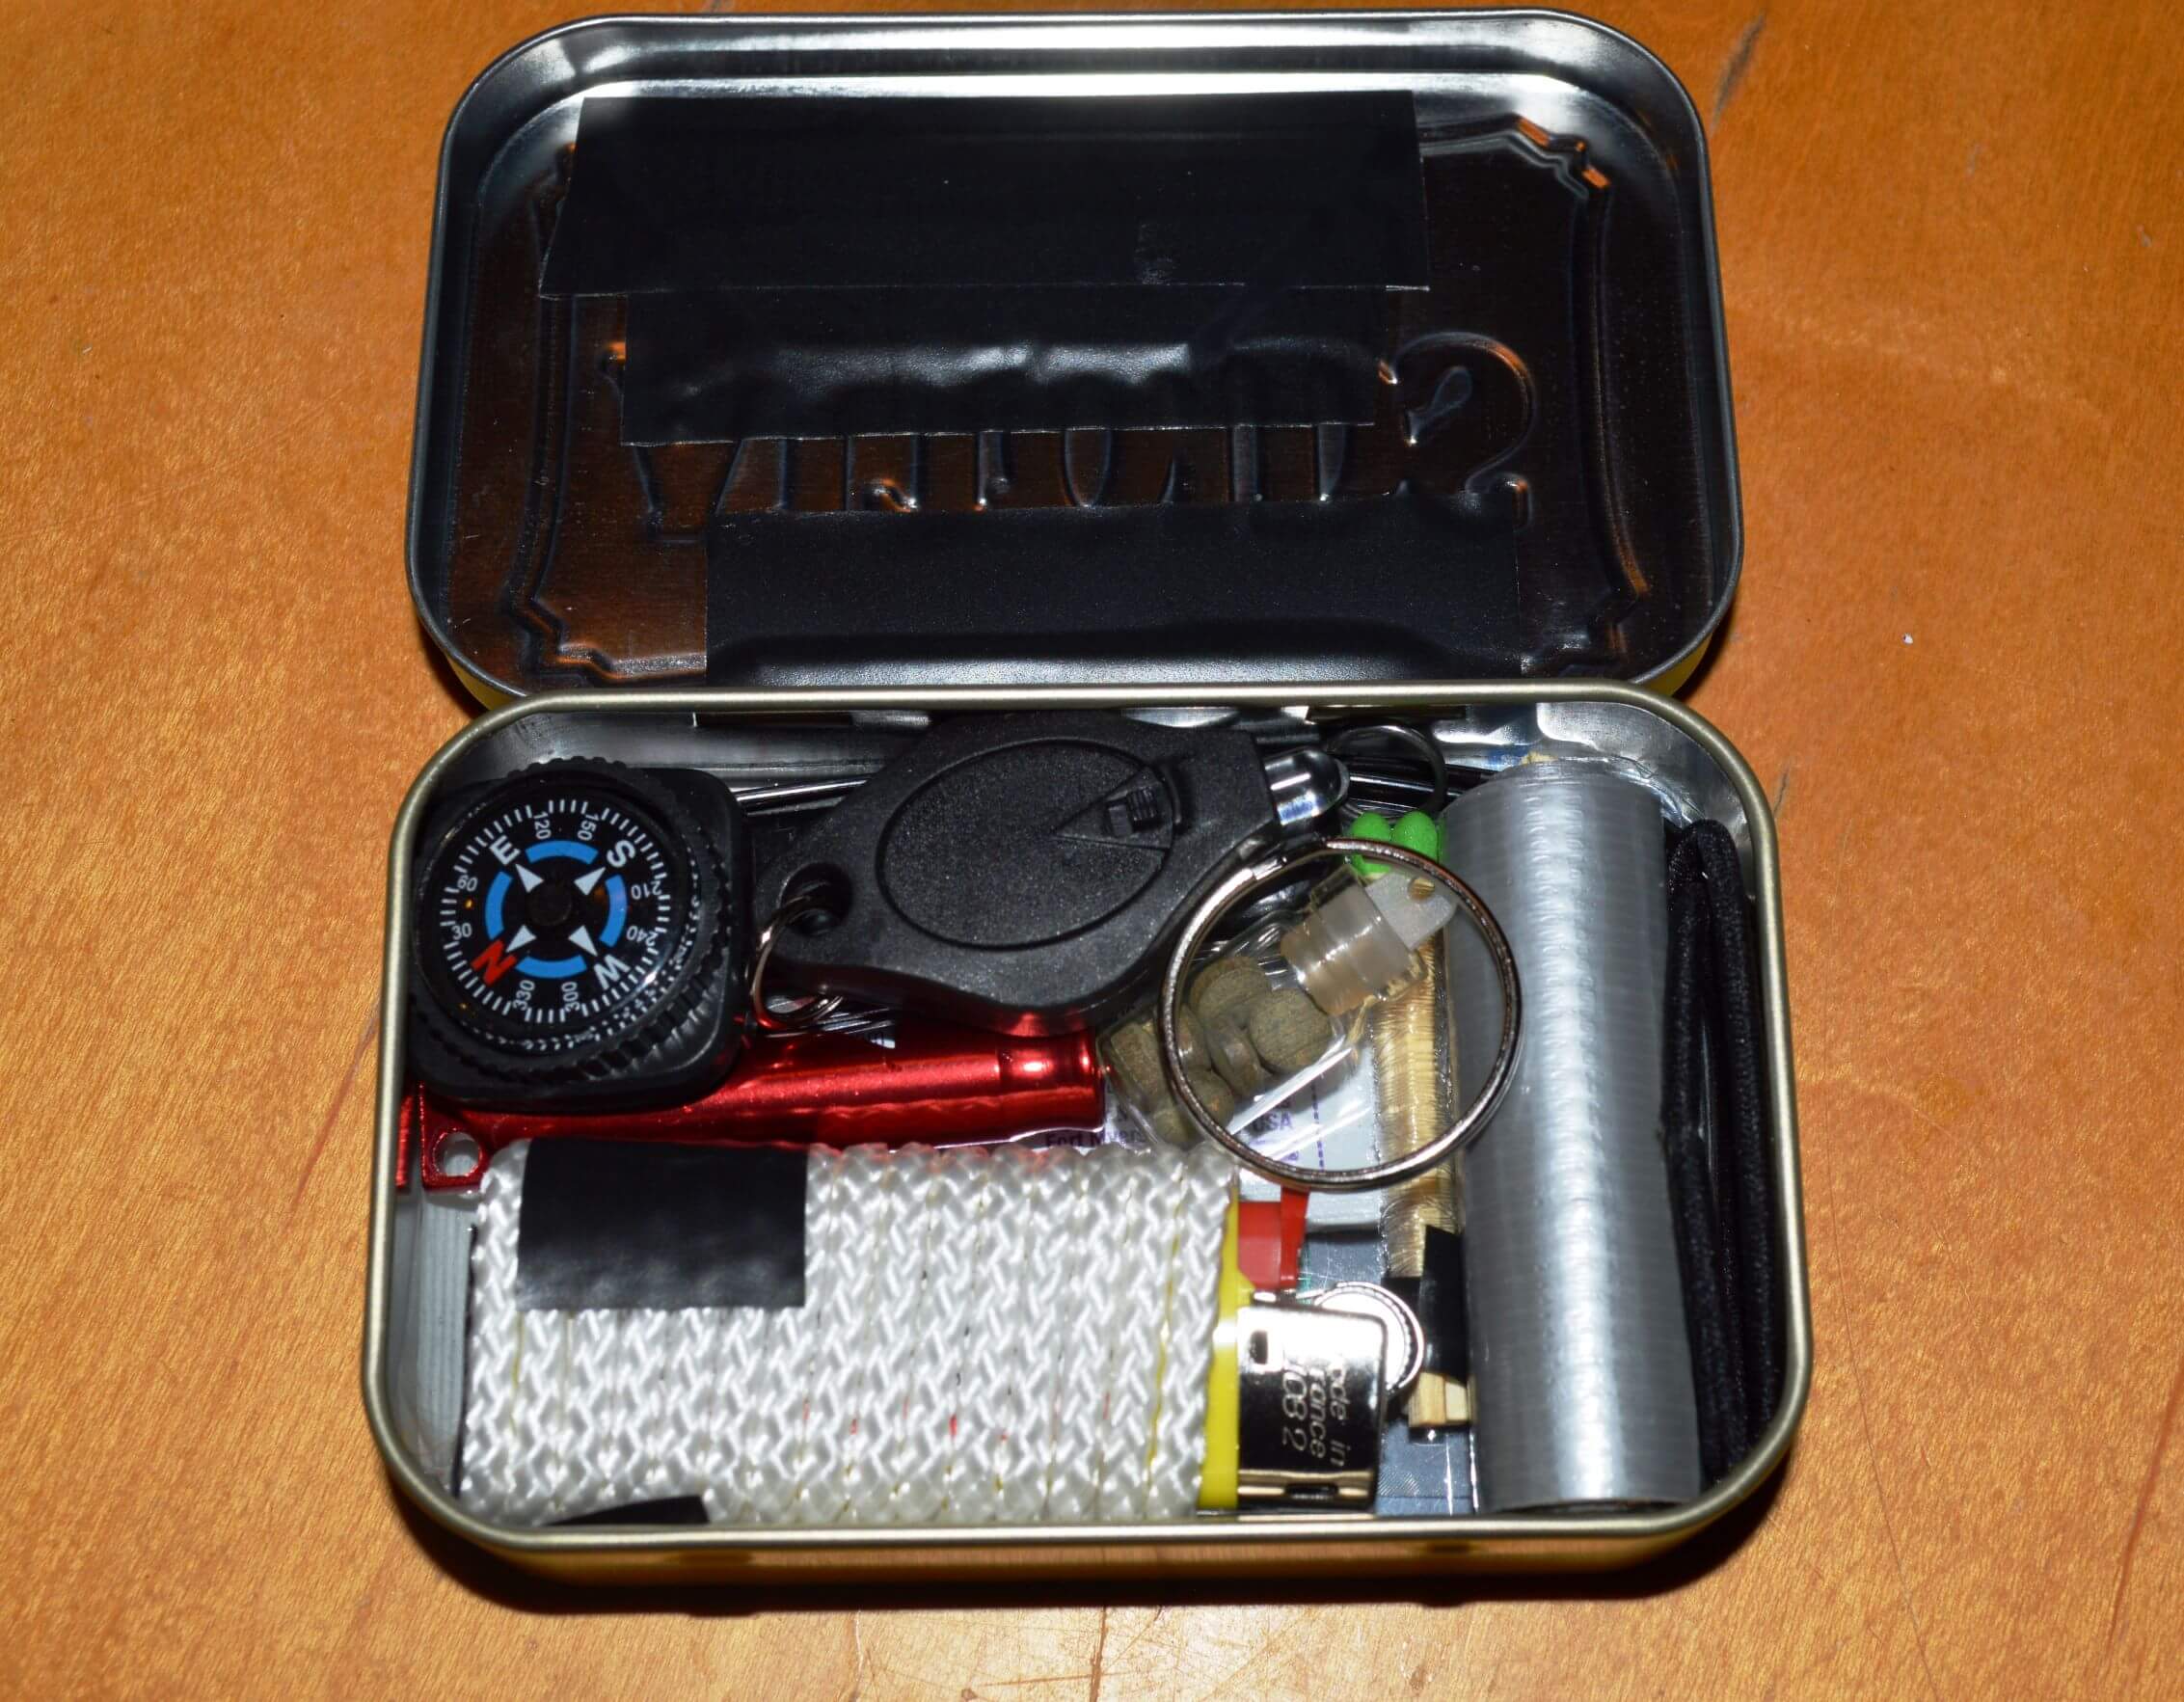
Some other versions I put together had a smaller pocket knife/multi-tool which gave me room to fit the little compass on top of it. (See image at top that shows the compass one)
- Next, I use electrical tape to fasten my razor blade and needle to the underside of the lid.
-
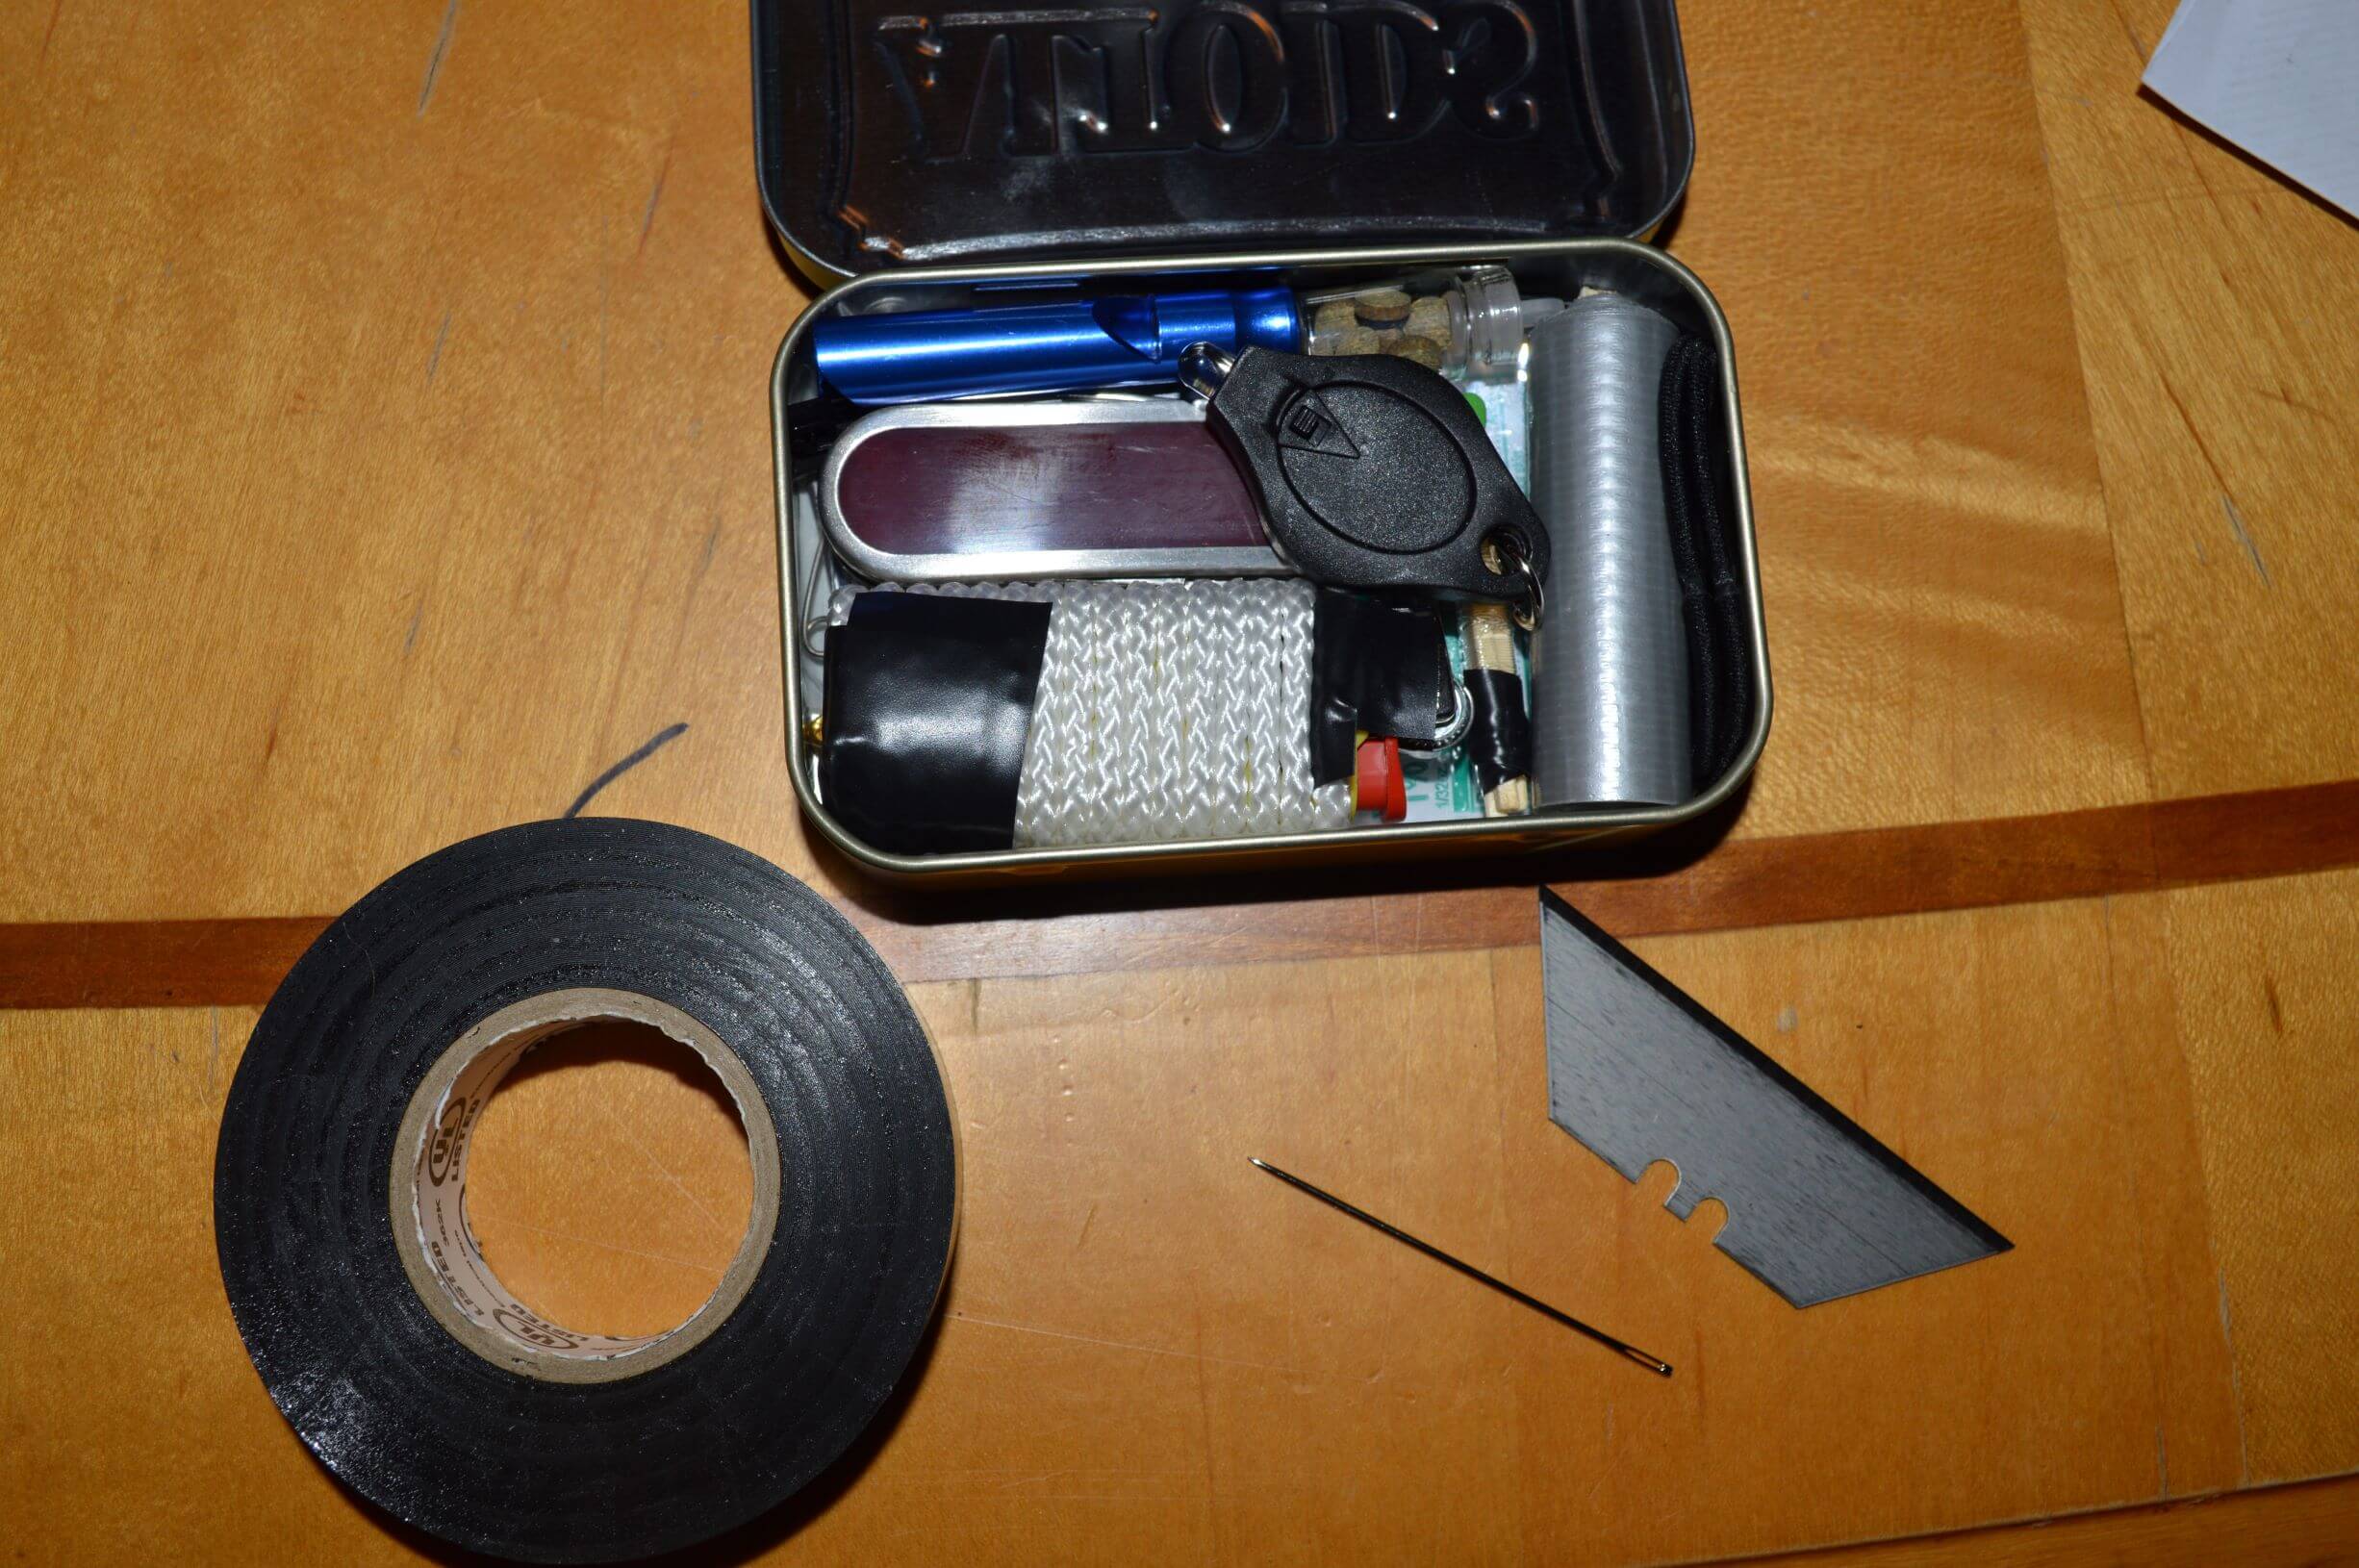
Electrical tape is great because you can use it later if needed as well See how nicely it is taped on and you can easily see the outline and recognize what it is.
-
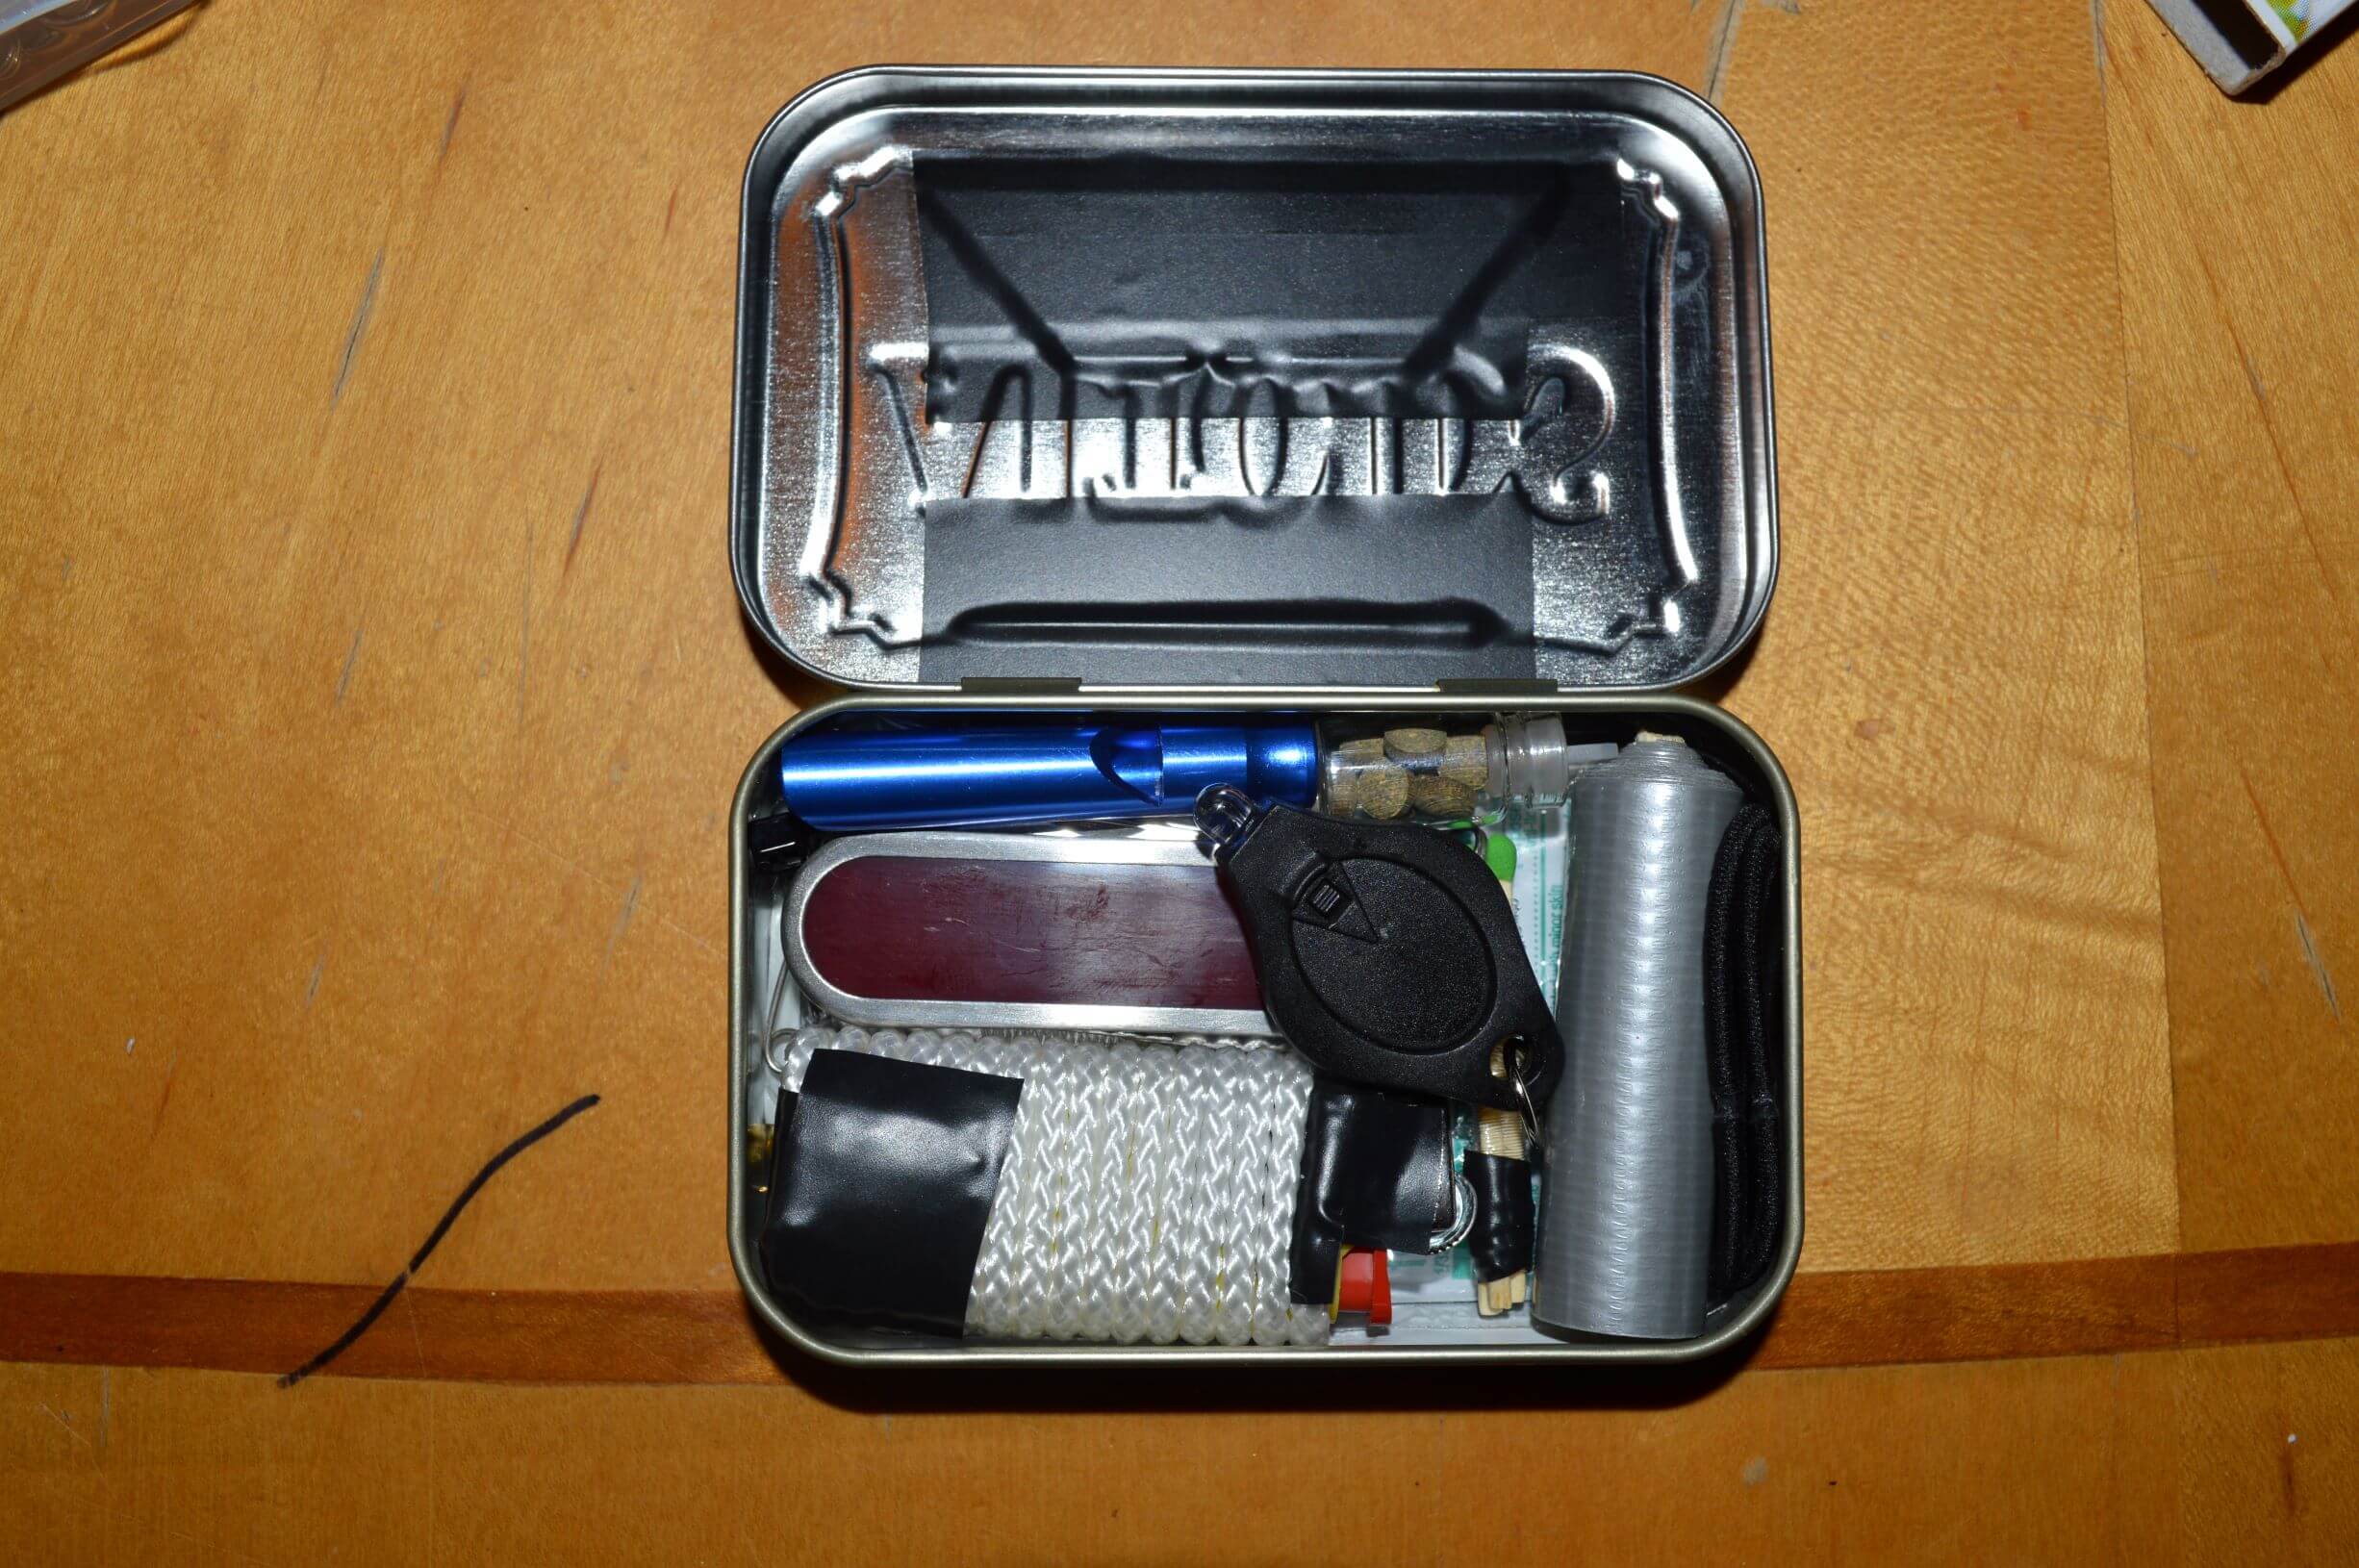
Electrical tape is perfect for this I put the key ring on the very top like so.
-
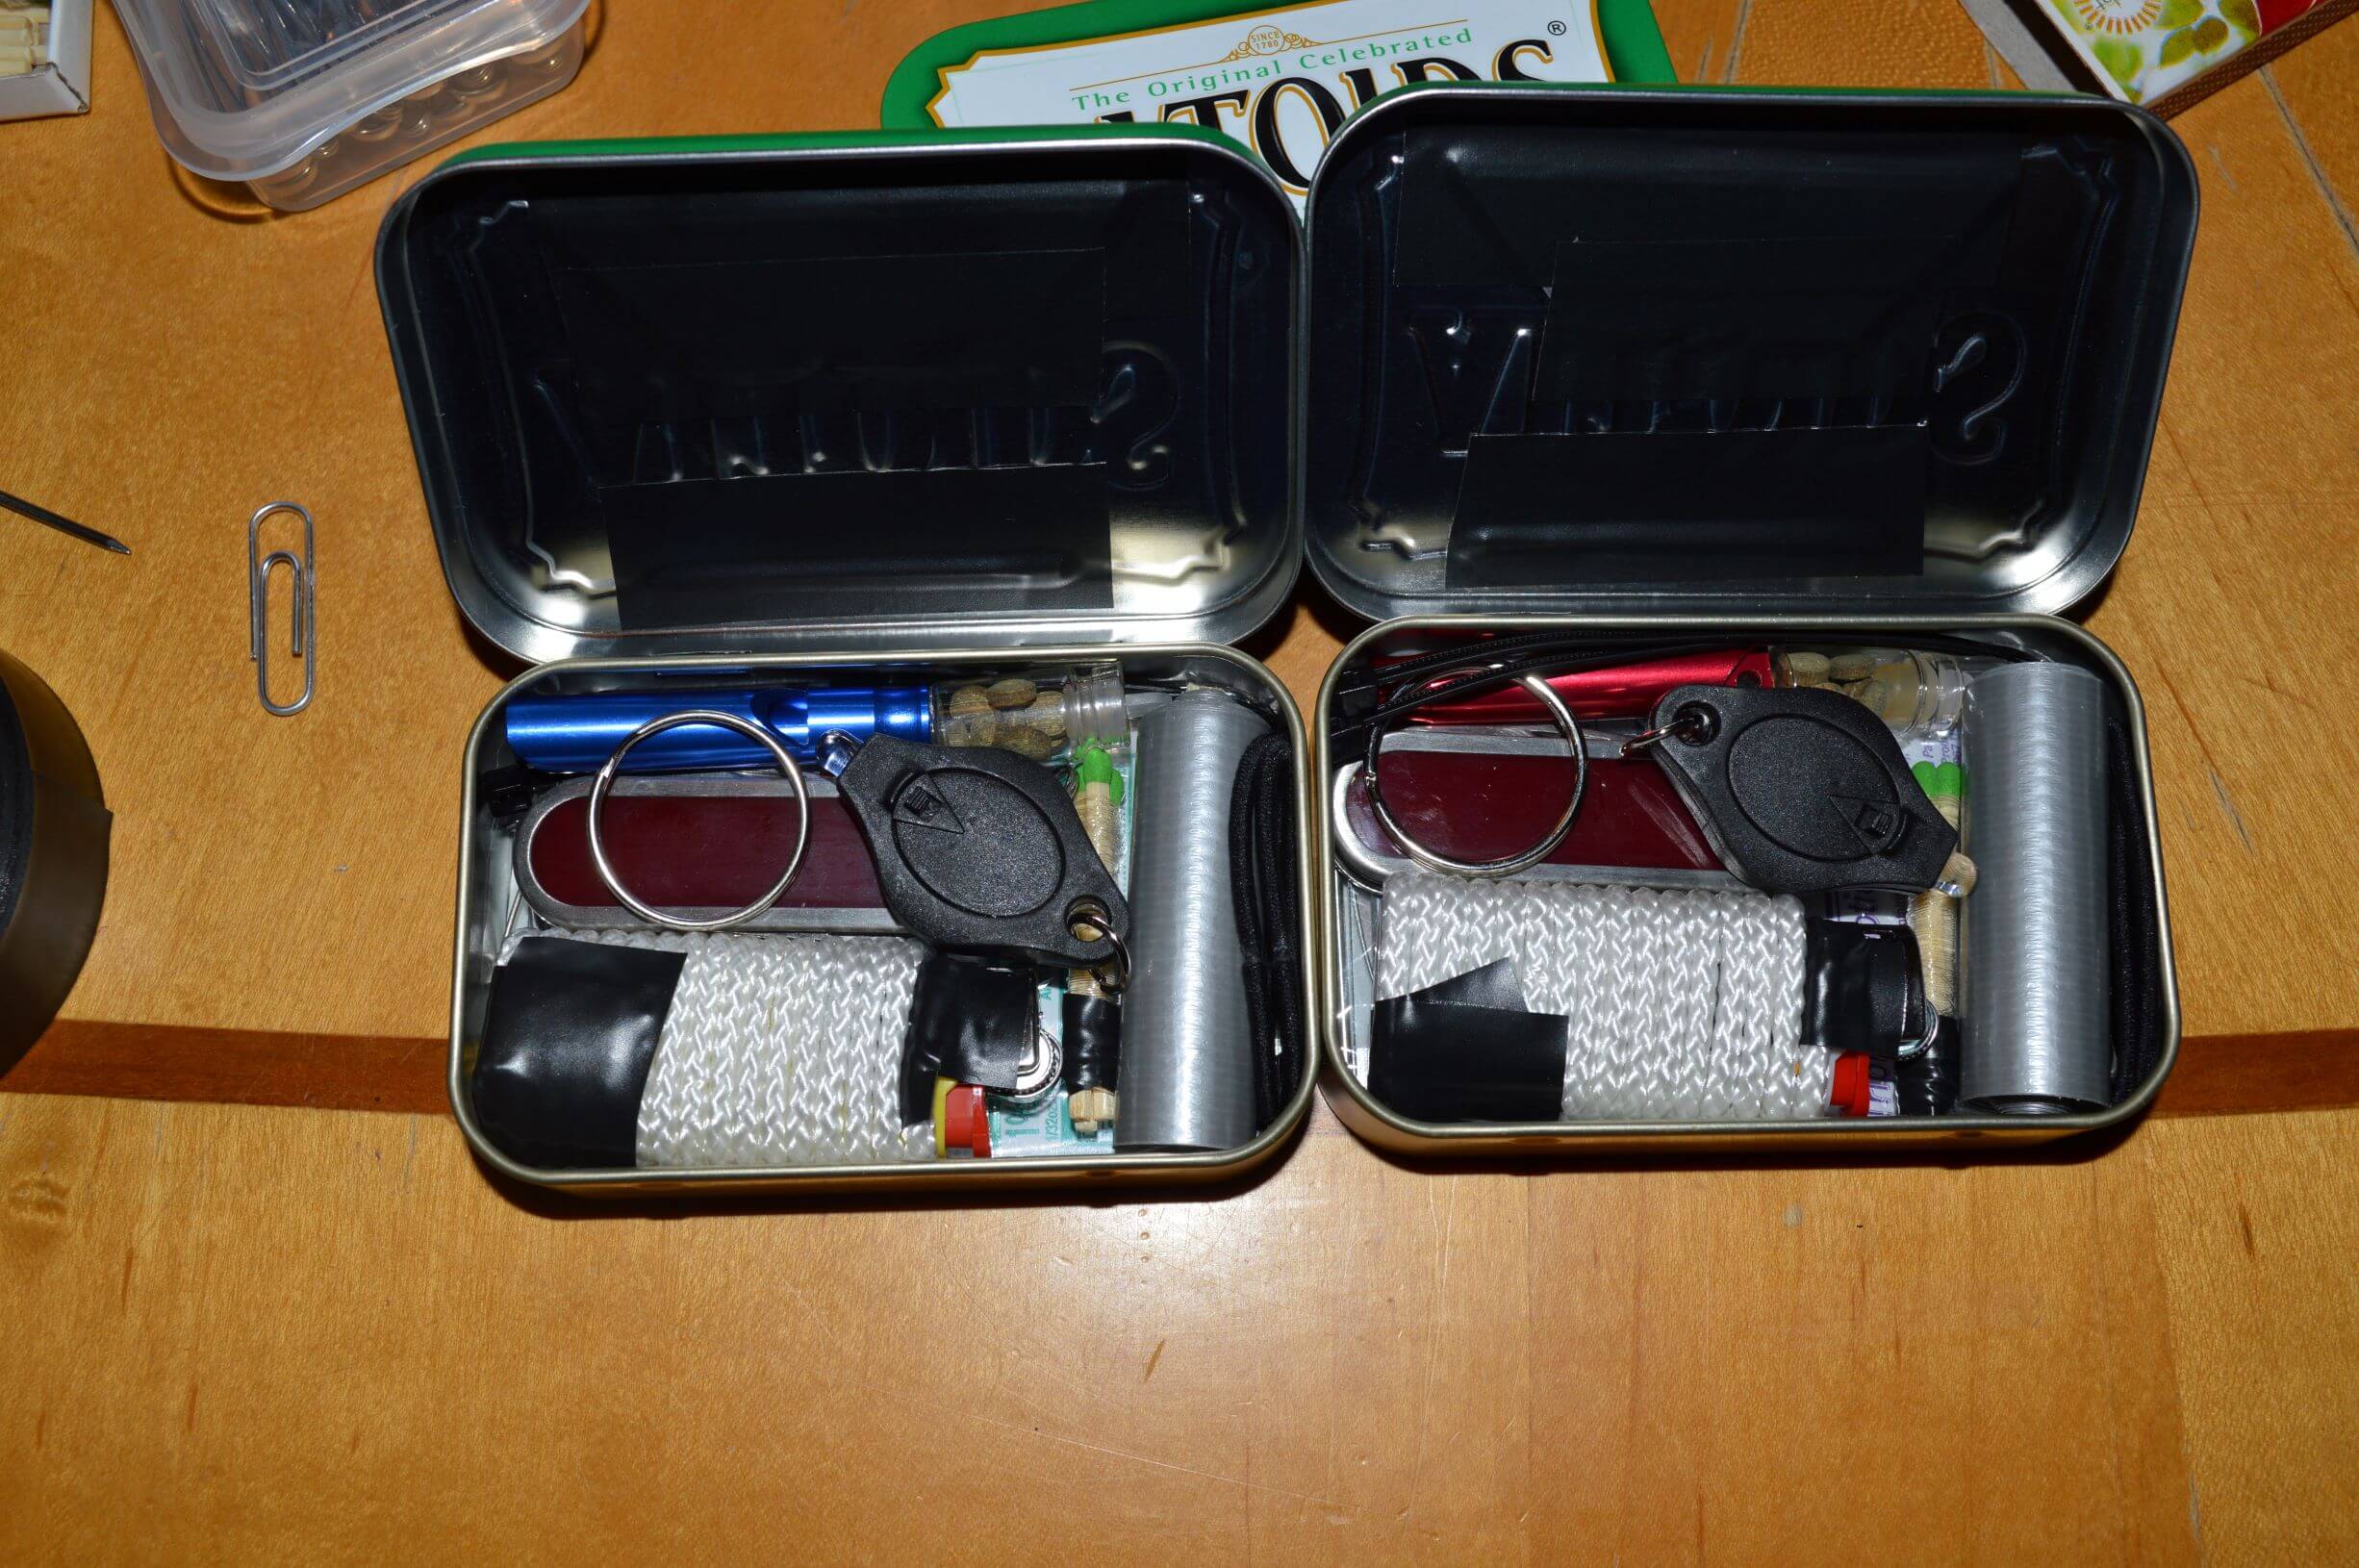
With the key ring on top, it is now done Close it and it’s done! I usually keep a thick rubber band around it to keep it from accidentally opening and the rubber band provides yet another tool. For my family, I put them in zip lock bags before putting them in the bug out bags, to keep it all protected in case the bag got wet.
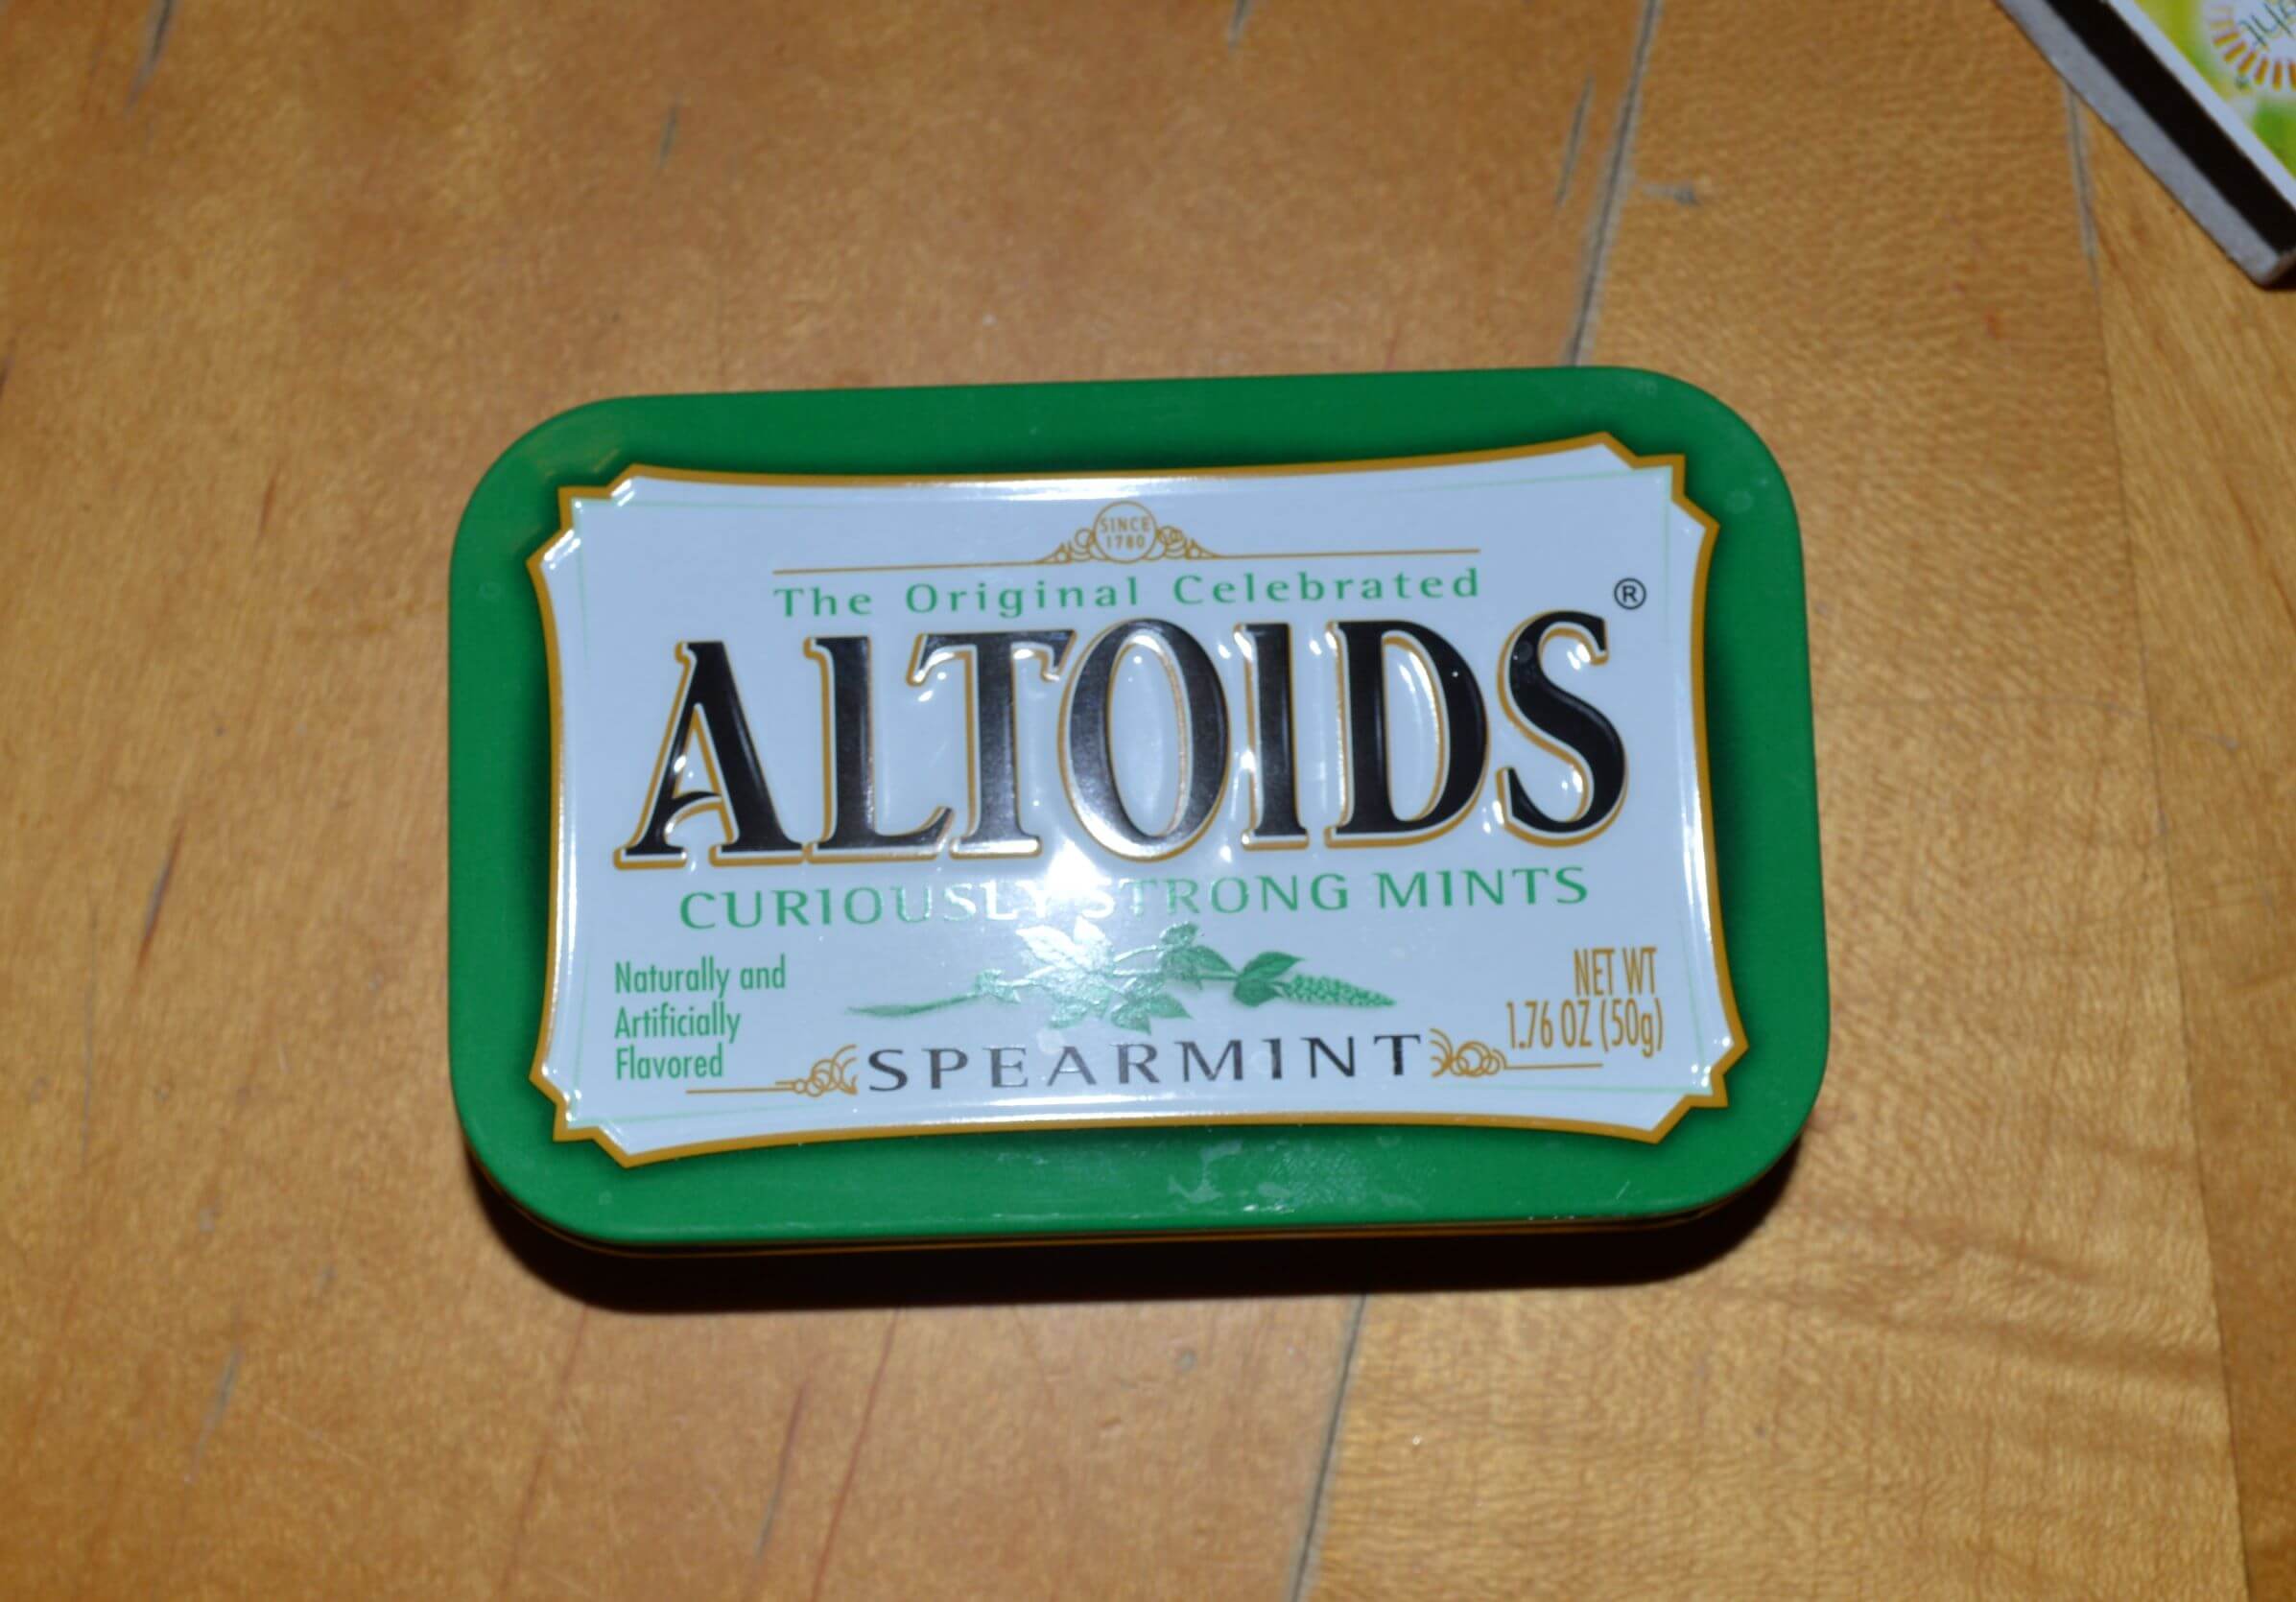
There you have it. A great little survival tin!
I was going to have us put these together as a family activity, but I was so excited one night that I stayed up and put them together myself. However, the next day, we sat at the kitchen table as a family and everyone got to see and handle theirs (I wrote names on the top). We took everything out and talked about how we could use it, and then we practiced putting it all back together. It was a fun little family activity and now the kids are excited to have one in their 72 hour kit.
I also love the idea of using these as gifts and even for cub scouts or boy scouts. I’m also thinking about making a little essential oil emergency tin. They are not only super useful but they are also just pain cool!

