March 5, 2024 | Food Storage | No Comments

Did you know that you can home-can food in a bag? You can with retort canning. It is basically the same as canning in glass mason jars, except you are canning in special Mylar-type bags called “Retort” bags.
This is a game changer!
says me
Just like being able to freeze-dry foods at home with the purchase of a freeze-dryer. You can now home-can in foil bags using a chamber vacuum sealer that can seal retort bags.
No, the food savor vacuum sealer is not powerful enough for this kind of vacuum sealing. I wish it were as I would have been retort canning years ago.
*** Disclaimer: I am not any kind of professional on this type of canning and I have no certification on it. I am sharing what I’ve learned and experienced but it’s up to the reader to research for yourself if/when making any purchases or trying this type of canning. Also, there are links in this post, and I am NOT affiliated with any product, company or link in this post. I share for informational purposes only. ***
How You Can Use Home-Canned Food Pouches
I love home canning and making meals in a jar that I can store and use when needed. For the same reasons you may love canning in glass jars, you may love canning in bags or pouches. Think of all the space you can save when storing food in bags instead of jars. Food in bags are much less likely to be destroyed in a natural disaster as they cannot just fall and break. Here are just a few ways these home-made MREs can be utilized:
- 72-hour kits
- Get-home bags
- Bug out kits
- Pantry meals
- Long-term food storage
- Lunch Packs & School Lunches
- Mailing food overseas or stateside
- Camping & RVing
- Backpacking & hiking
- Vacations
- Traveling / Road trips
How Retort Canning Works
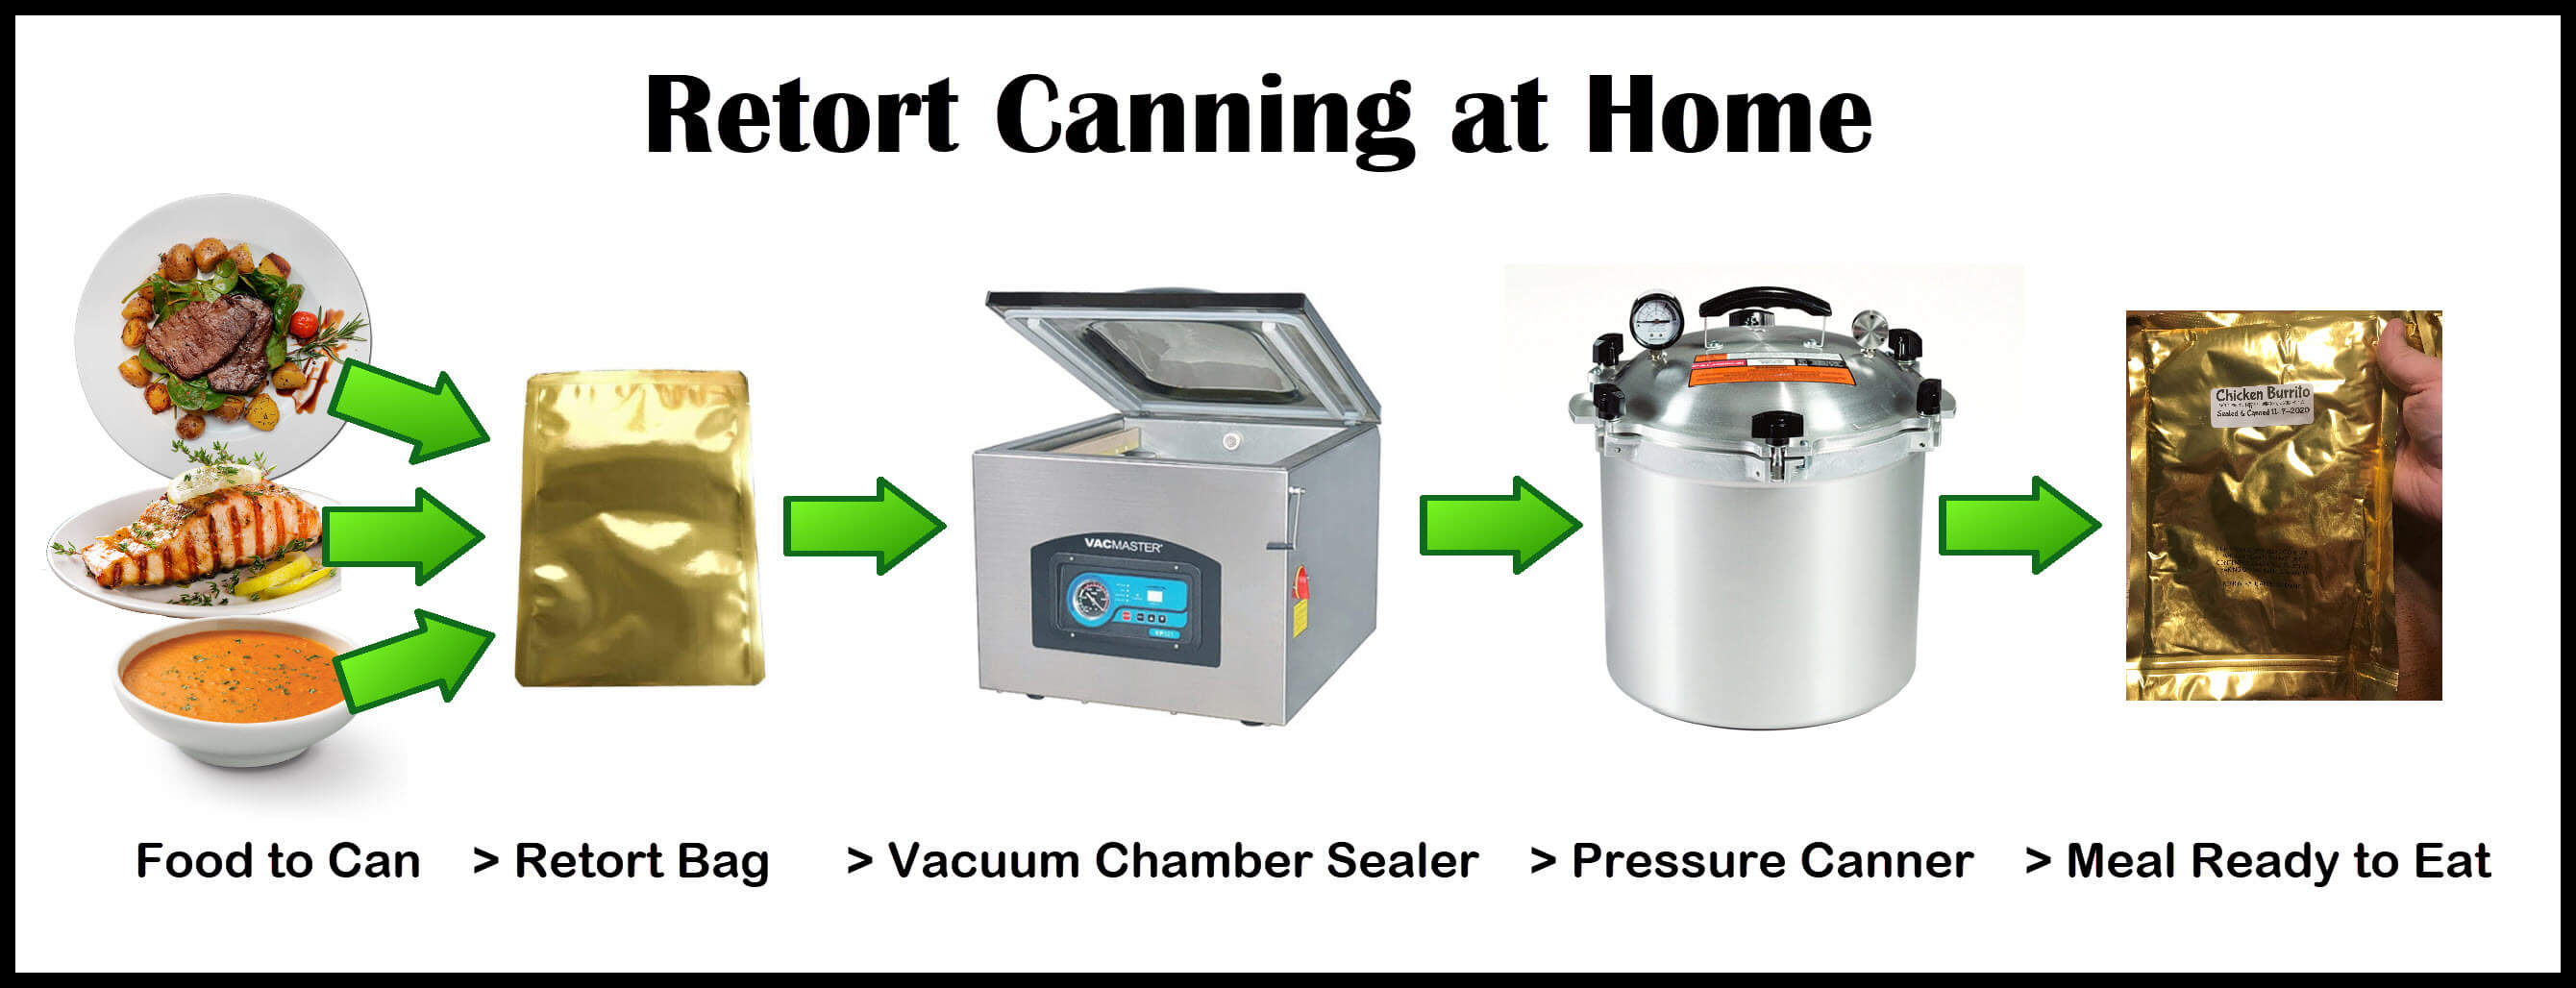
FIRST: You Need a Vacuum Chamber Sealer

To seal a retort bag, I’ve read that you must use a chamber vacuum sealer that is recommended for retort sealing. These are mostly expensive commercial sealers ($1500 – $3000+). You may want to check out the Minipack sealers. Also, here is an article on the best chamber vacuum sealers to buy in 2020.
I have looked into less expensive chamber sealers that may also be able to seal retort bags.
I chose the VacMaster VP215 Chamber Vacuum Sealer. It’s not officially rated to seal retort bags, but I found in my research that many people were already using it successfully for retort sealing.
One site I found a review that said: “Don’t be afraid of the VP215.” He went on to say he’d used his for retorting tuna and has been “very satisfied… Very few non-sealed bags”
I also found this Amazon review on the VP215: “I debated between this and the VP112. Ultimately picked this one because of the better sealing bar which is needed for retort canning. If I wasn’t planning on doing retort canning, I would have picked the cheaper VP112 with the larger vacuum chamber.”
I’ve had friends also consider the Avid Armor USV32 Chamber Vacuum Sealer which is cheaper.
SECOND: You MUST use Retort Bags

While it would be nice to simply buy some thick Mylar bags, you cannot use a Mylar bag for the canning process. You must use retort bags for retort canning. They are specifically made to withstand the pressure of canning and to last for years. Retort bags are not reusable.
You can find retort bags on Amazon. I’ve seen them other places online but ended up purchasing mine from Pleasant Grove Farm and I’ve been happy with the quality.
THIRD: Become Familiar with the Process

It is important that you learn about the proper procedures for retort canning so that you can be safe and produce a good, canned product. I strongly suggest you read this page about retort canning to learn the guidelines. That link also gives you a guide to the times of processing for various foods you may retort can. I refer to this page a lot.
In a nutshell, here are some important things you should know:
1) Do not hot pack in your retort bags. Food in your bags MUST be cooled down before you vacuum seal. So whatever it is you are making, throw it in the fridge to cool off before you load them in your chamber vacuum sealer.
2) Most meats need to be partially cooked before retort canning except for seafood meats like crab, salmon, tuna, clams and lobster. Fruits and vegetables can be raw packed.
3) It is recommended to not overfill your retort bags. So, if you are using a 4 oz. bag, measure the food you insert to be 4 oz or ¼ lb, 8 oz. to be ½ lb and so forth.
4) Never put your retort bags directly on the bottom of your canner as they can melt. Use a basket or something else appropriate in between your bags and the bottom of the canner.
My Experience – Chicken Burritos
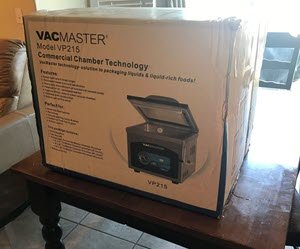
I got my VacMaster VP215 delivered and it is heavy. It was delivered on a pallet.

I set it up on a sturdy rolling kitchen cart with shelving to store bags on. Since it’s so heavy to lift, a rolling cart makes it easier to move around when needed.

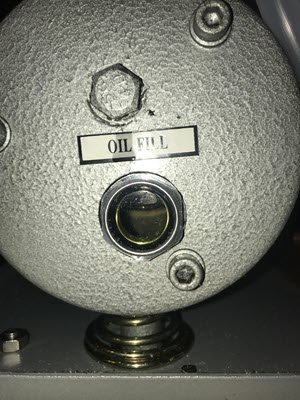
When setting up, I had to add oil to the unit before using. I took the back metal panel off and unscrewed a bolt. Then I put in the required amount of oil that came with the unit until it showed about ¾ full as directed.
My first canning recipe I chose to try was Chicken Burritos in a bag. I gathered all my ingredient. I had my chicken cut up and I pan fried the chicken for several minutes and then allowed it to cool off in the fridge.
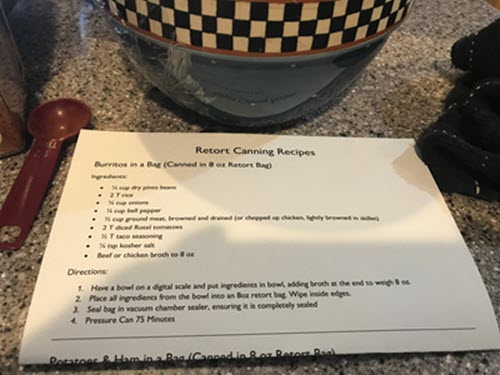
Then I was ready to fill my bags. I put all the ingredients measured out into a glass measuring cup on my digital scale, adding the broth last.

Then I poured the ingredients from the measuring up into the retort bag using my canning funnel.
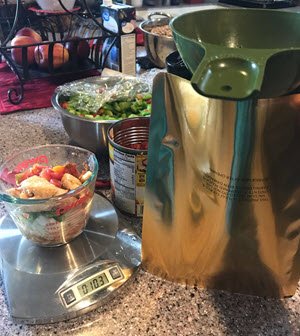
I wiped the inside edges to ensure they were clear of any food items and then put the pouch in my VacMaster.

My settings were set at: 45 seconds for vacuum, 2.5 seconds for sealing, and 4.8 seconds for cooling off. I shut the lid and let the bag seal, checking it afterwards for a good seal.
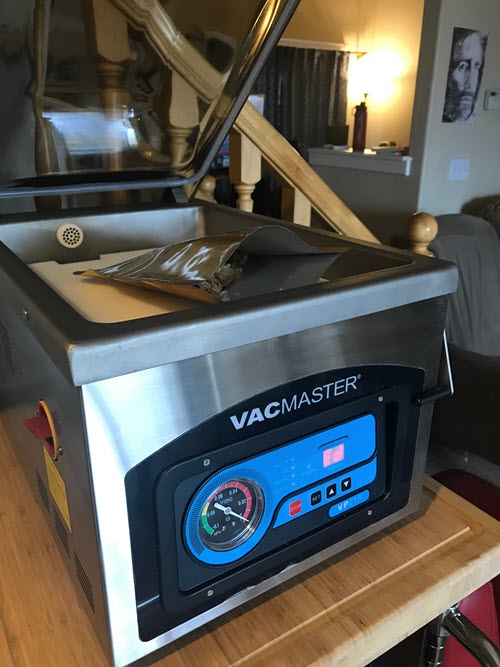
After I got 22 bags all filled and sealed, I packed them in my pressure canner and added water about ½ way up my canner. The bags were packed in nice and tight but not overly packed.

I then processed the bags for 75 minutes.
After the canner had returned to zero pounds of pressure, I began taking the lid off. As soon as I did, the bags began ballooning out like they were balloons coming out of the canner. It actually freaked me out and I quickly set the lid back on top. I allowed it to cool for another 30 – 40 minutes. Then when I took the lid off, the bags were their regular size again.
I realized that while the bags are very hot and coming off the pressure, they will balloon. This is where their seals can break. This is why it’s important to have them packed tight, just not overly packed. And wait a good 30-60 minutes AFTER your PC has reached zero pressure, just to ensure they’ve cooled off enough.

I took them out and flattened them out with my hands. All 22 were still sealed and looked great. The bags were still hot. When they cooled completely, I put the label stickers on them.
There you have it. I hope this helps you get excited to try something new in helping you get prepared.
===================== Taste Test UPDATE =========================

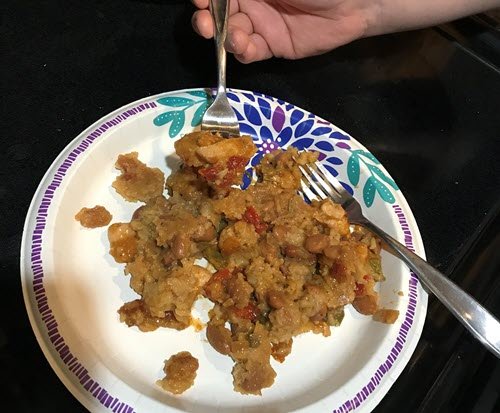
My son and I took some bites. The chicken was intact, the beans were cooked soft. The taste was delicious.


