May 21, 2024 | Food Storage, Temporal Preparedness | No Comments

My family loves cheese! We use it in so much food we make and just to snack on. The thought of only having powdered cheese in our long term food storage just sounds so…. Blah! So when I learned that you can wax cheese and it can last for years, I was totally on board!
I was first inspired to try waxing cheese from the Preparedness Pro. Here are the basics.
ITEMS NEEDED:
- Cheese Wax. Do not use paraffin wax be because it doesn’t plie as nicely to the cheese and can tend to crack. Cheese wax is meant to shape to the cheese and heats up more slowly and to a higher temperature. It is also less crumbly. Cheese wax can be re-used several times by simply washing it in warm water and allowing it to dry and then re-heating it up to at least 200 degrees to kill any bacteria
- Food Handling Gloves. The less you touch the cheese directly the better.
- Double Broiler. Use a pan that will only be used for melting cheese. Possibly pick one up at a thrift store for this purpose.
- Hard Cheese. You can wax practically any hard cheese as long as it’s hard enough to be a solid block.
- Natural Boar Bristle Brush. This is for brushing on wax to cover any corners or areas that need a little extra or have holes. You want this kind of brush specifically because it applies the wax perfectly, where other brushes will apply it too thick.
- Sticker Labels. This is optional. I write on some address sticker labels the type of cheese and date and then I put them on the wax just before I apply the last coat so it will not fall off during storage.
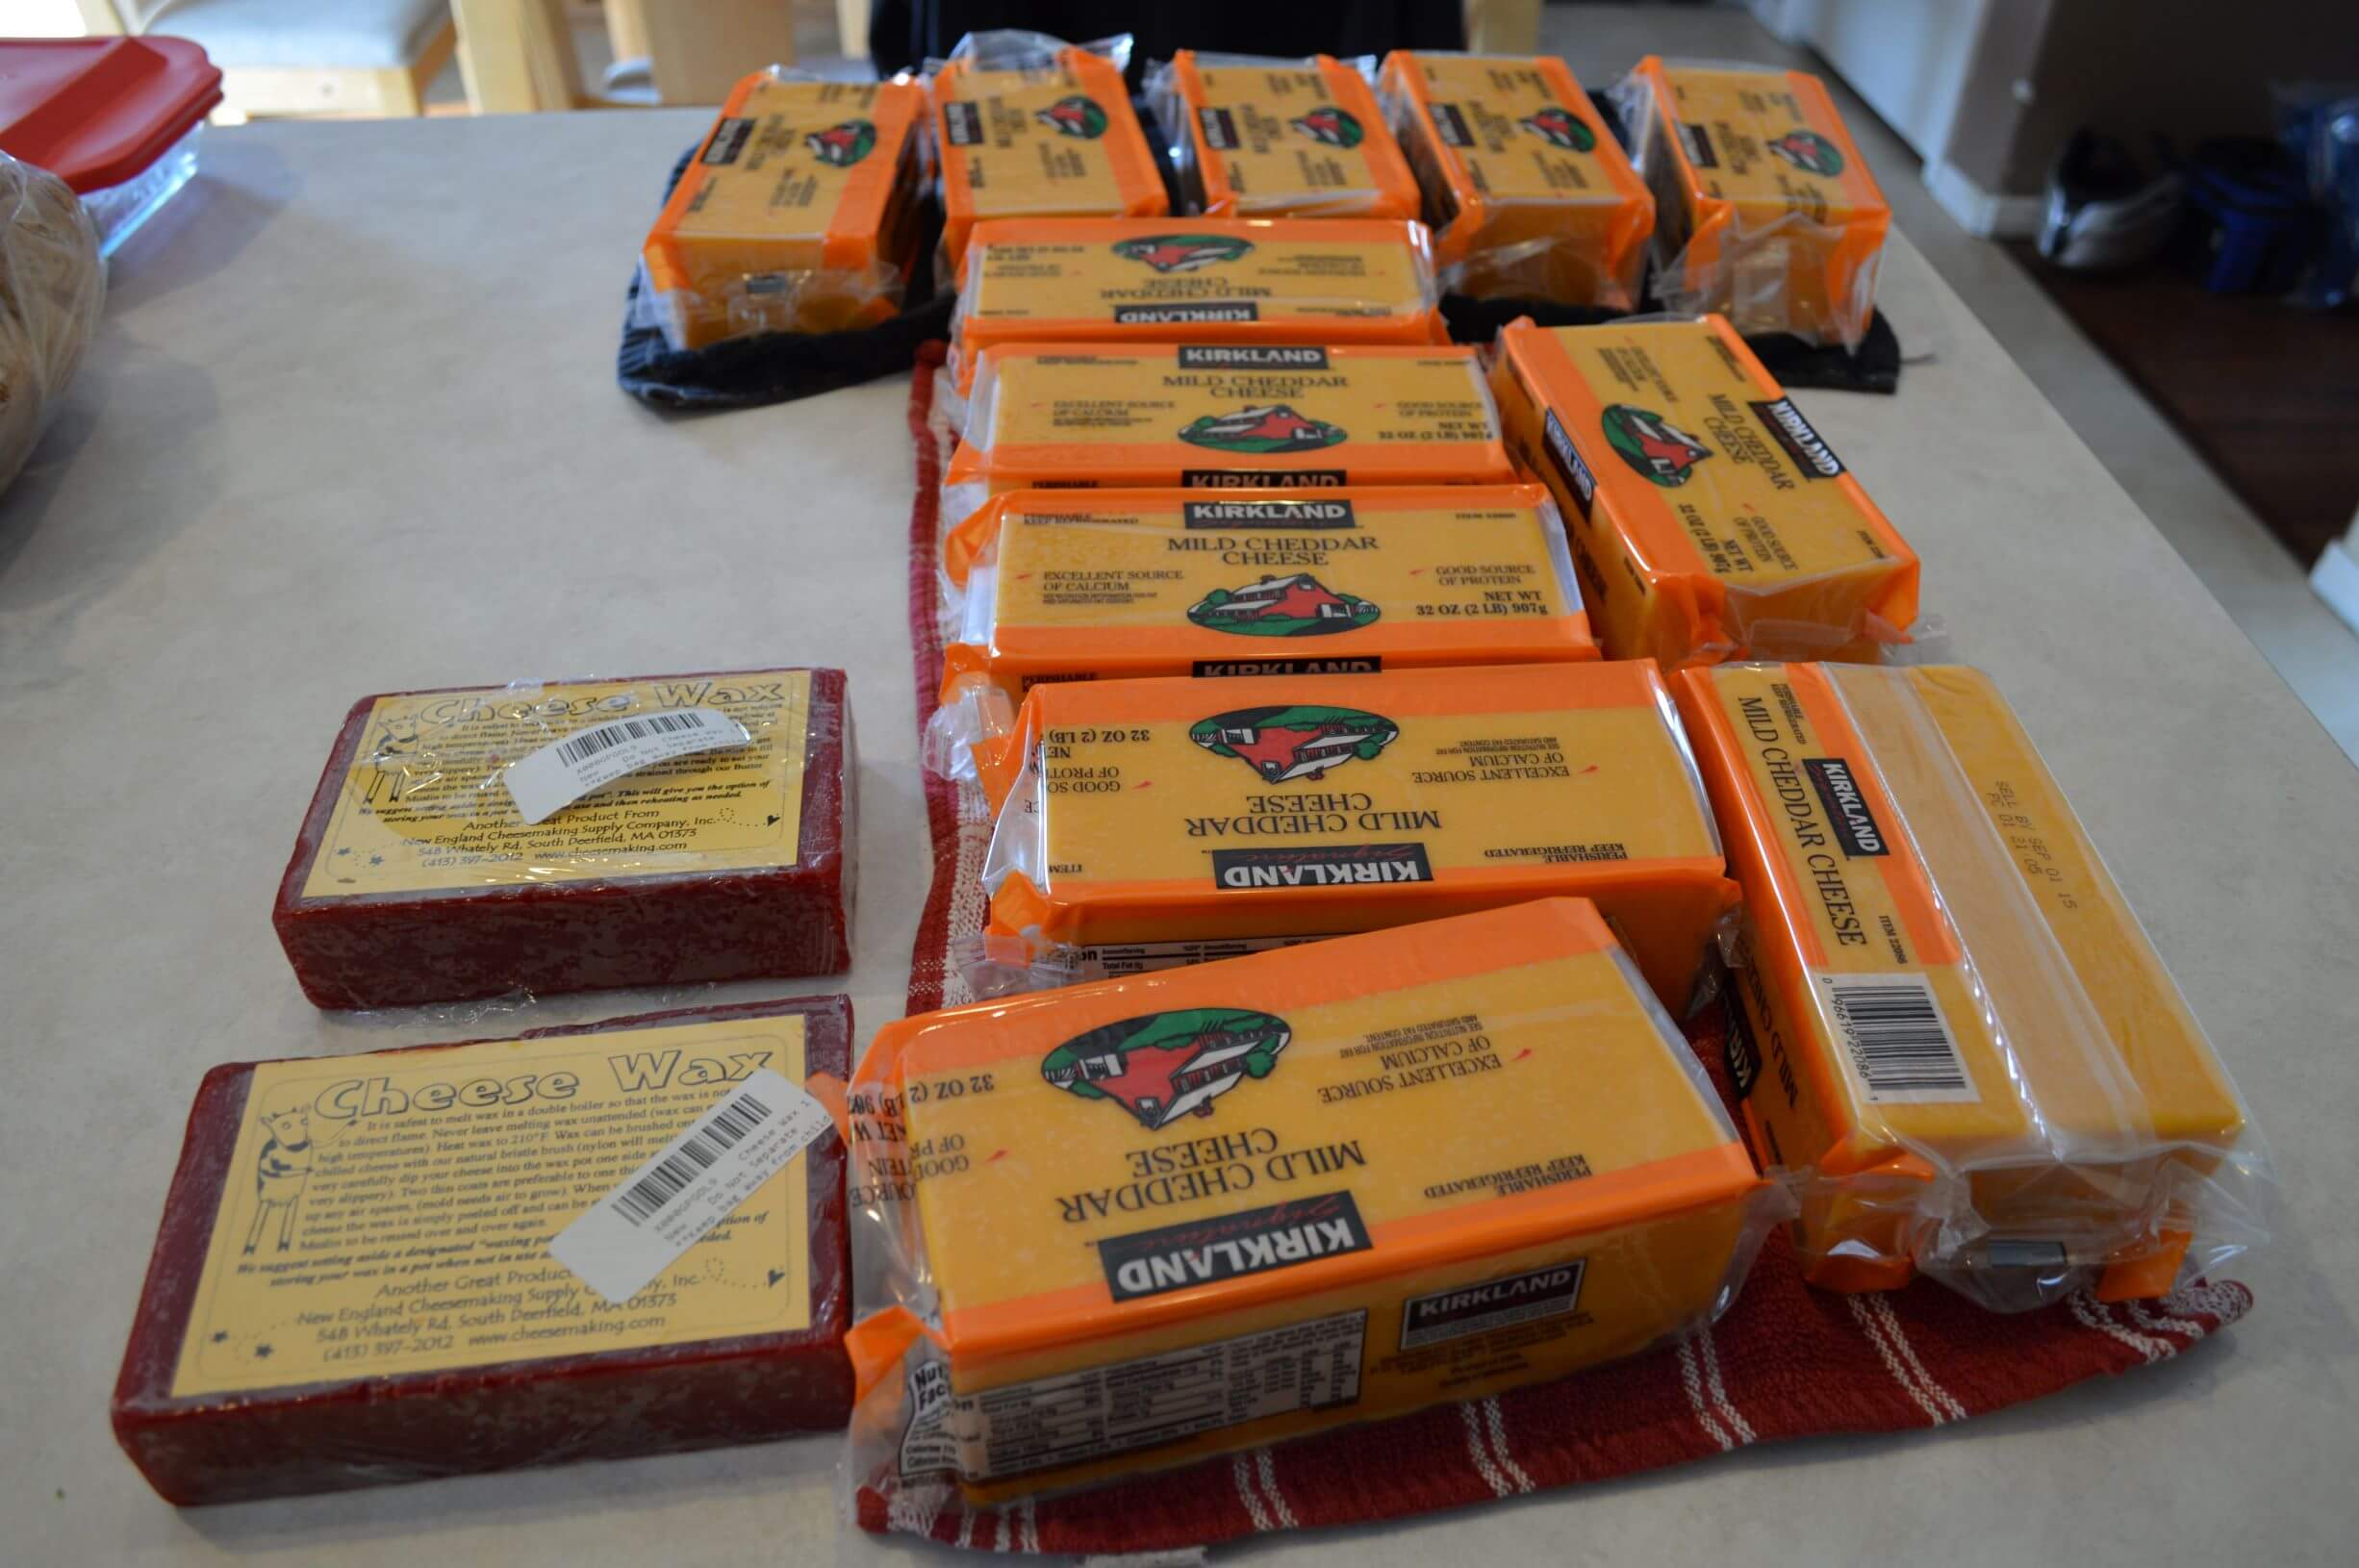
WAXING THE CHEESE:
- I cut my cheese into smaller blocks so that when I open to use them, I won’t have to use a big block. I also left my cheese out for several hours (before opening) to become more room temperature. Some people mention leaving the opened cheese out for a couple of days to let all the oils drain and then dipping their cheese in vinegar and drying completely before waxing. This is to ENSURE that no bacteria is on the cheese and that no oils disrupt / warp cheese in it’s wax while storing which can lead to your cheese turning black and spoiling. The surface of your cheese should be clean and dry before waxing. Do not touch the cheese with your bare hands. I used Mild Cheddar because the cheese will still age, so it might be medium or sharp by the time I use it.
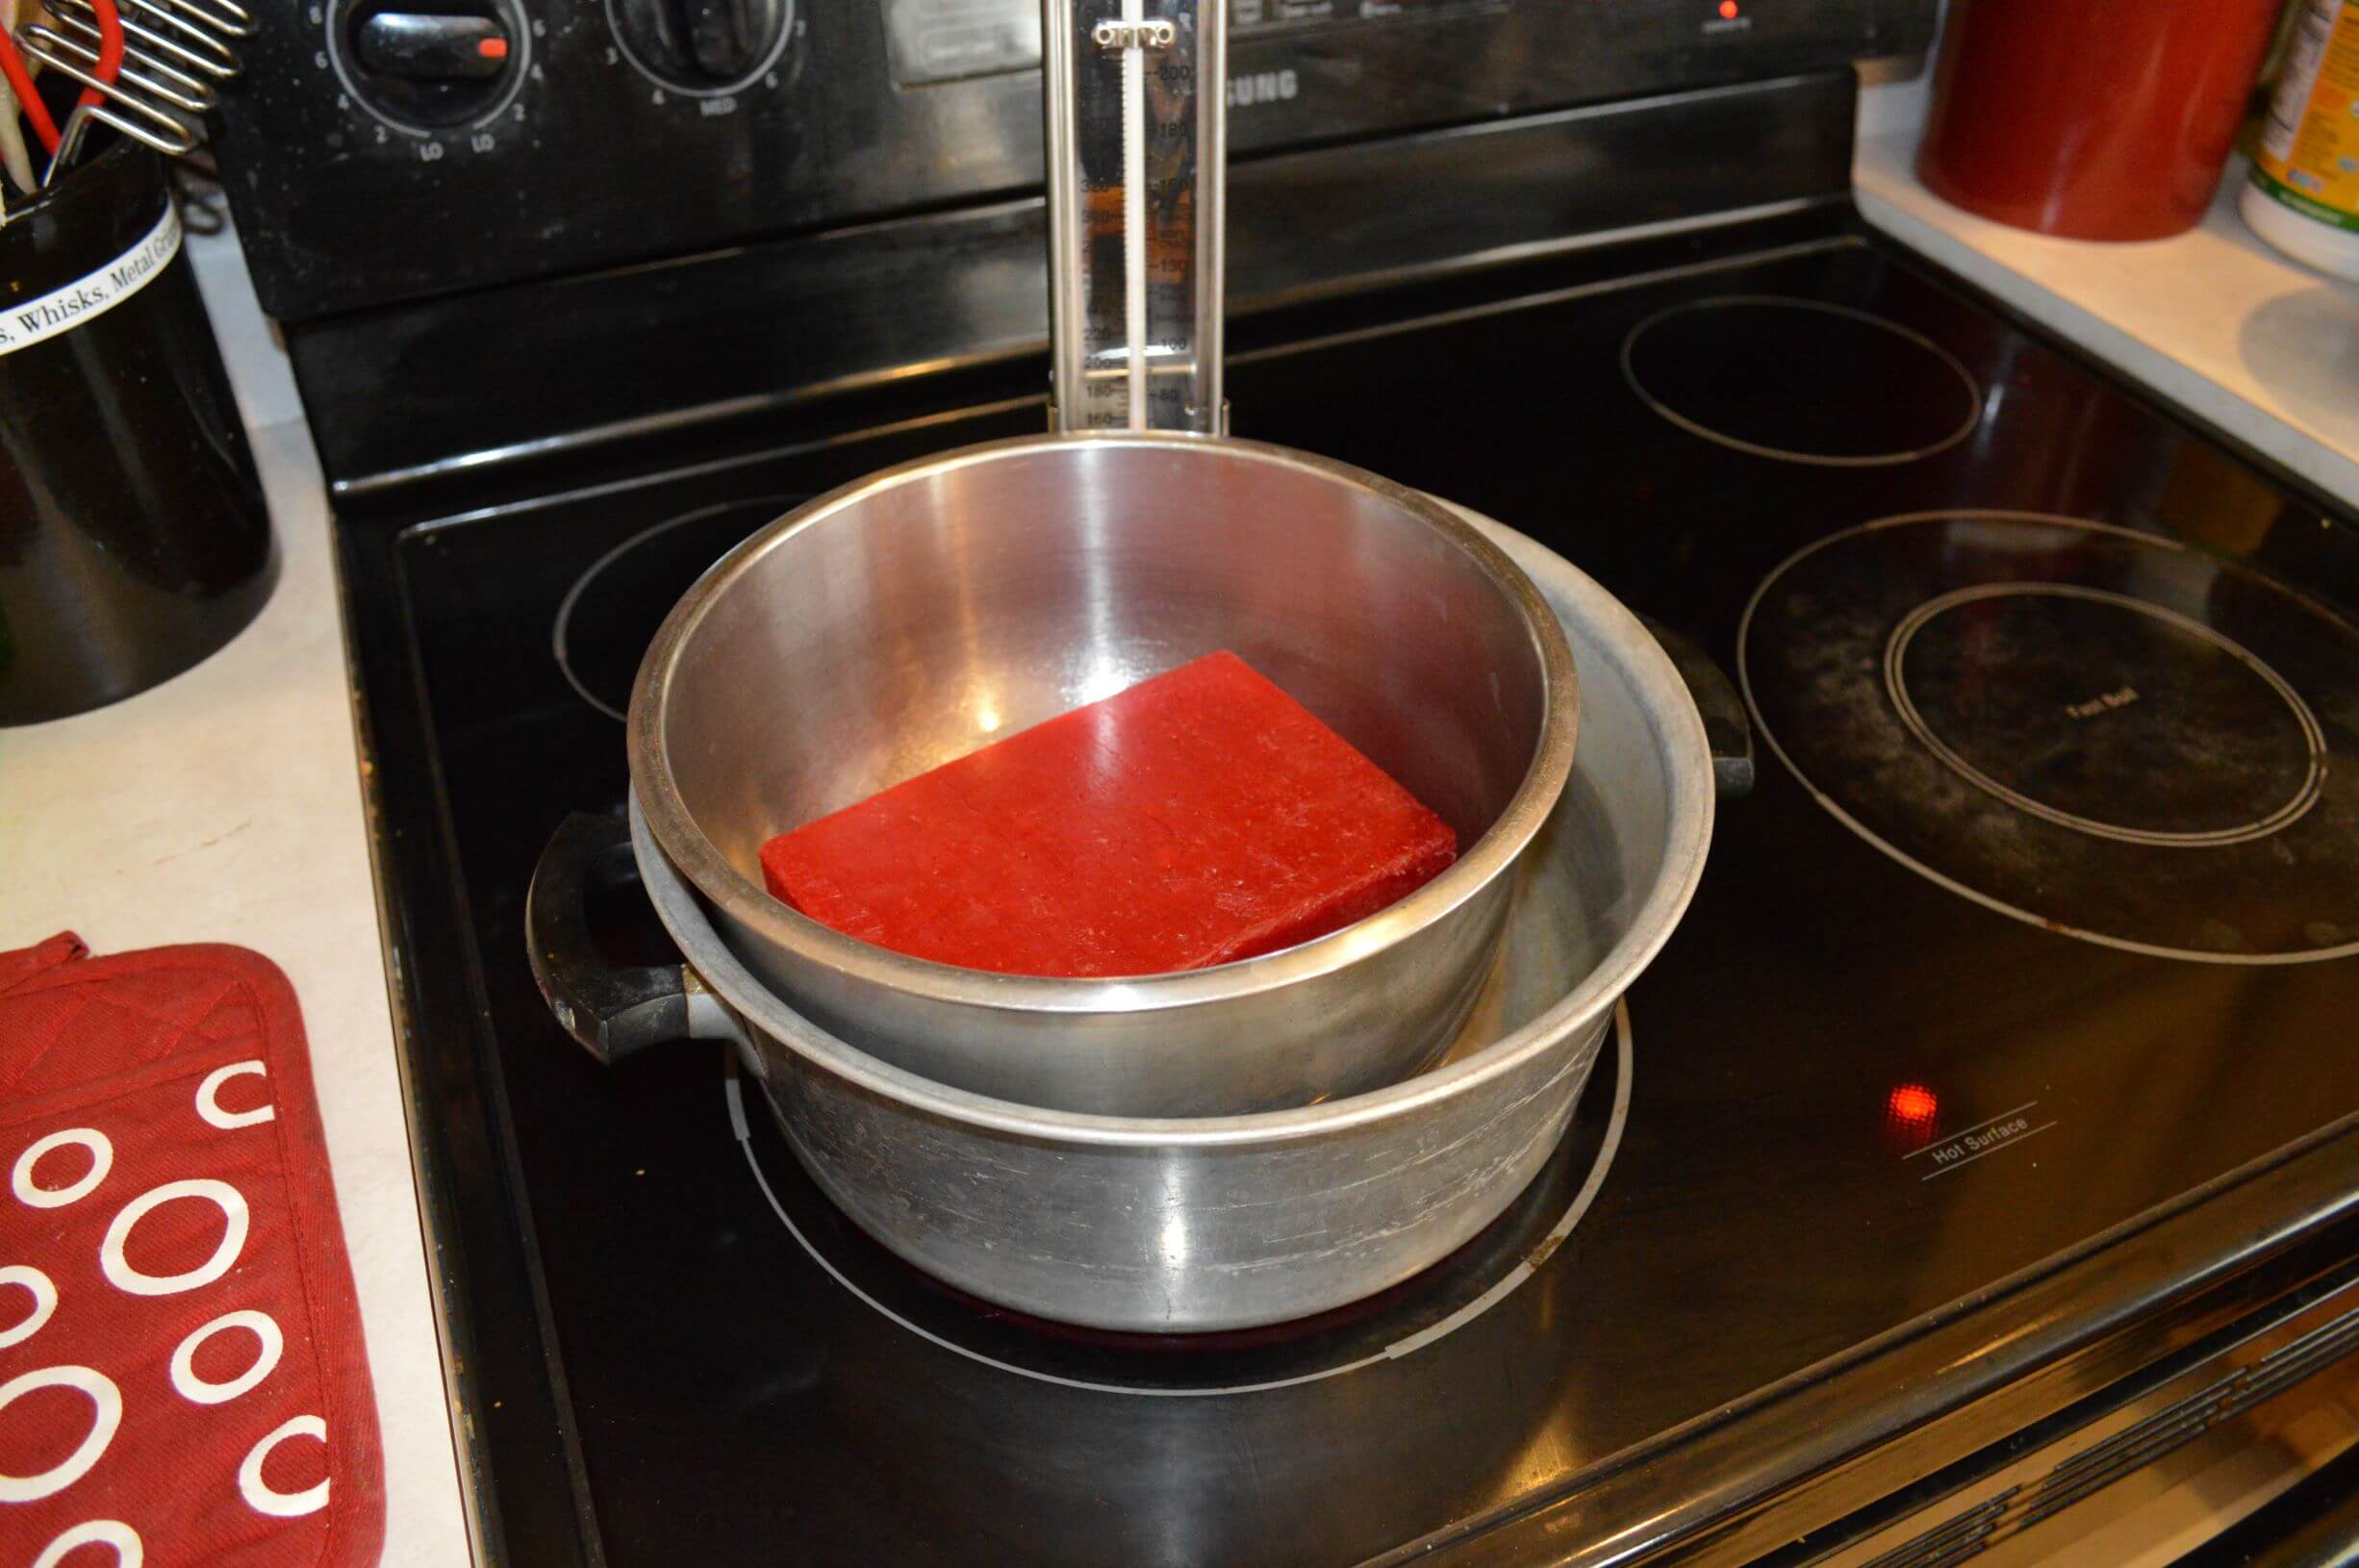
- Put your Cheese Wax in your double broiler and melt.
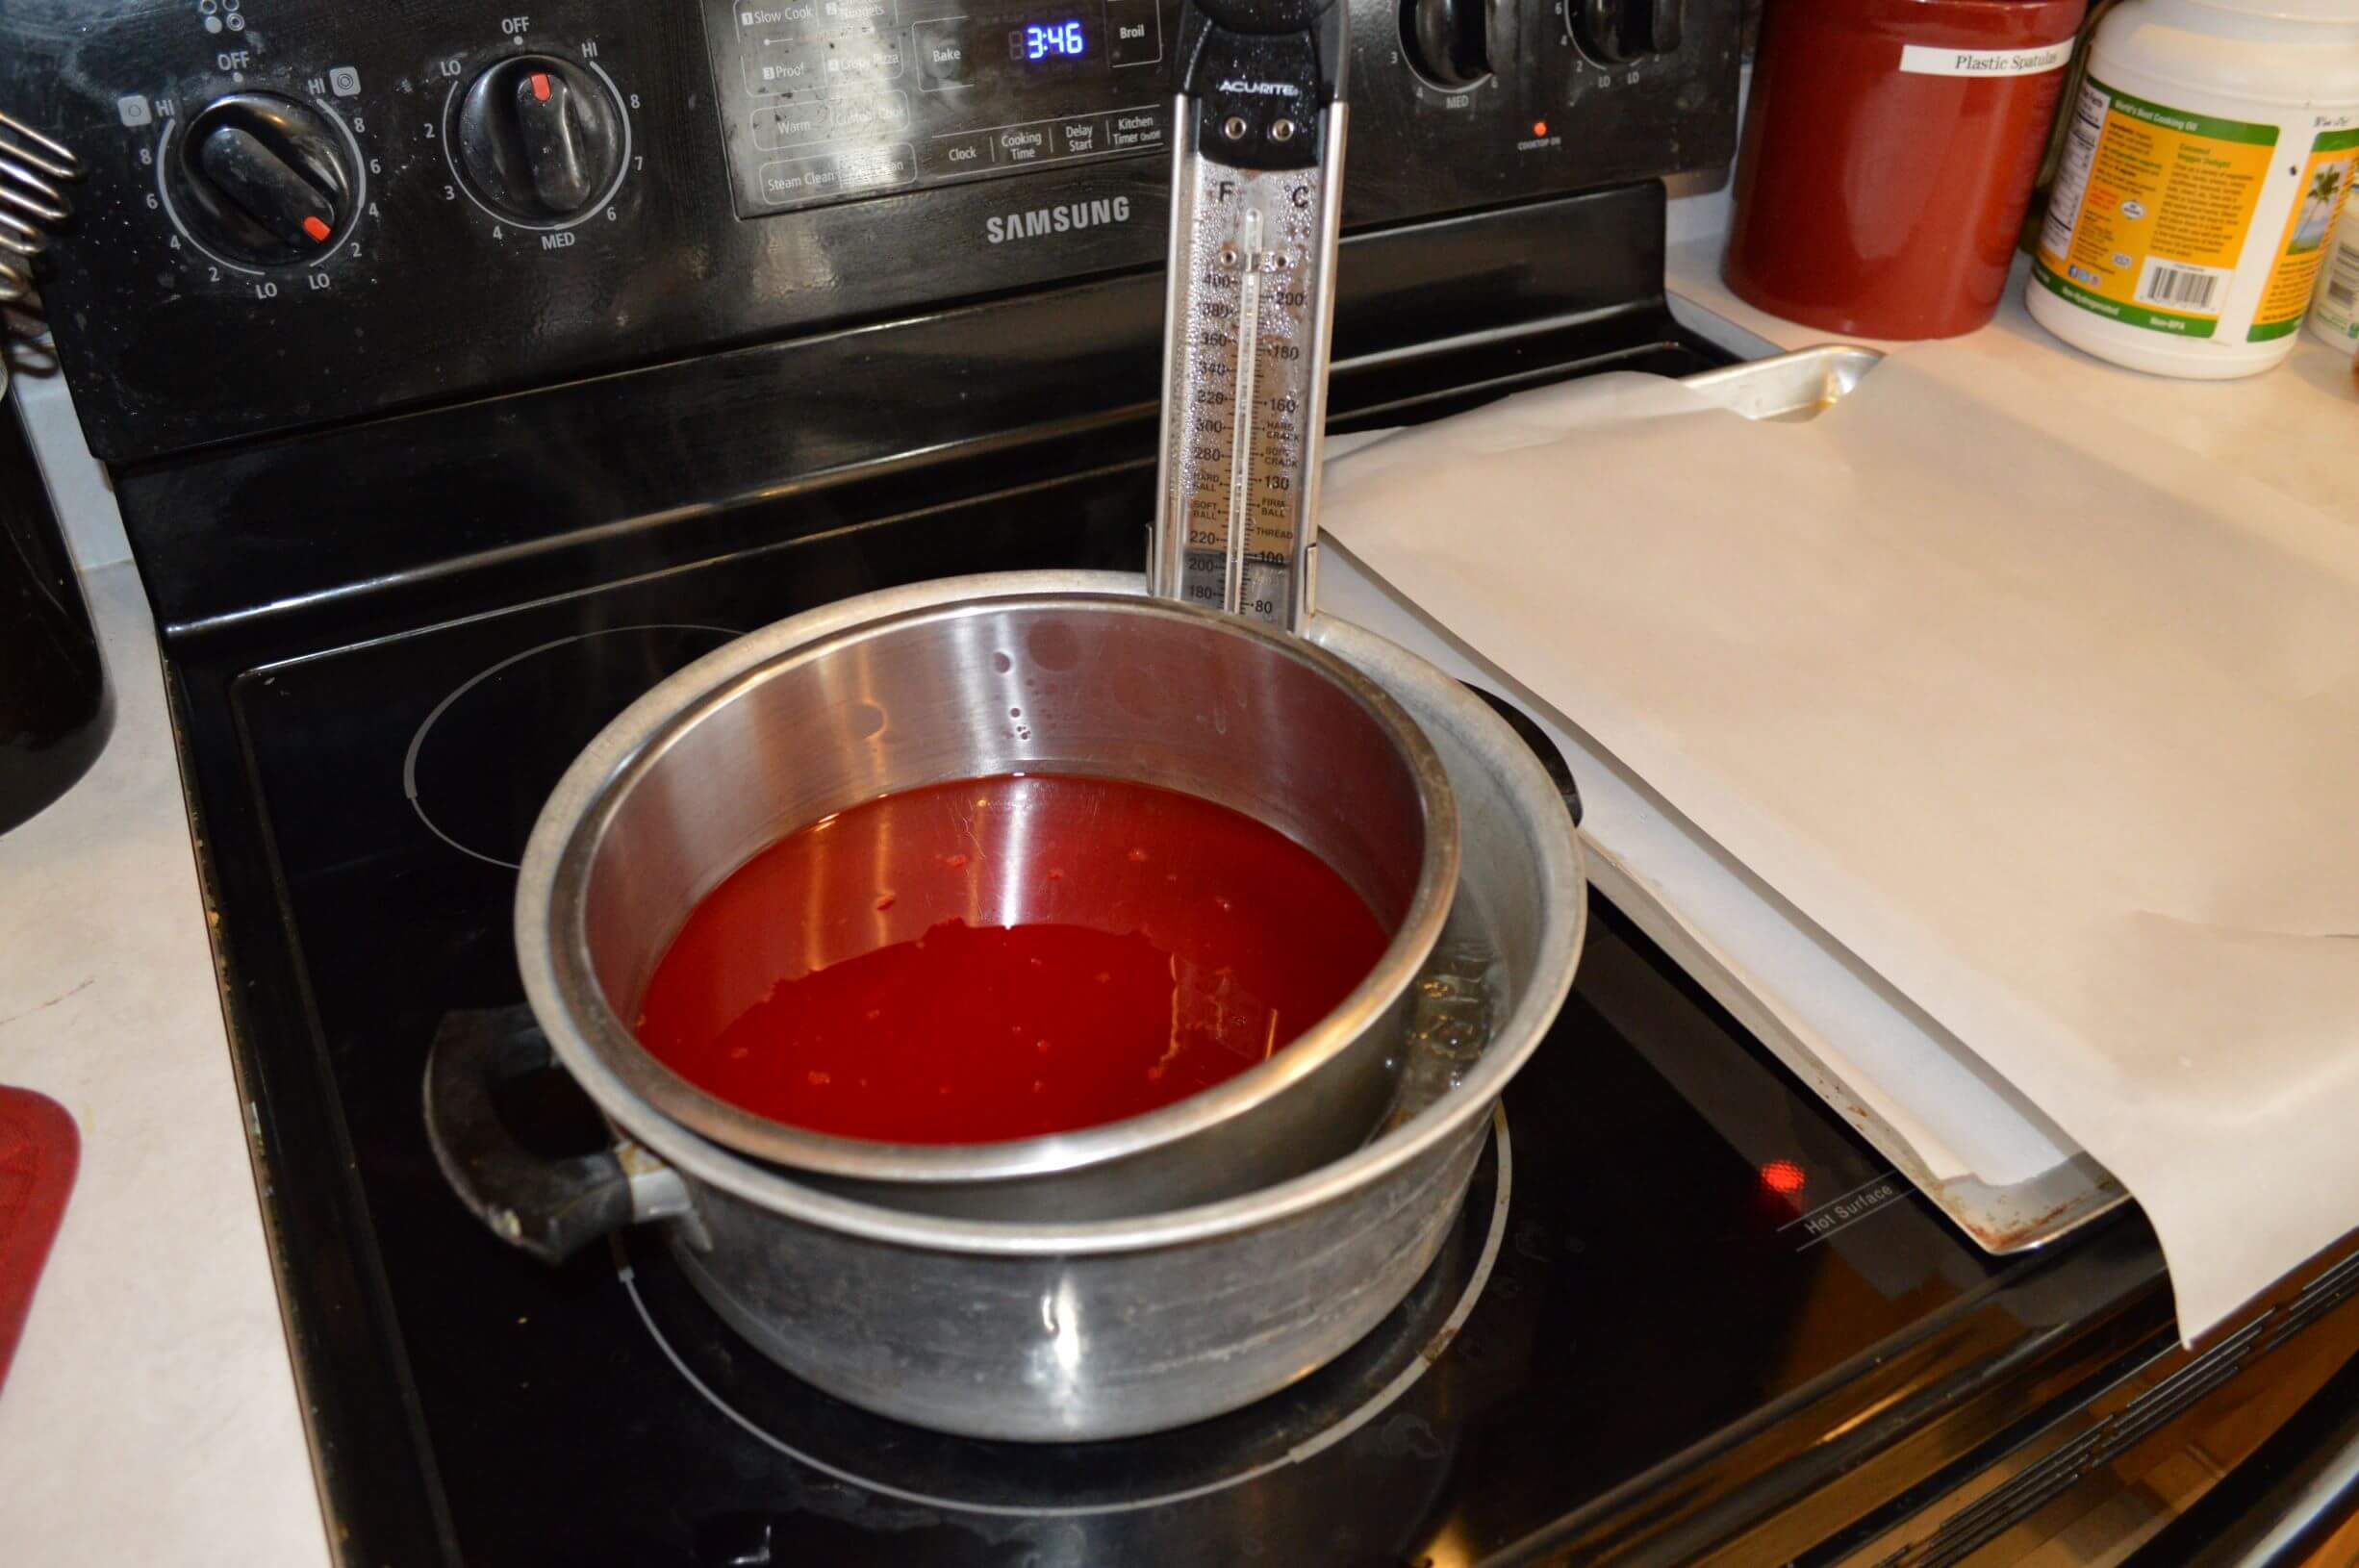
- I dipped the cheese in for about 4-5 seconds and then lifted it up and HELD it above the pan for a 30 – 90 seconds. This evens out the coat before you set it down. Then set it cheese-side down on parchment paper. You will get a better cohesion if your second and third coats are applied while the wax is still warm.
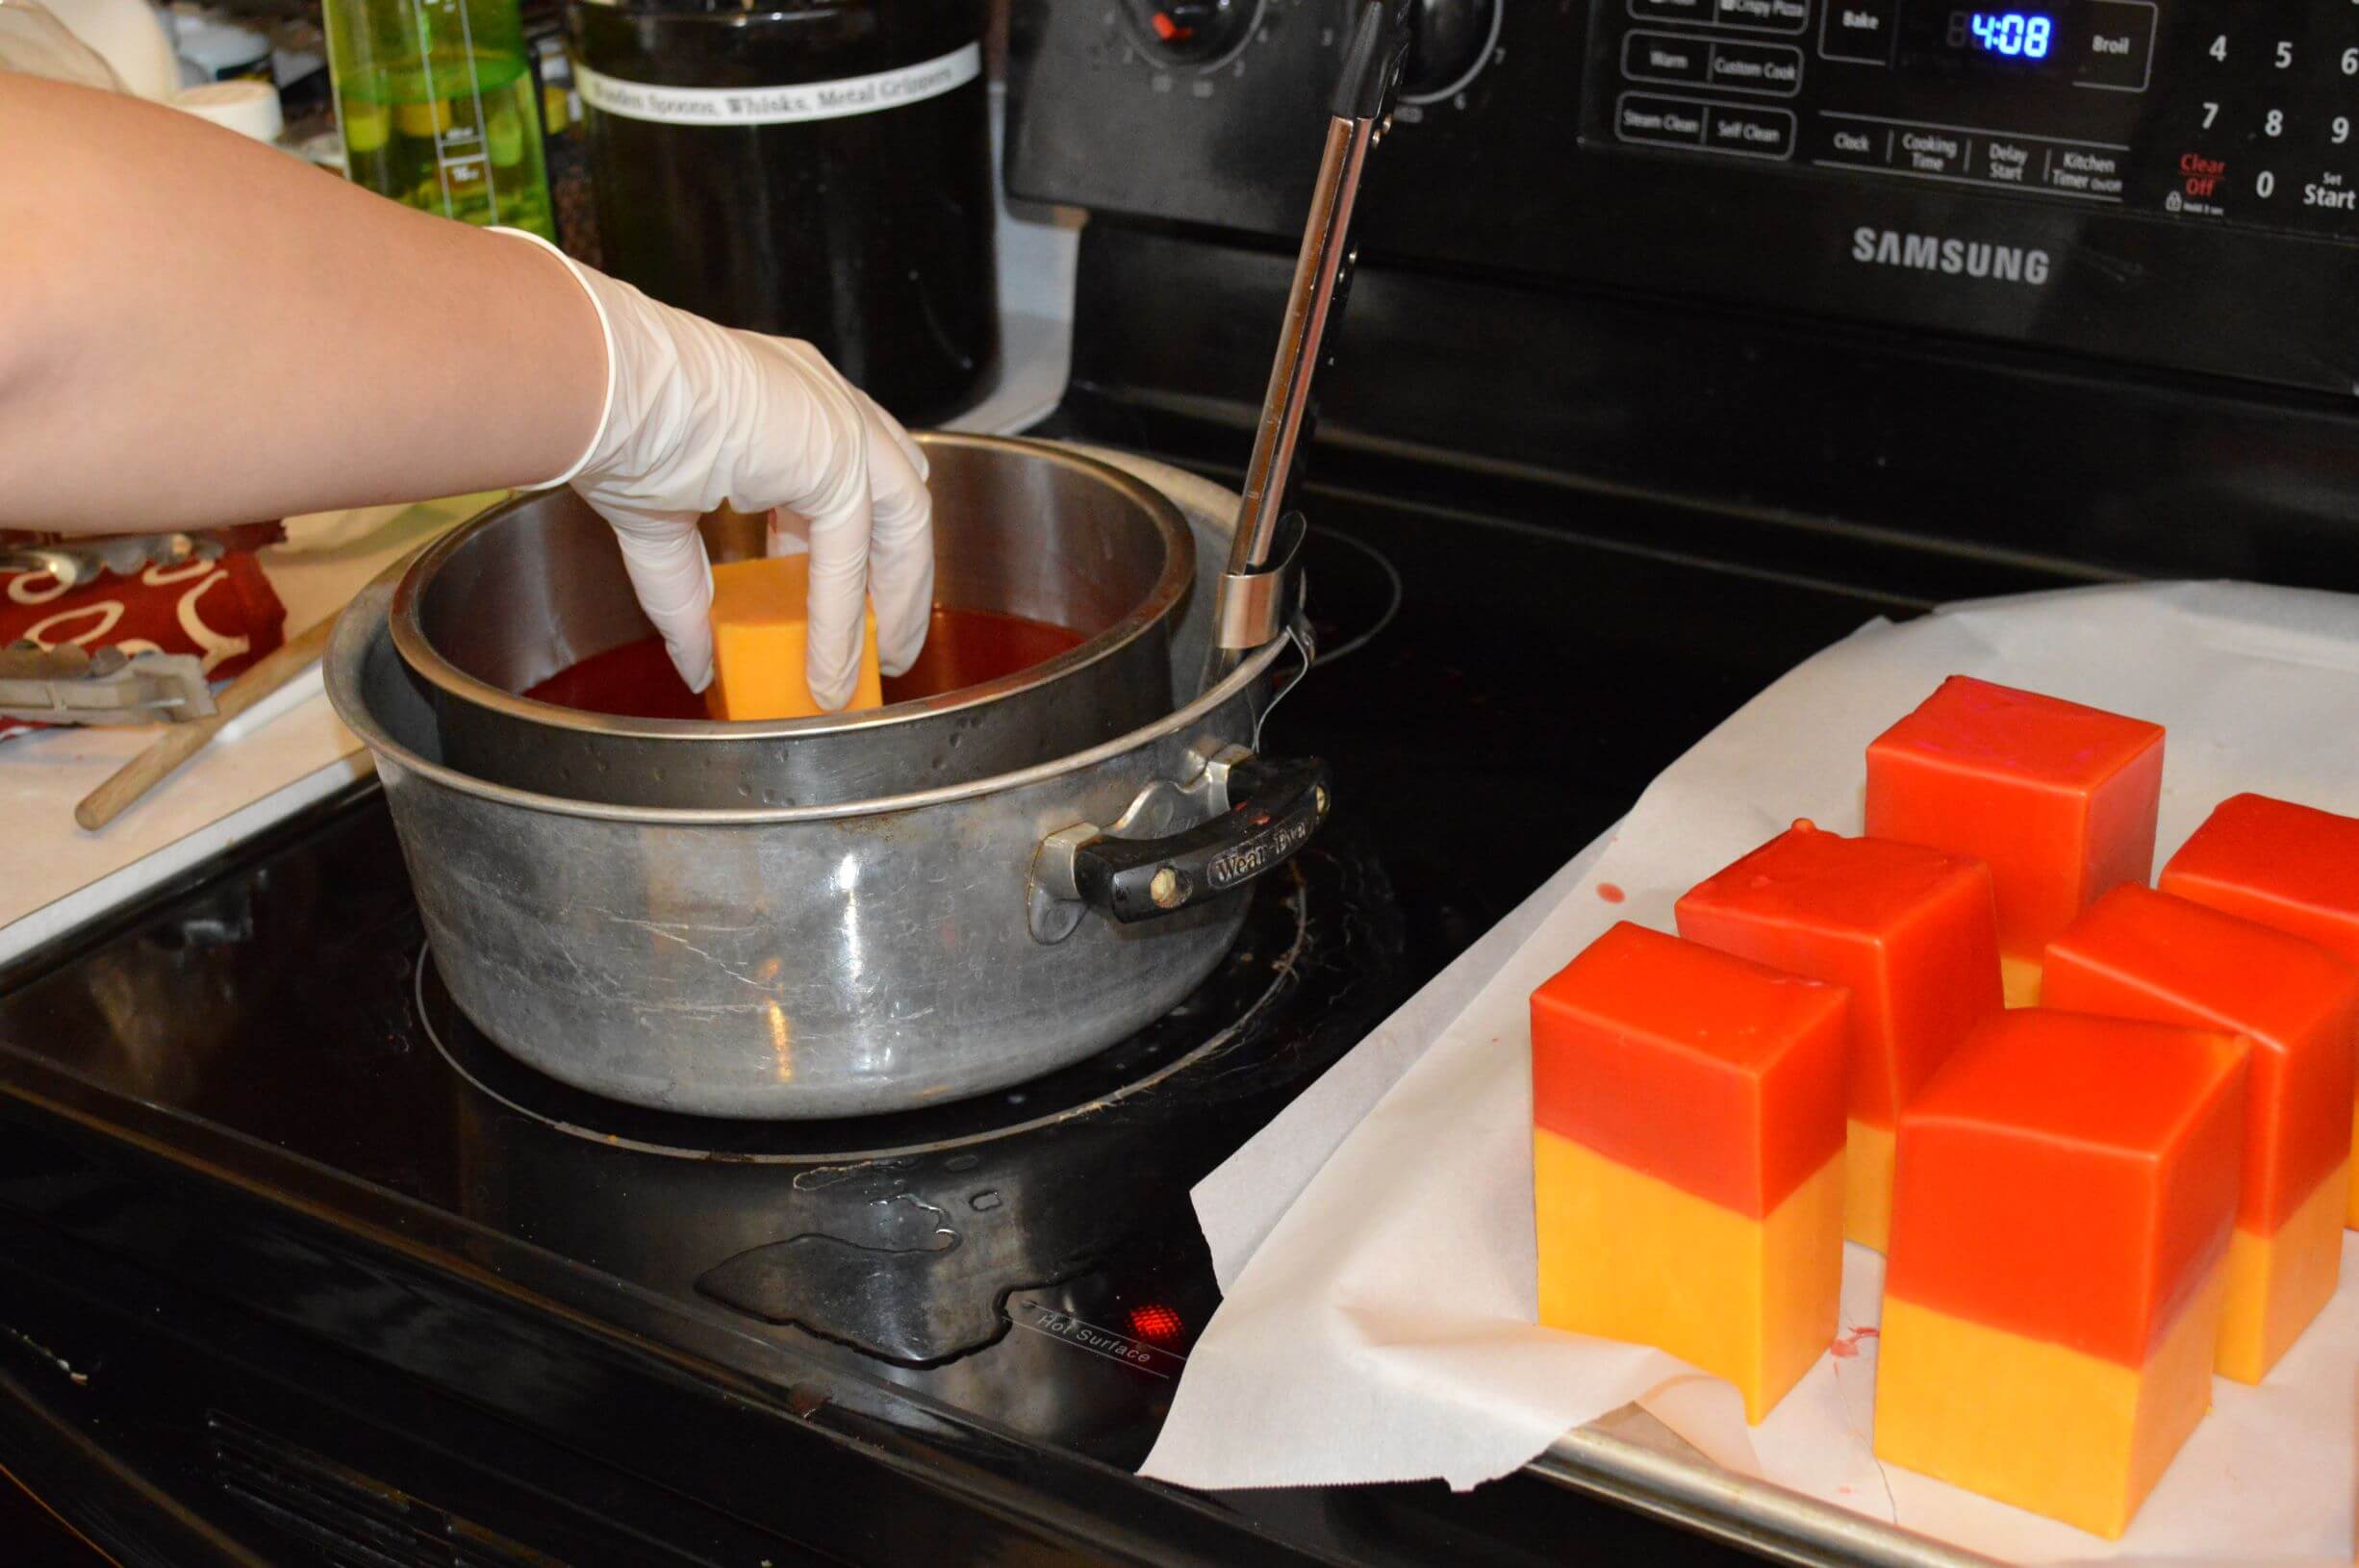
It only takes a minute or two for the wax to dry, then I pick up the cheese from the wax end and dip the cheese end again to finish the first coat of wax and set it down on the parchment on the dry wax side. This first coat may look uneven, but don’t worry, as you apply the other coats it usually evens out.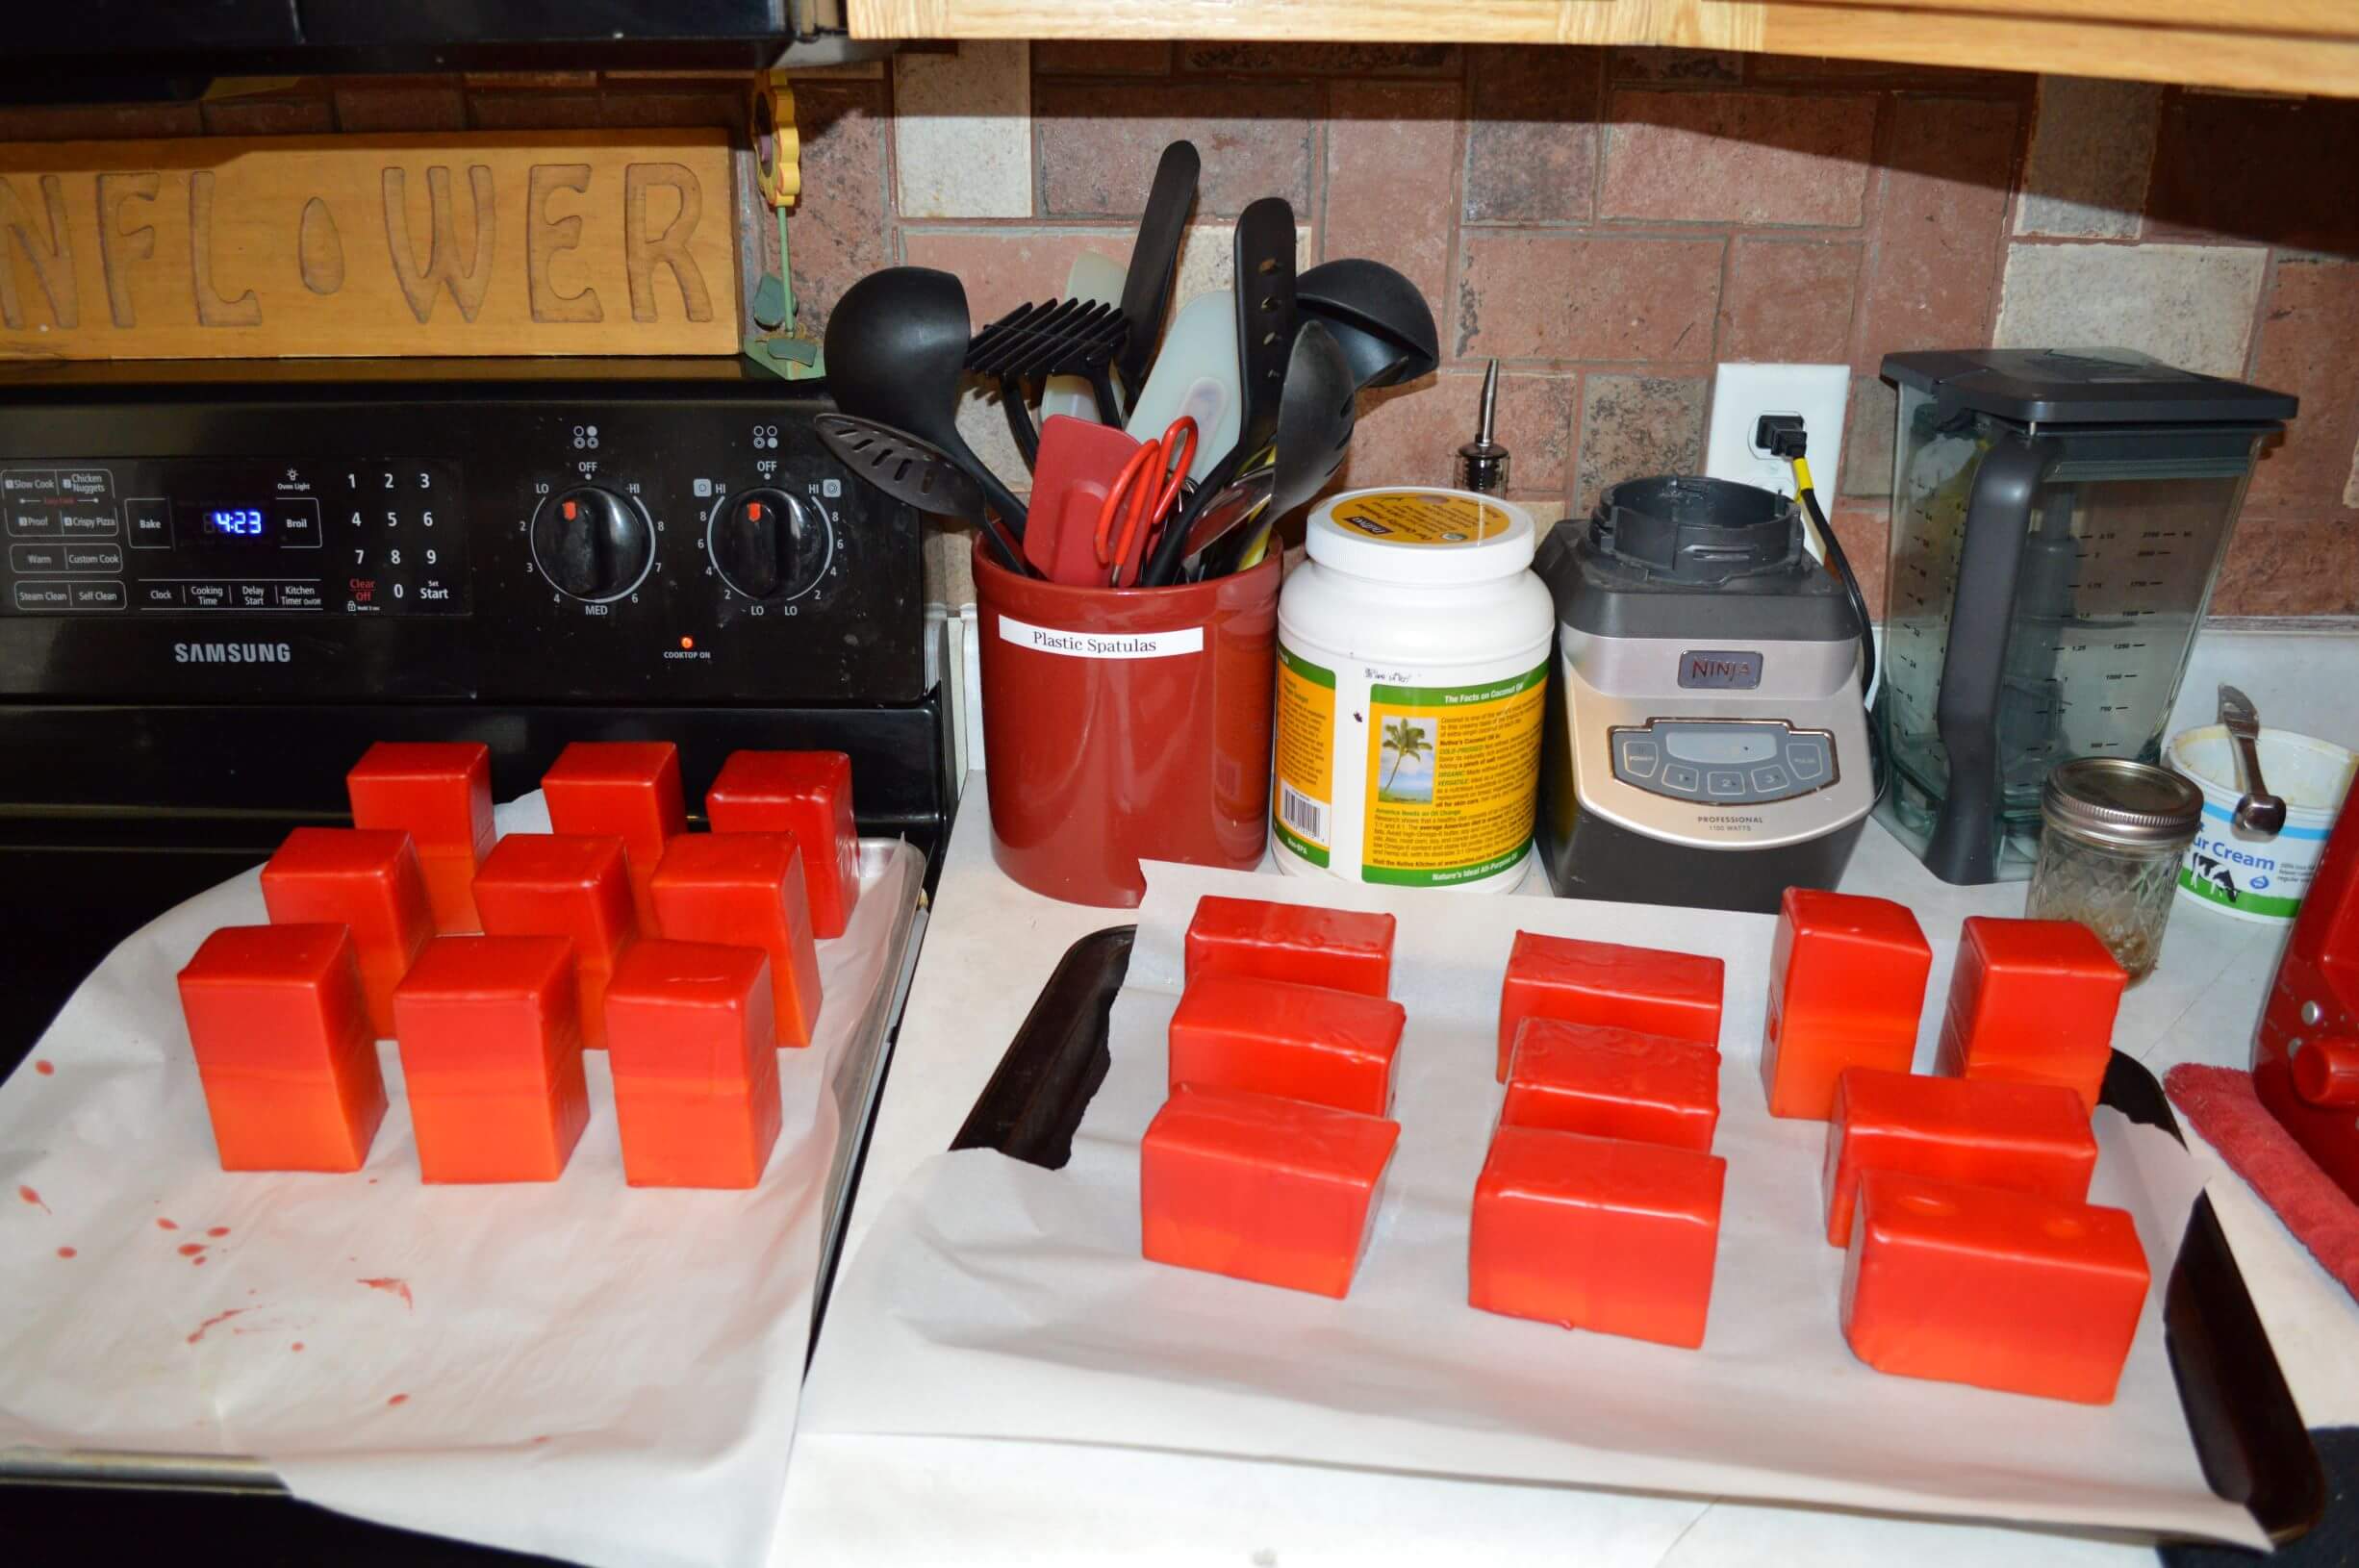
- I continue this process for the second coat of cheese wax.
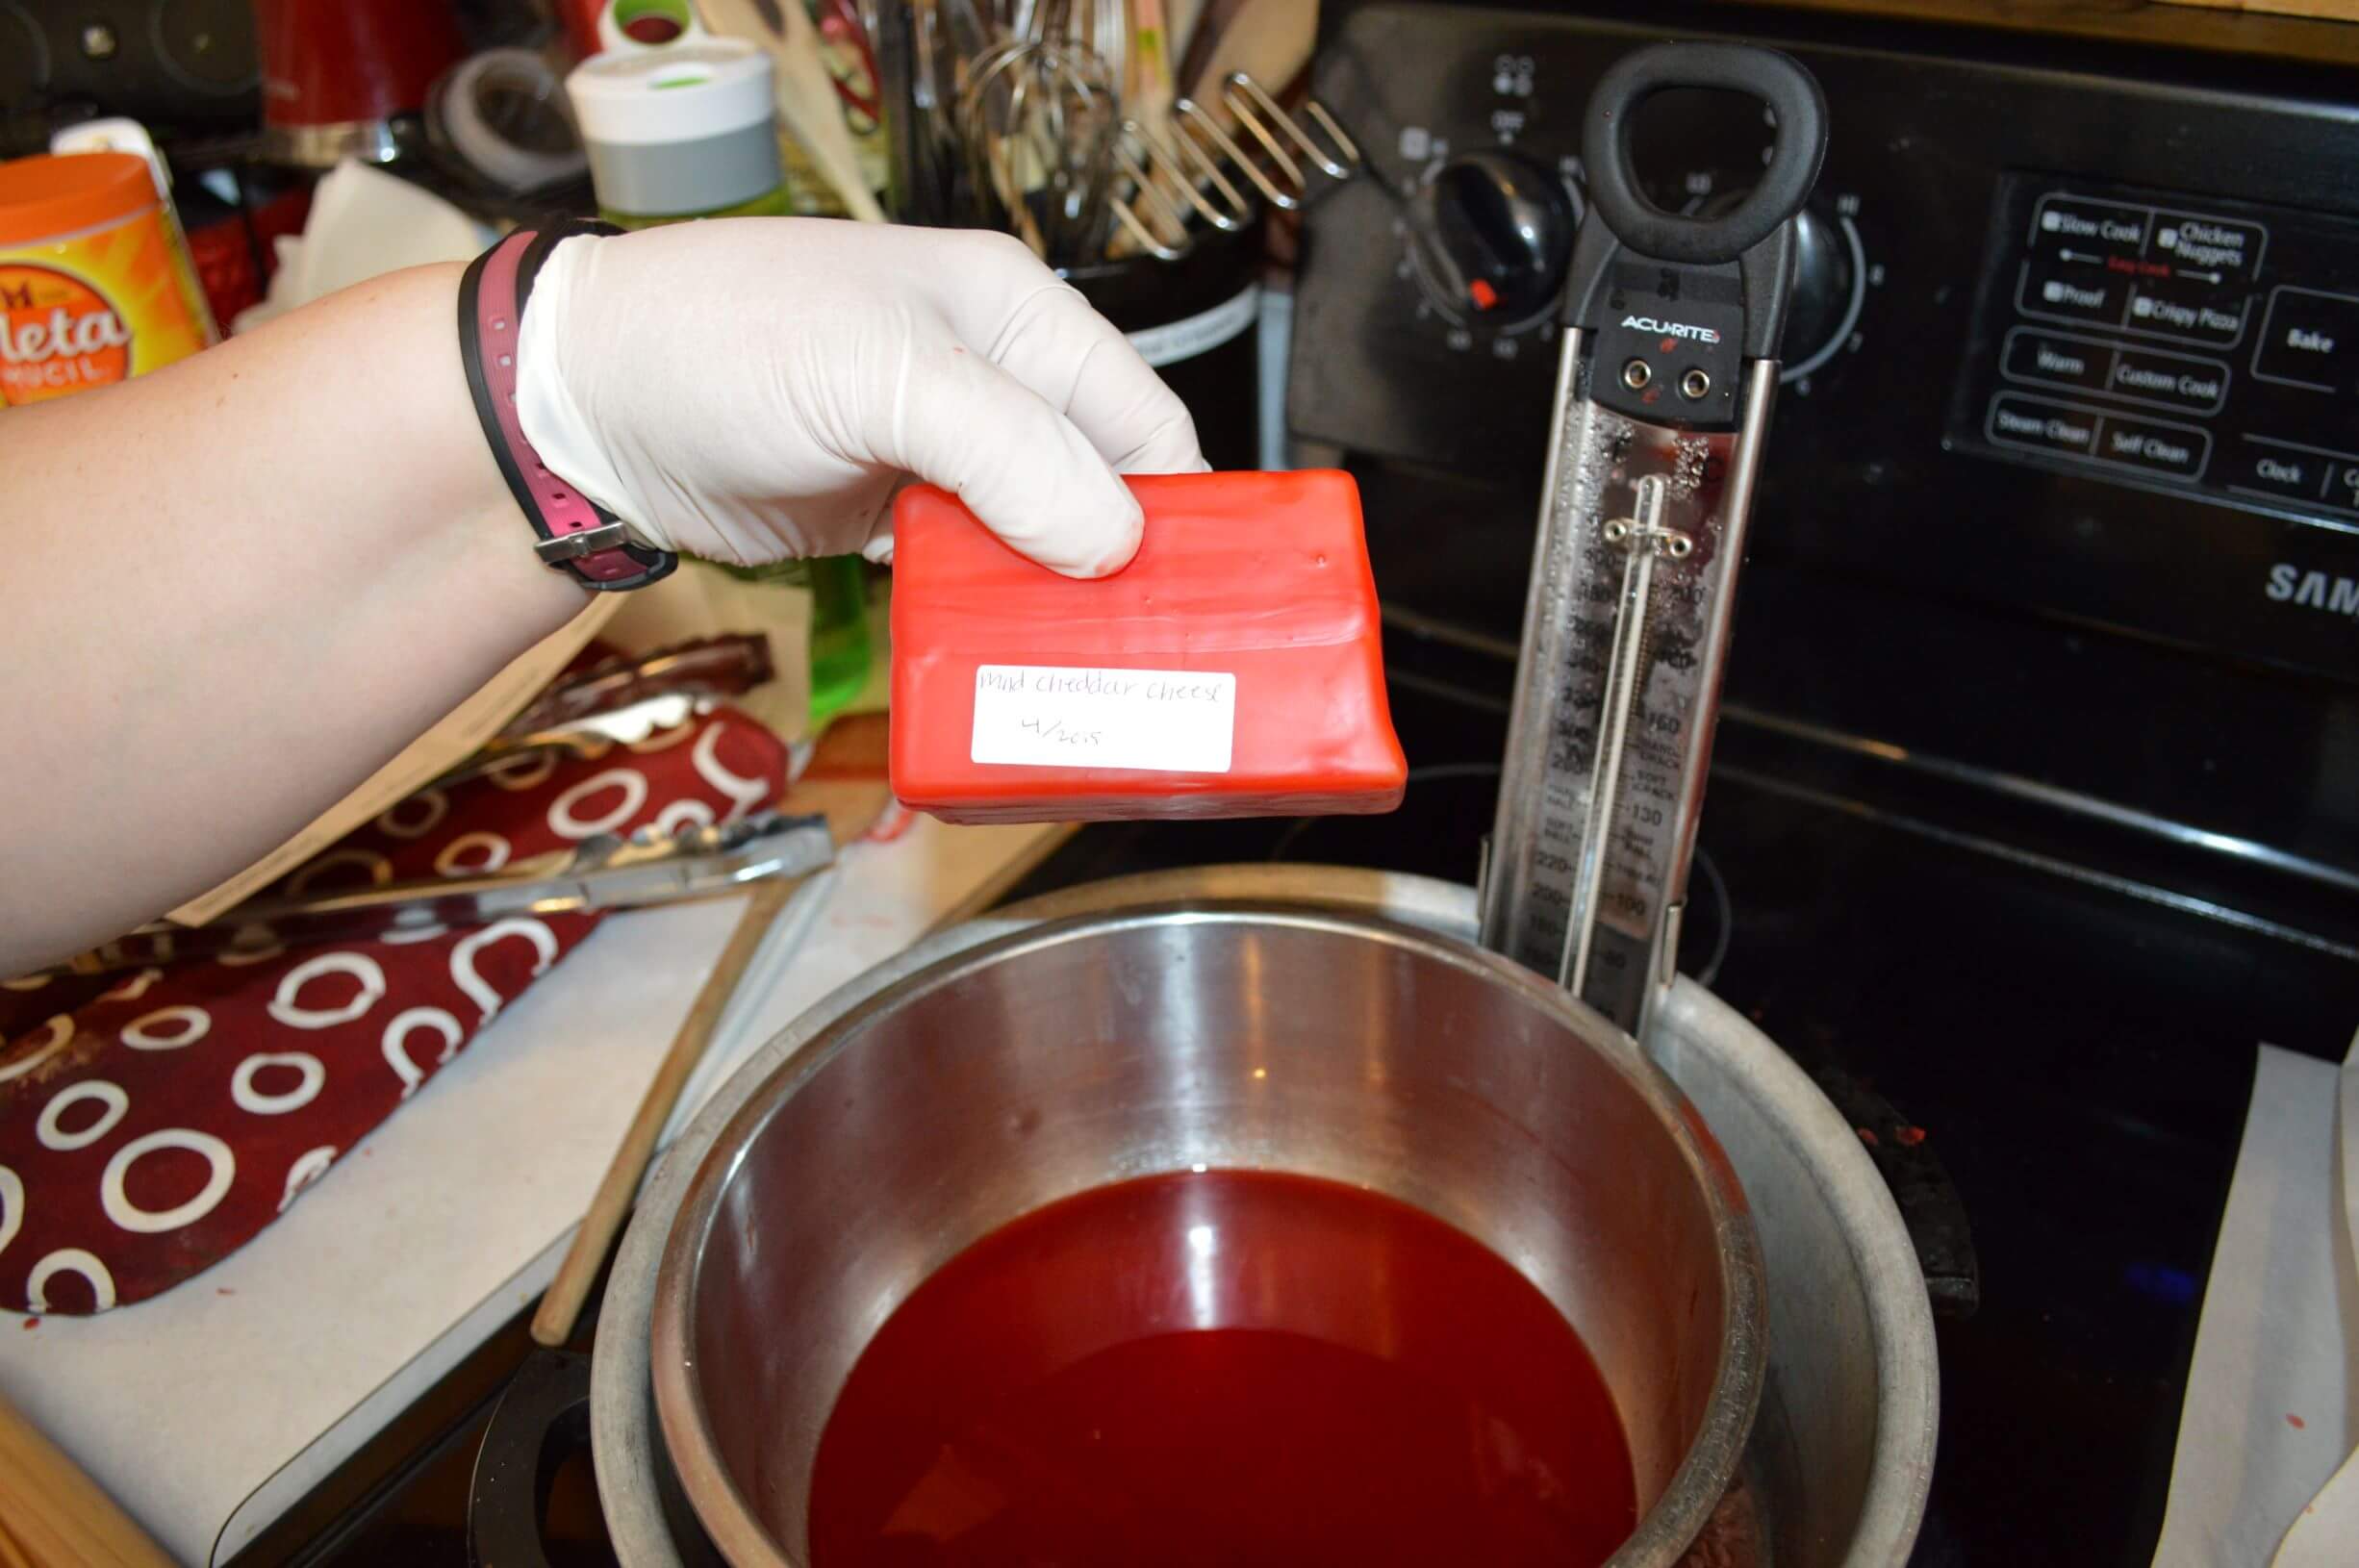
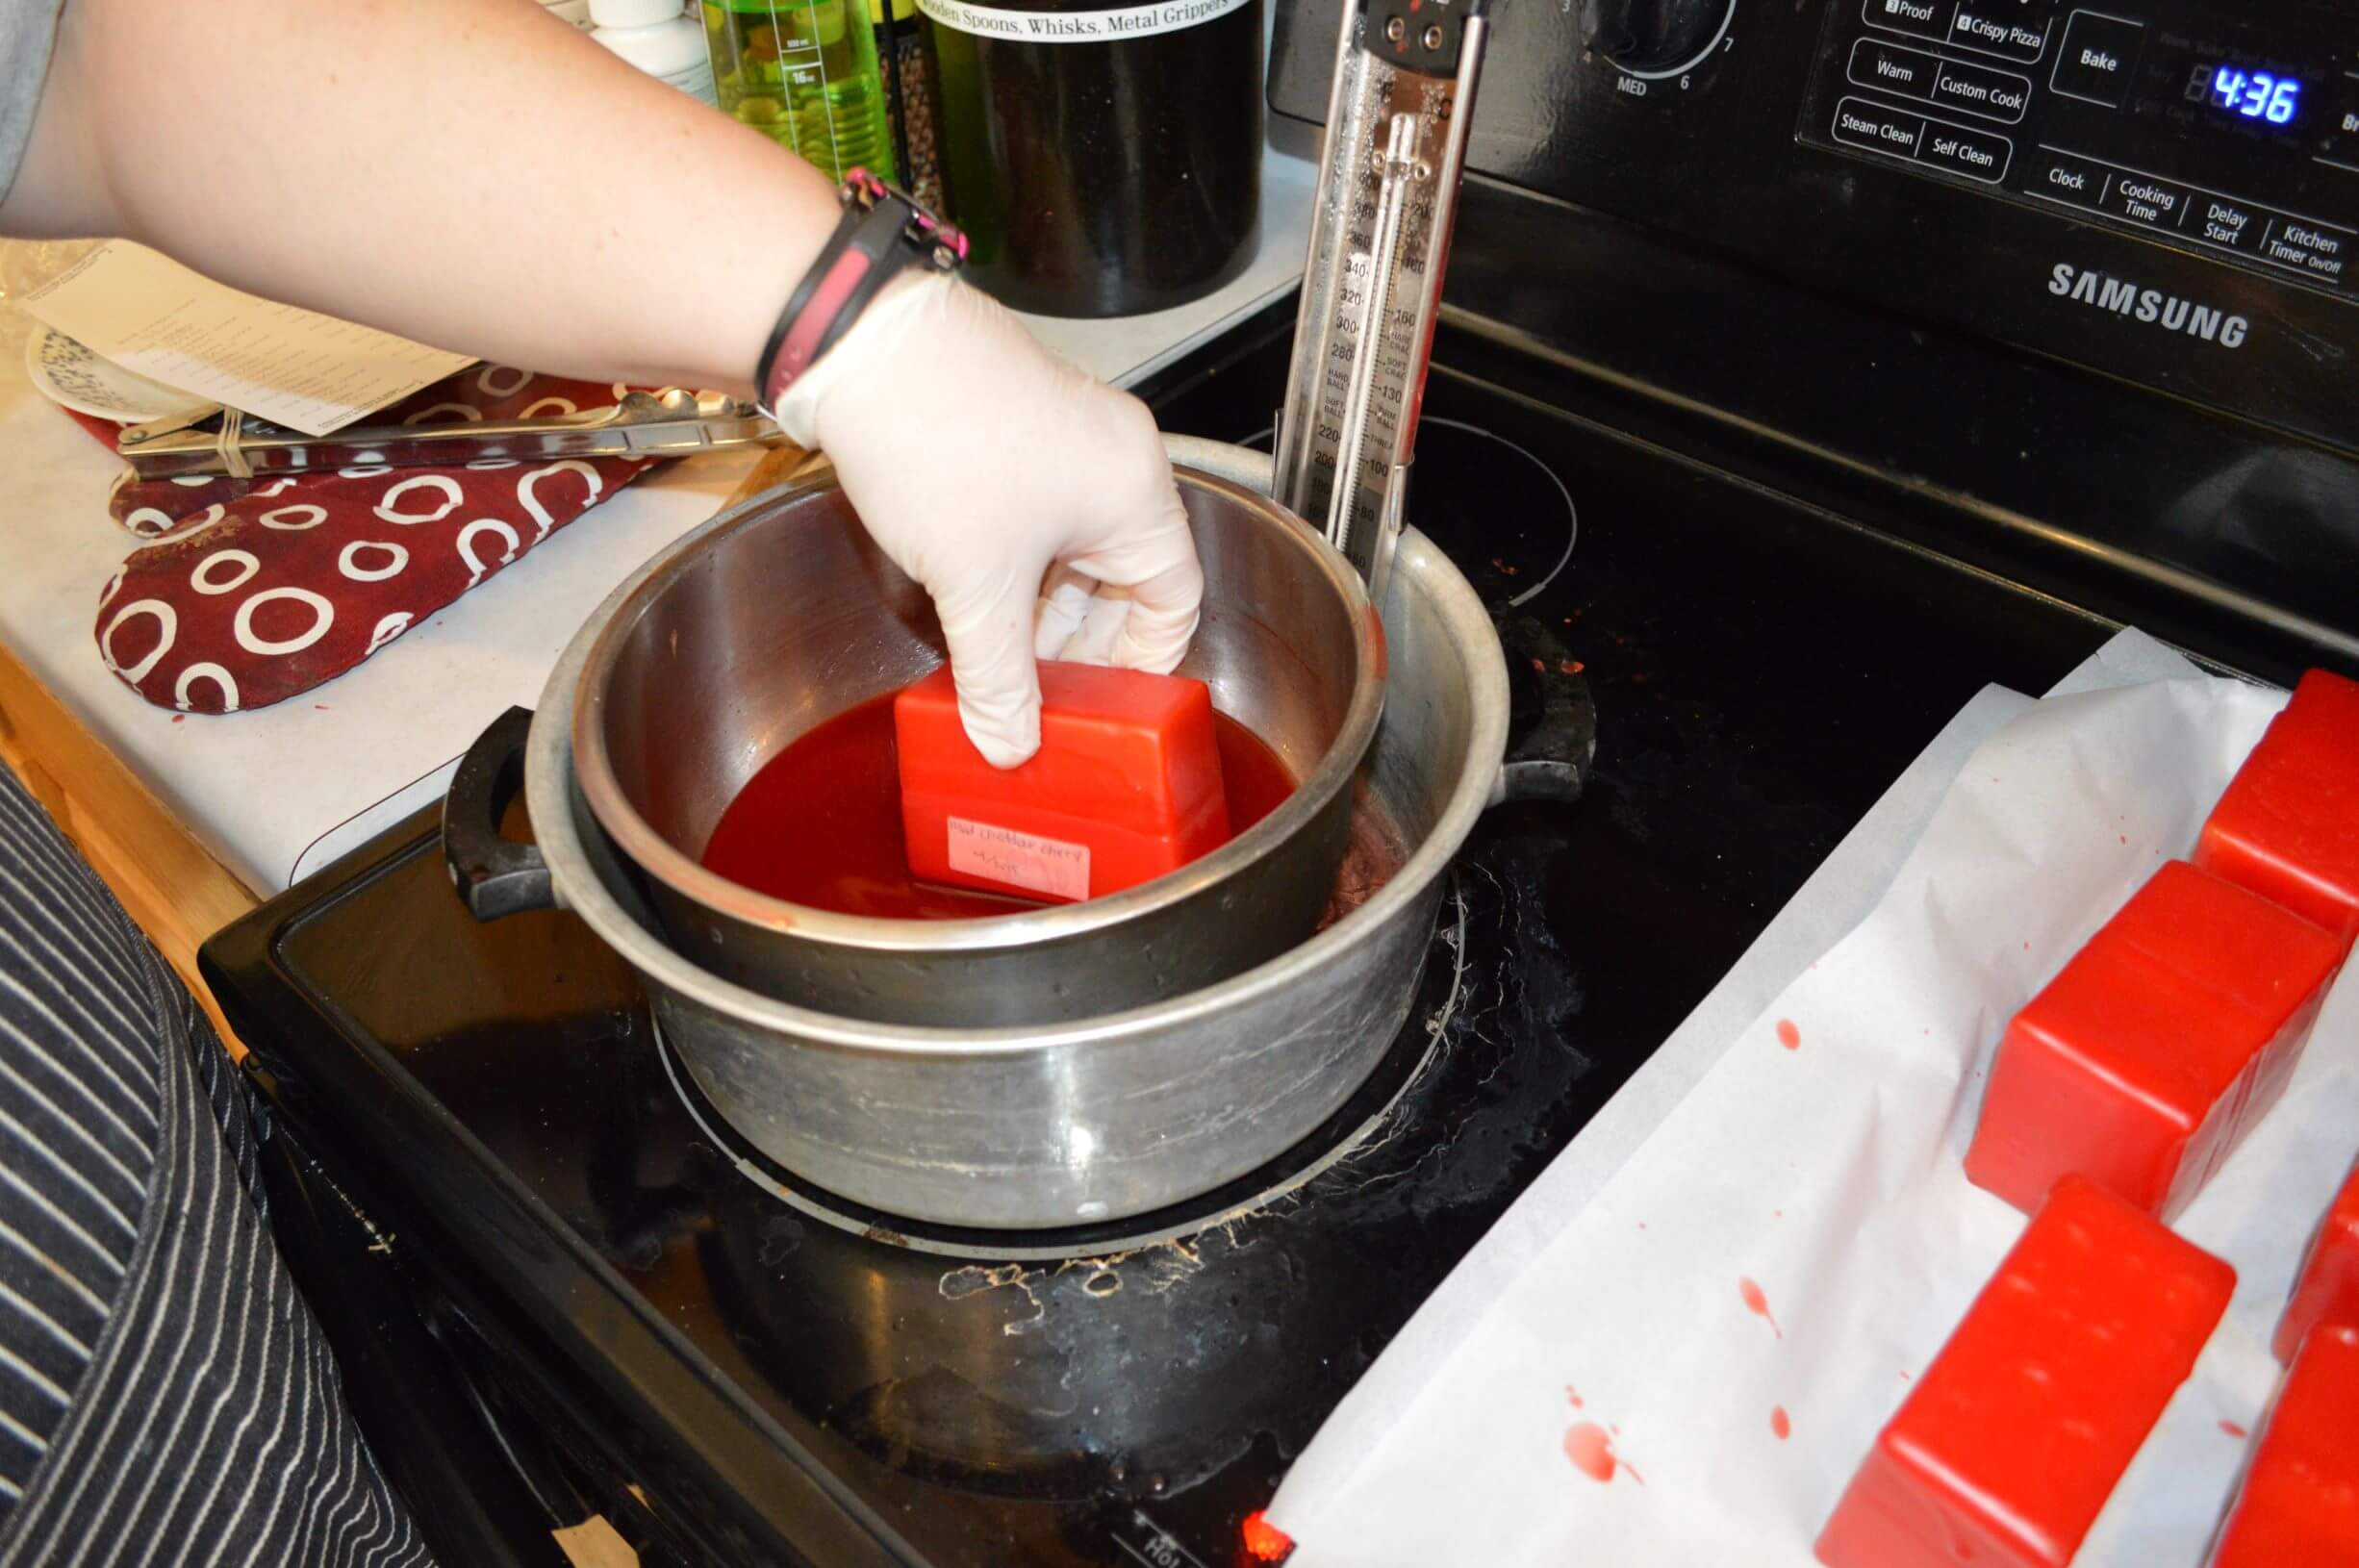
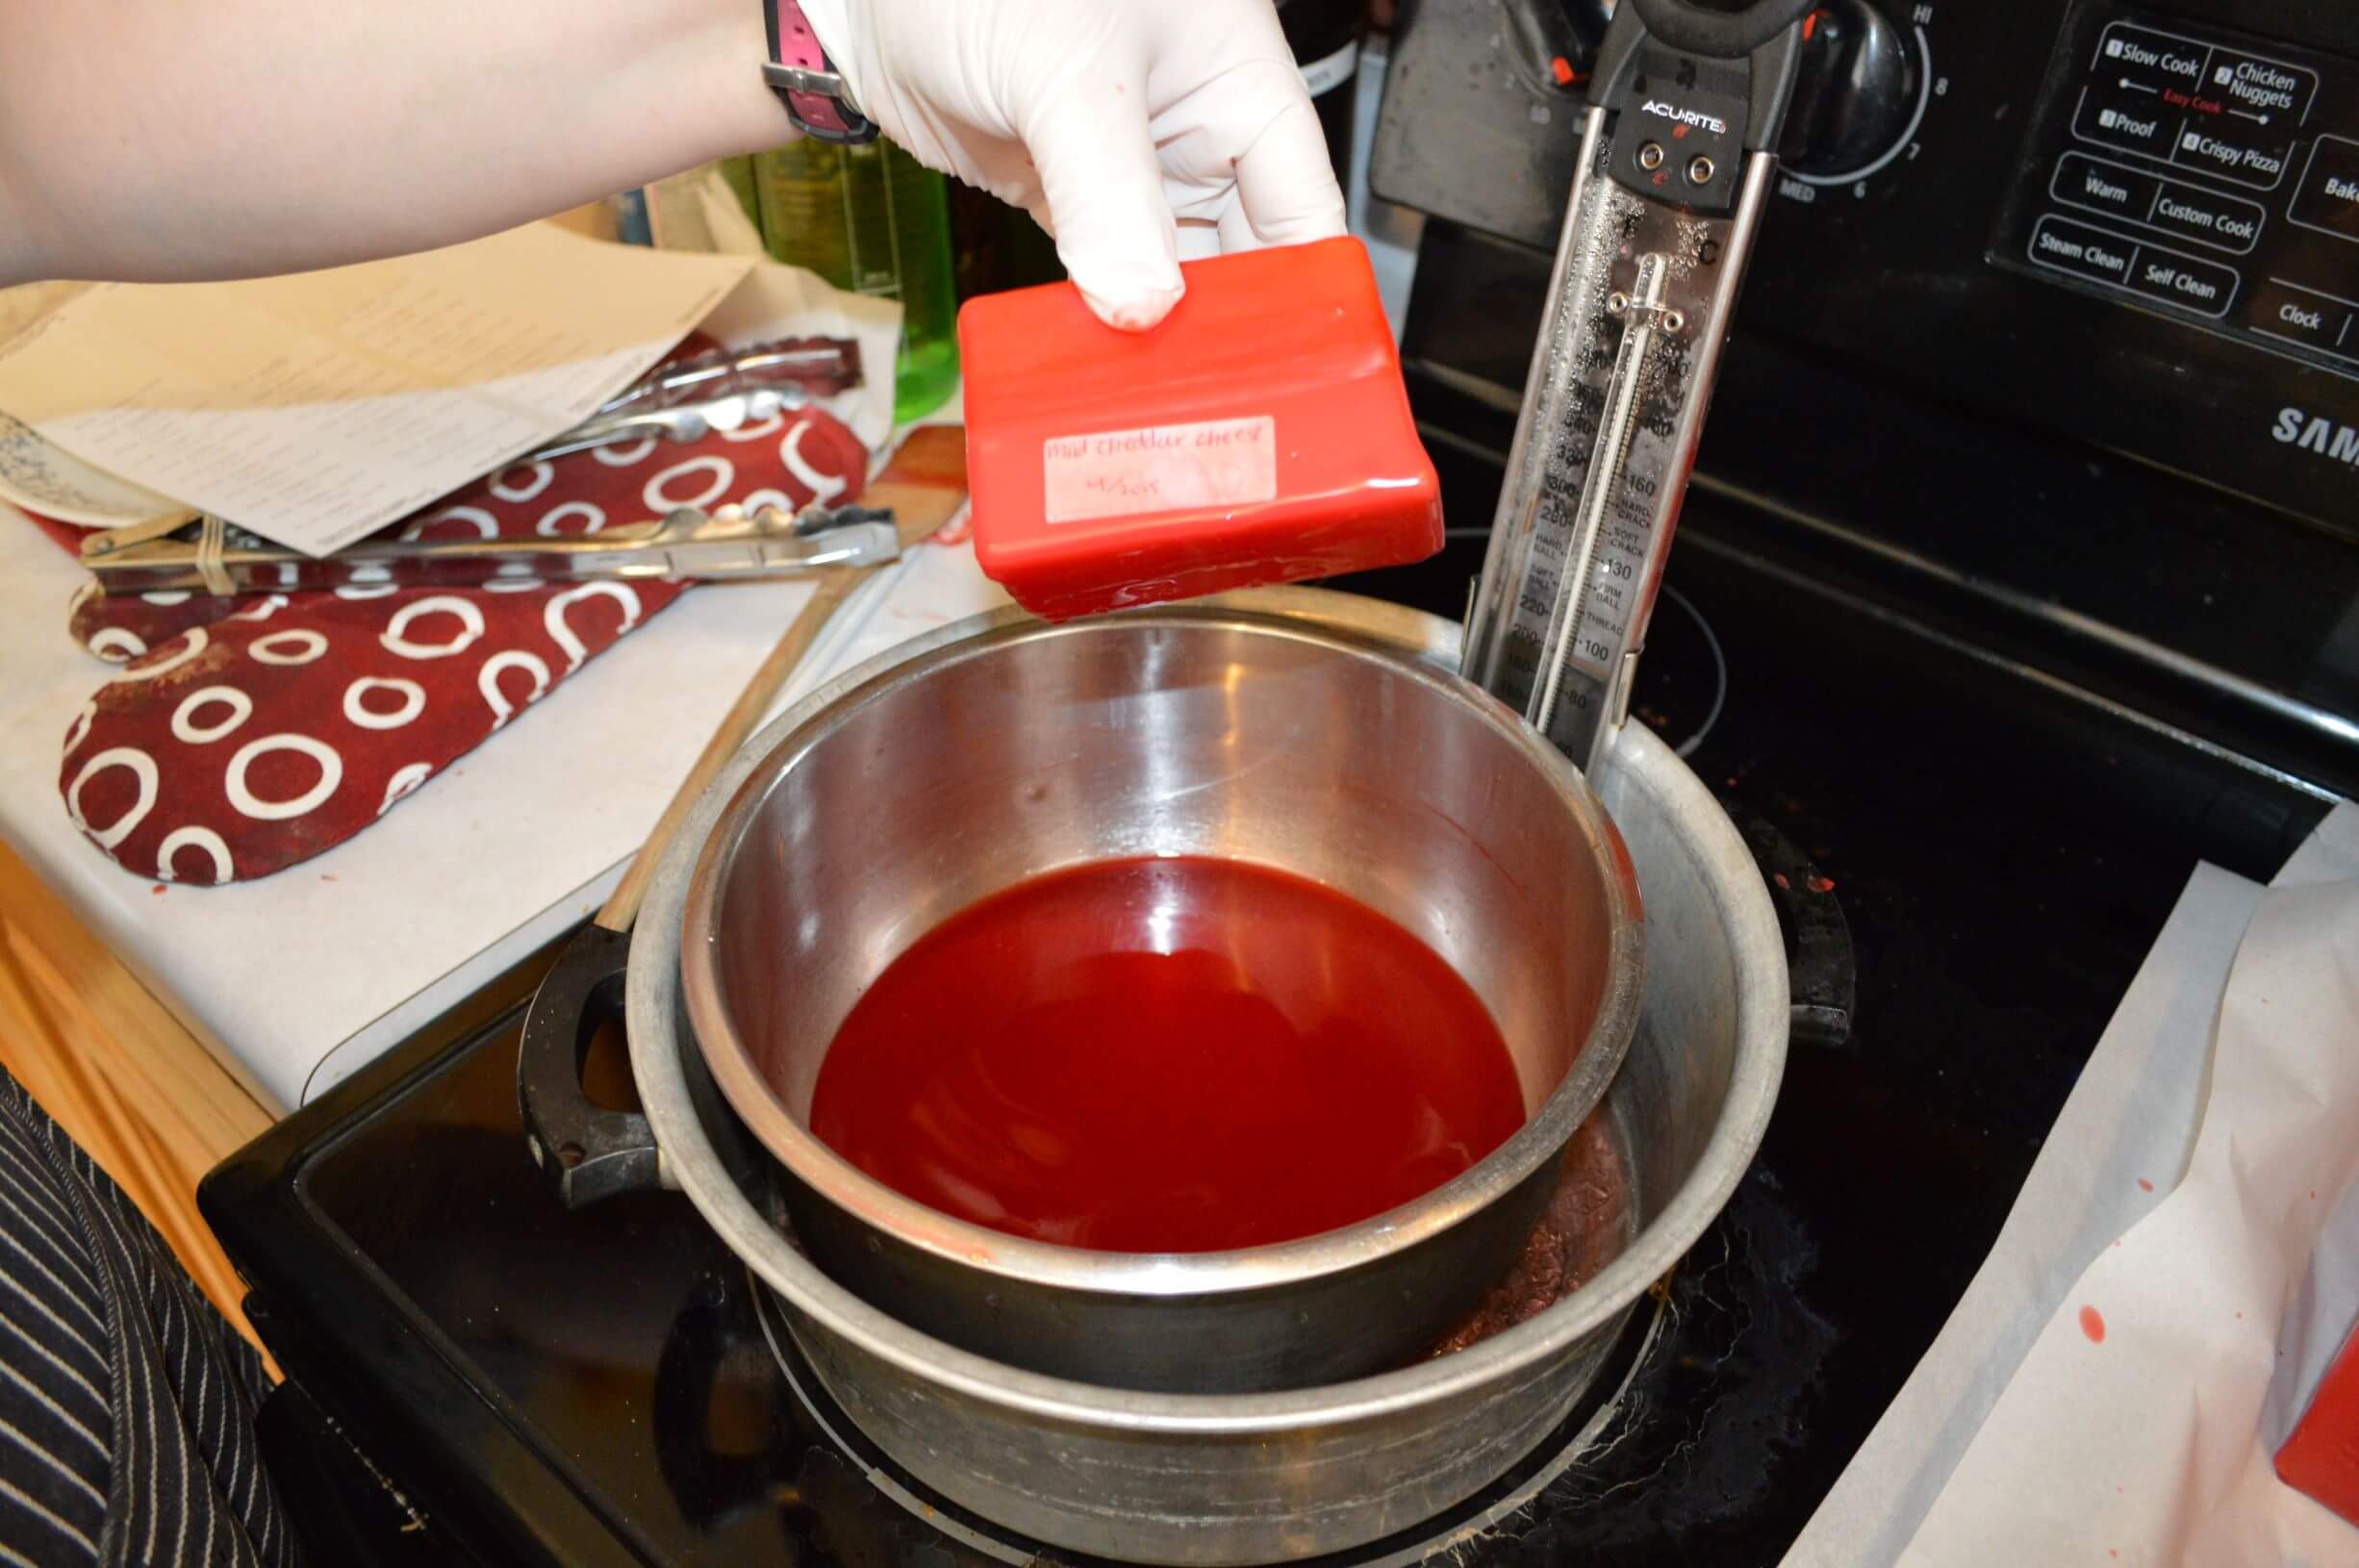
- After the 2nd coat, I put my sticker labels on and then continue with the 3rd coat.
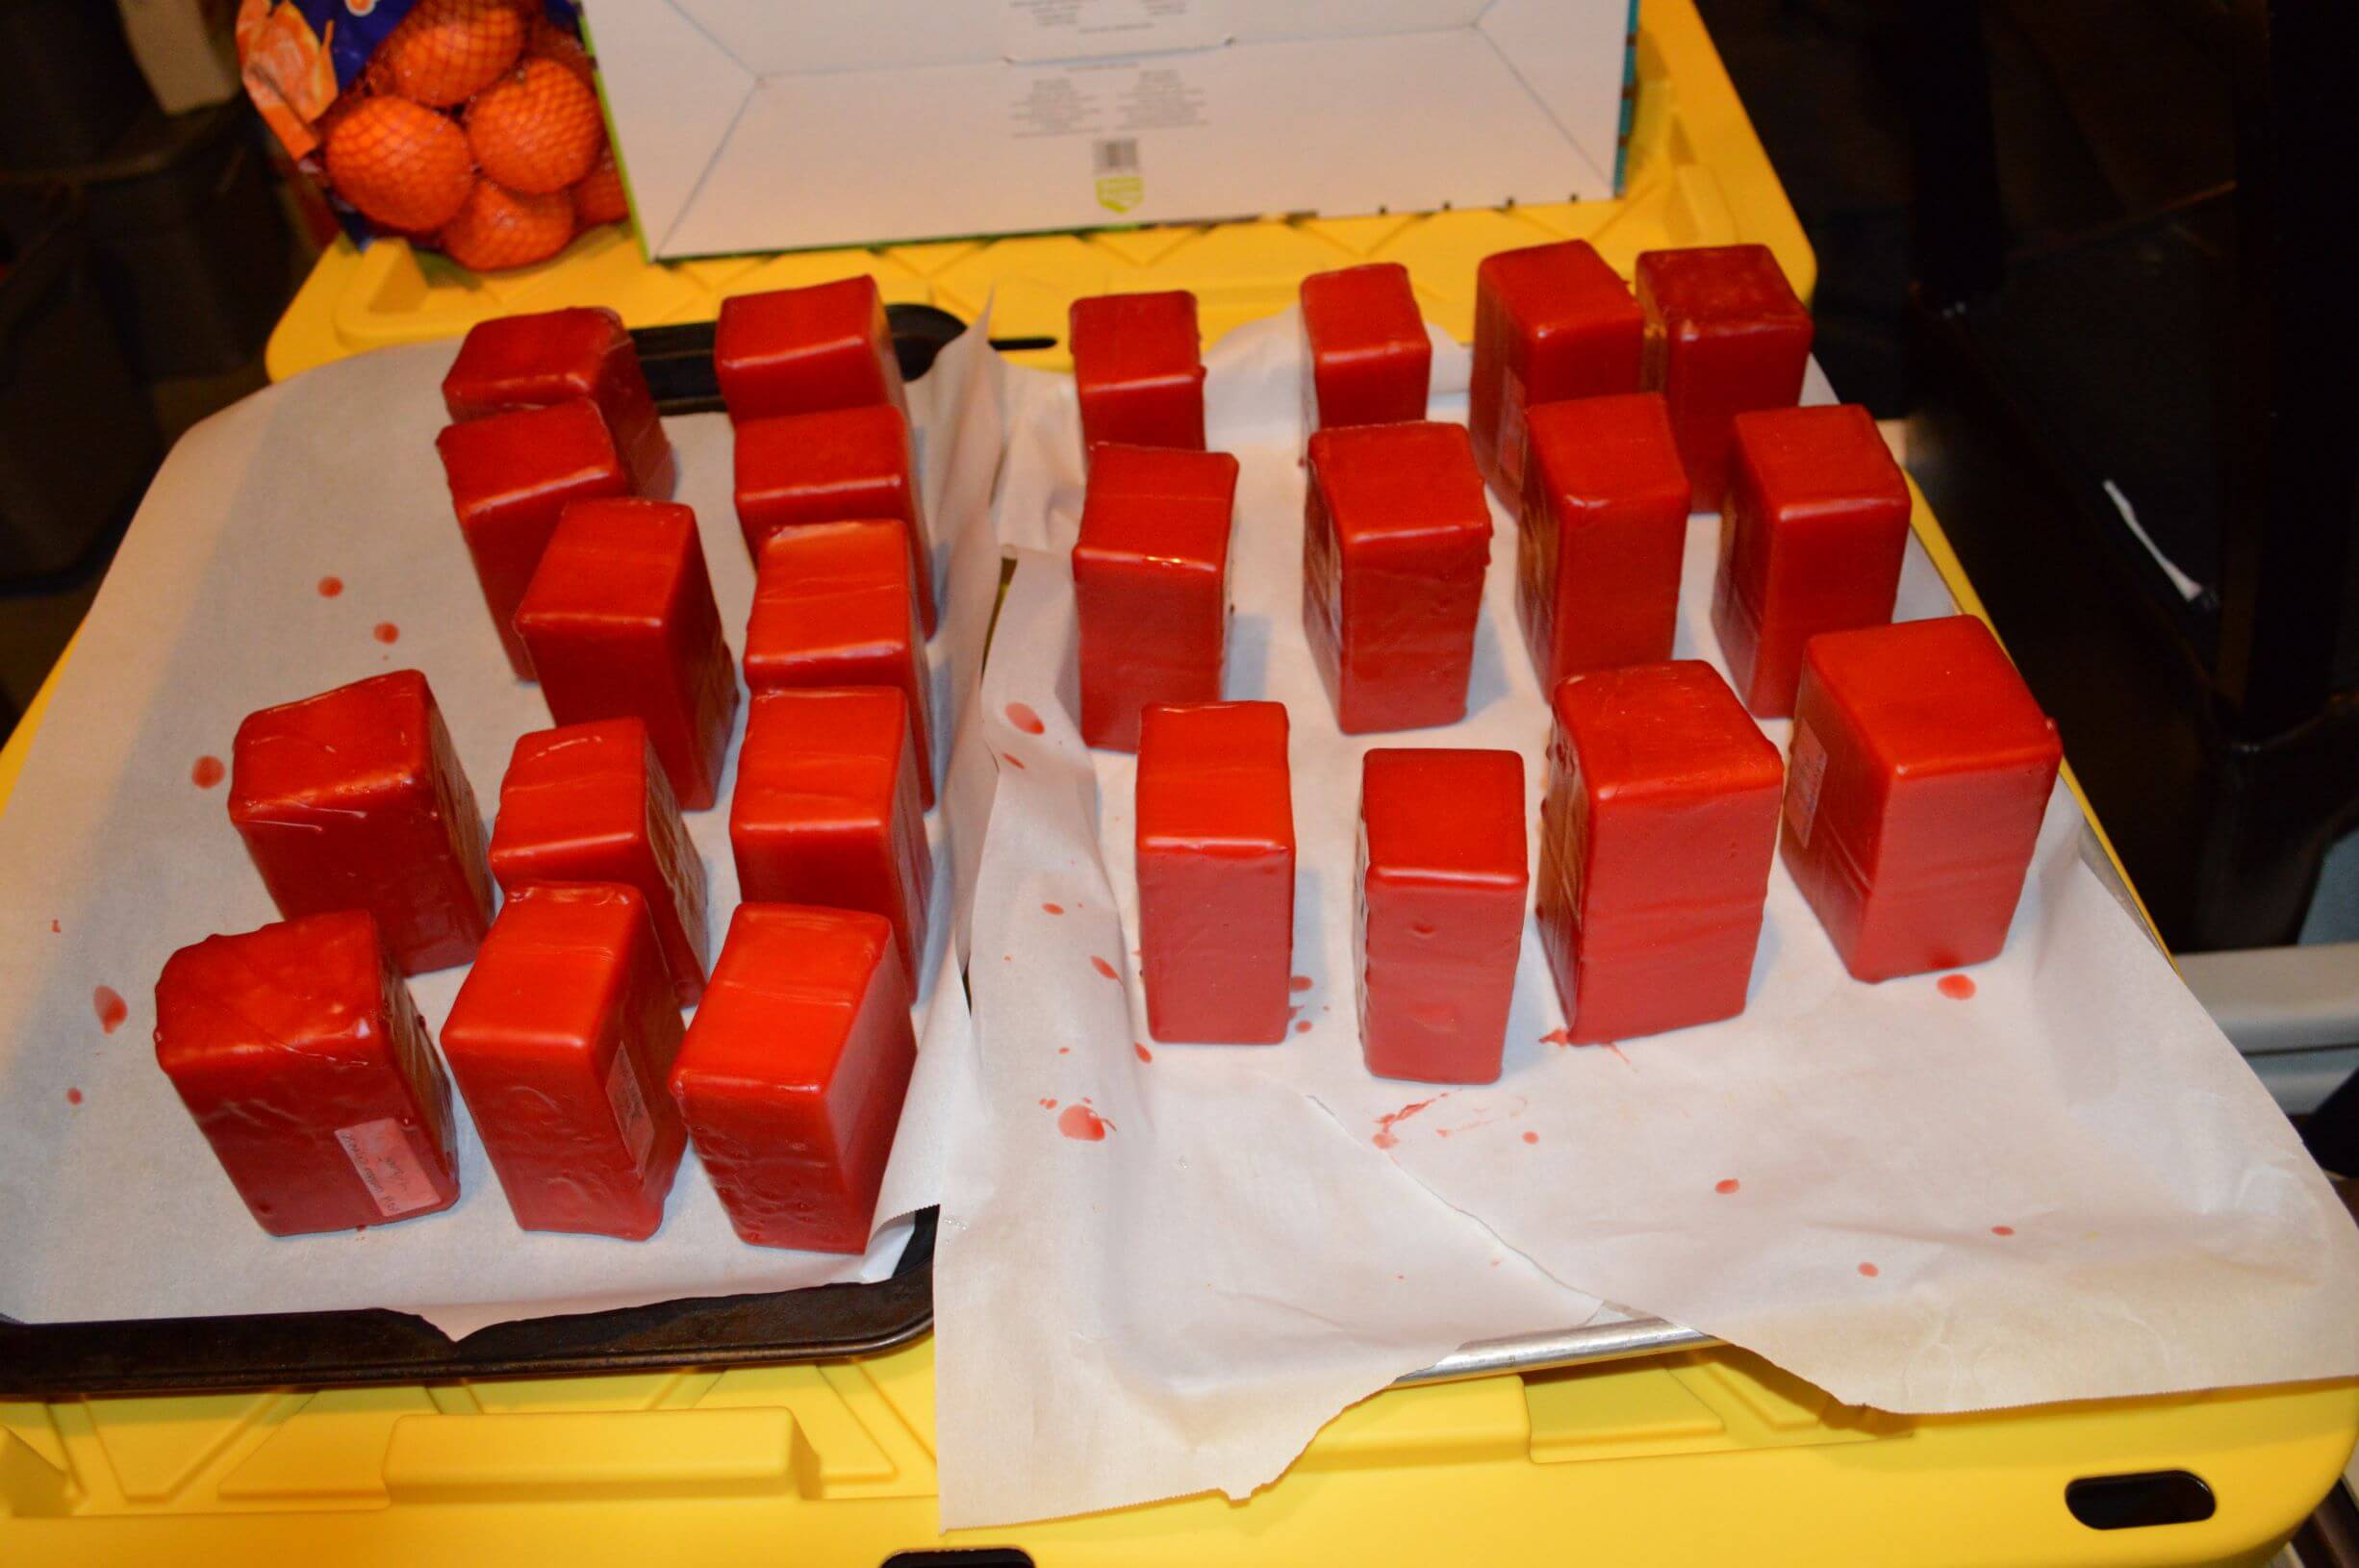
- After the 3rd coat, I used my boar bristle brush and touched up any corners, crevices or holes in each block of cheese. Each block is inspected that the wax is completely sealing the cheese and there is no access to air. You can do 4 layers if you feel more comfortable, but you do not need more than 4 thin layers.
-
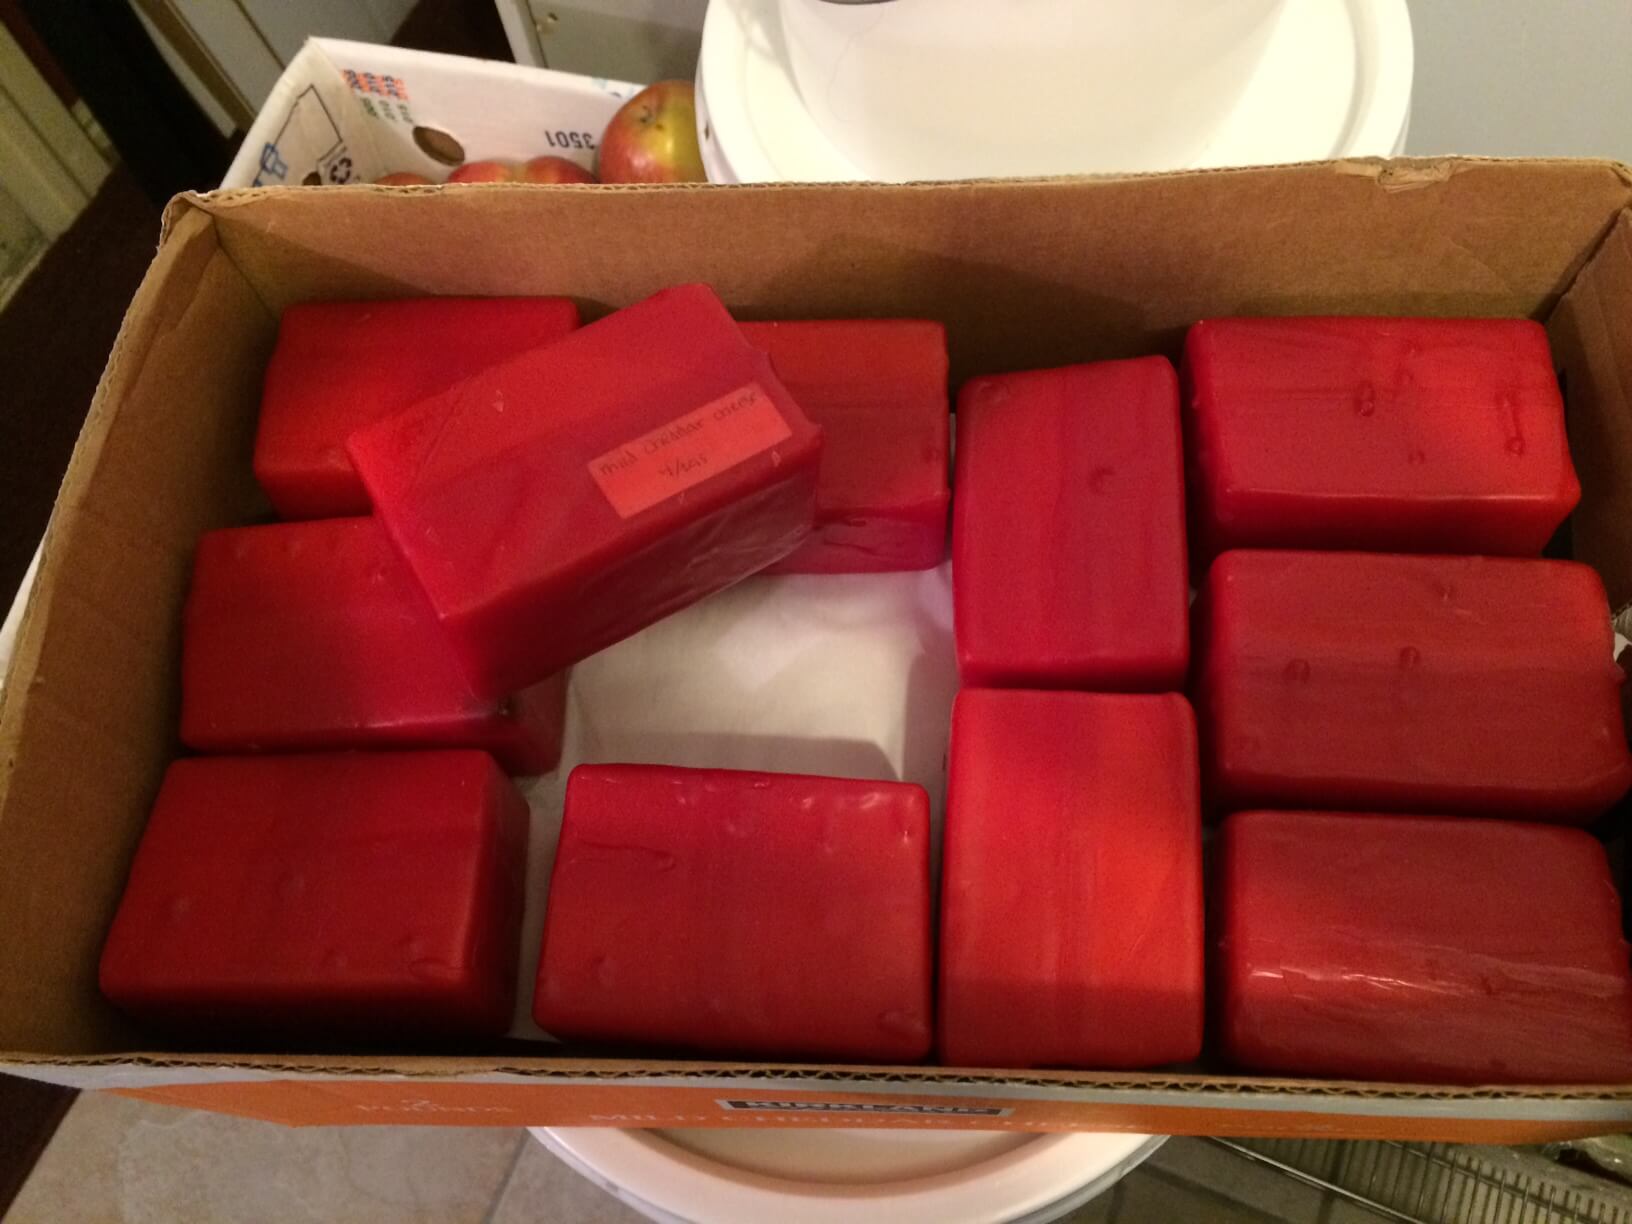
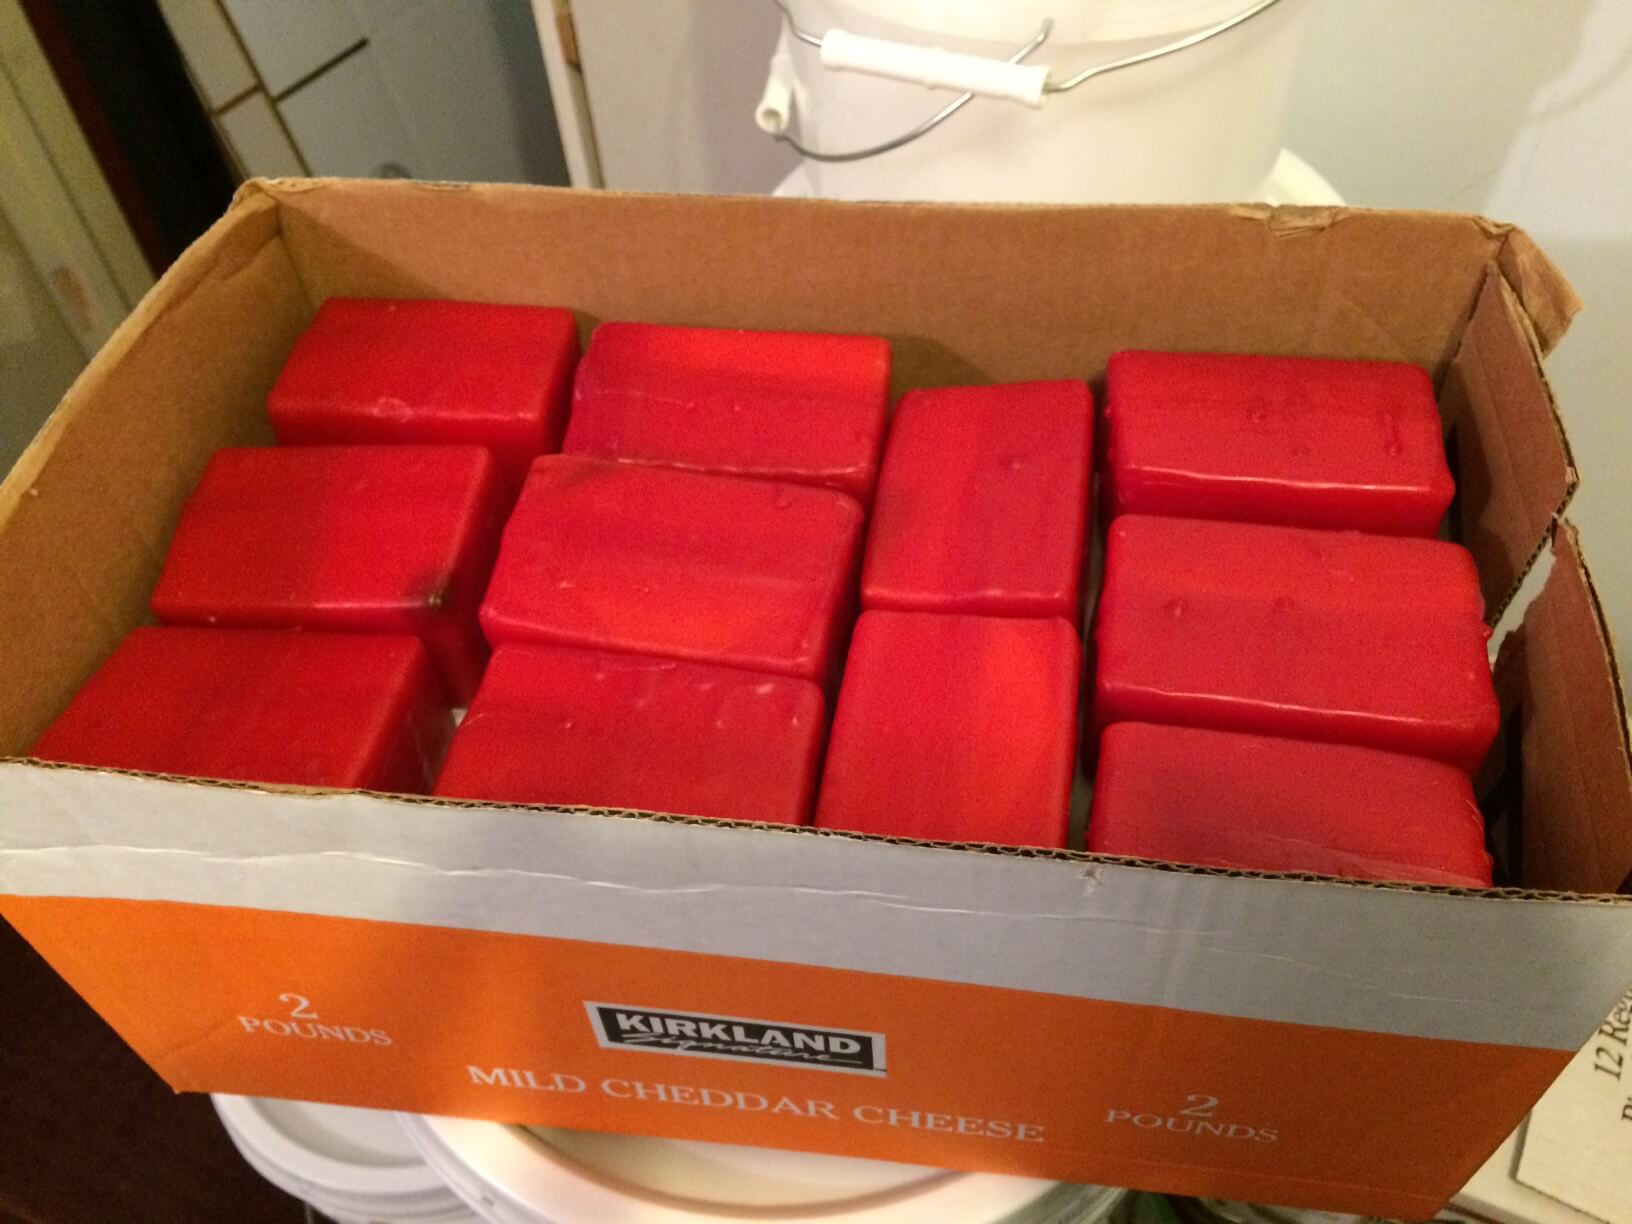
I recommend checking on your cheese and turning them over every week or two. Look for any oil drainage from them, or any spots that might be leaking. I store my waxed cheese in an OPEN BOX stacked on top of each other with parchment paper in-between the layers. They need to breathe. Some people have even put them in pantyhose material and hung them in their pantry. Cheese is affected by gravity so it’s smart to turn it over every so often (preferably weekly but at least monthly). Store in a dry cool place, preferably dark.
That’s it! Now this cheese can last years and years. Check it and rotate it often.
cheese food storage, food storage, how to wax cheese, Temporal Preparedness, waxing cheese
Deprecated: ucwords(): Passing null to parameter #1 ($string) of type string is deprecated in /var/www/www-root/data/www/diypreparedness.net/wp-content/themes/daron/single.php on line 82


